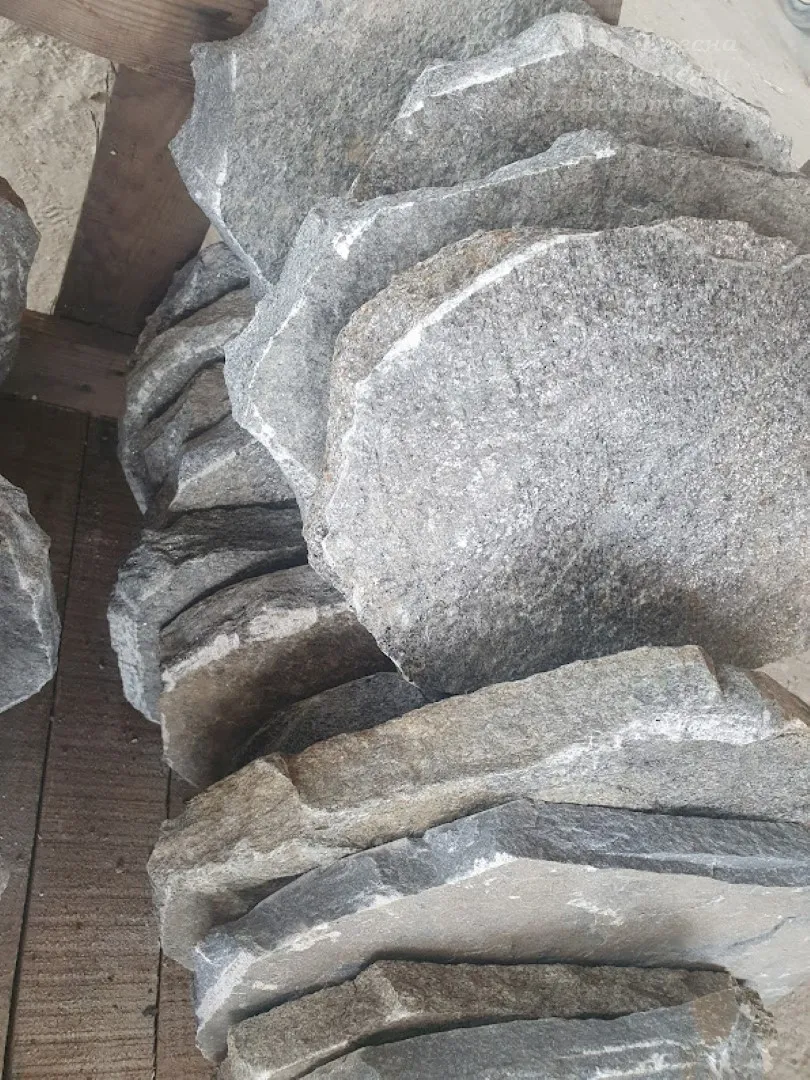
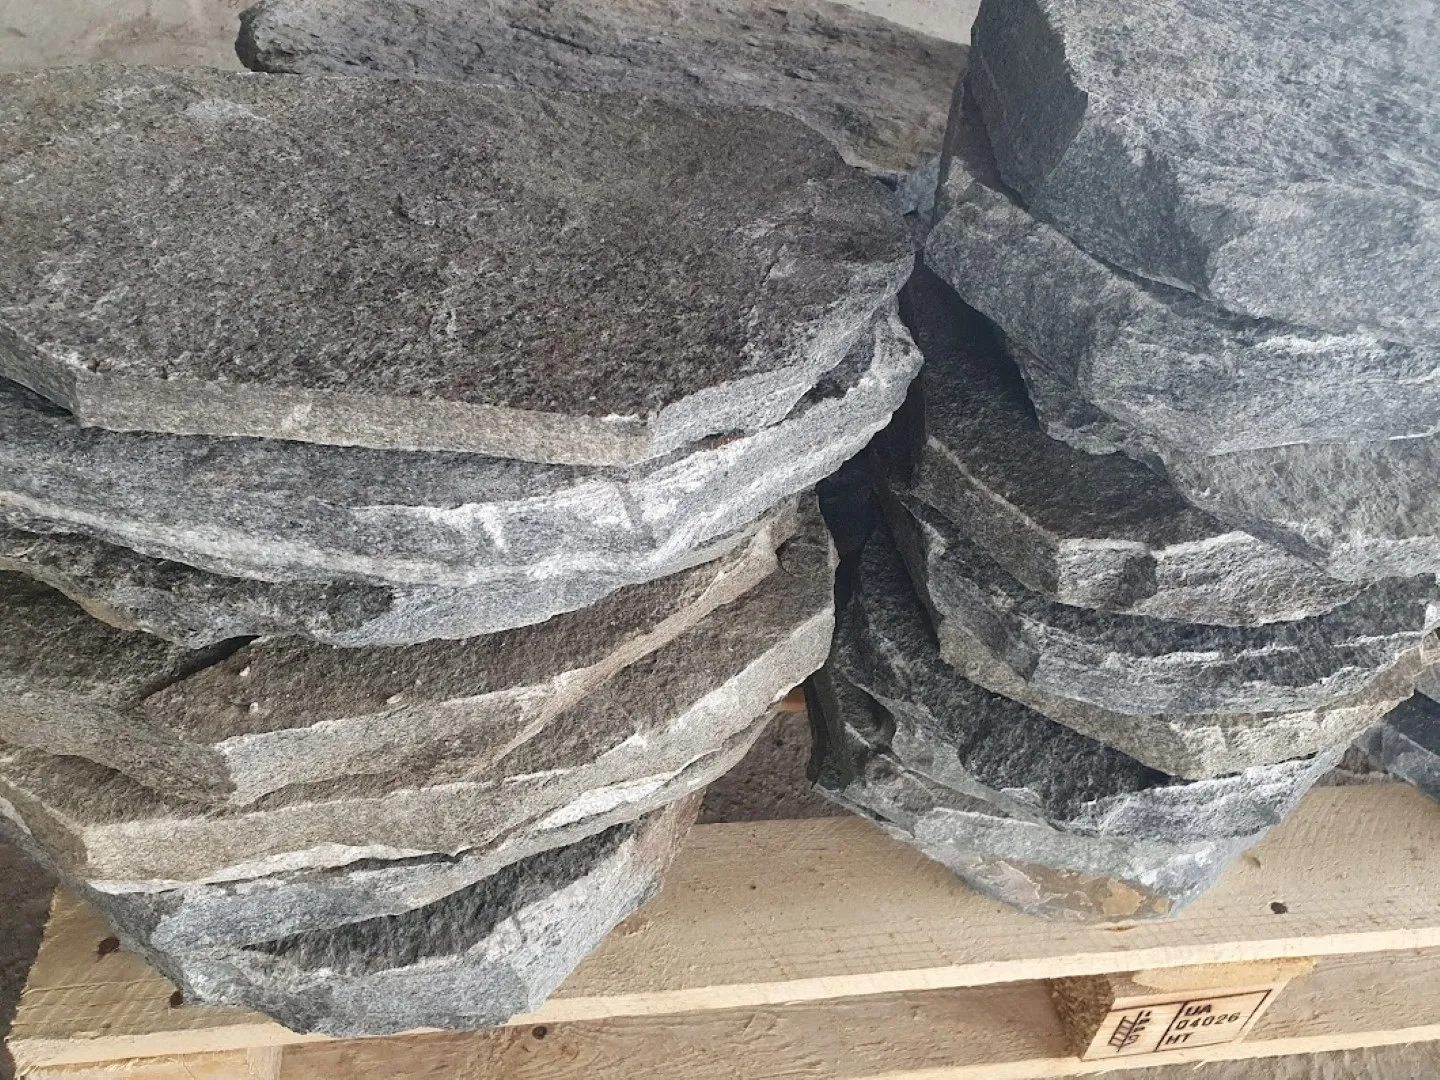
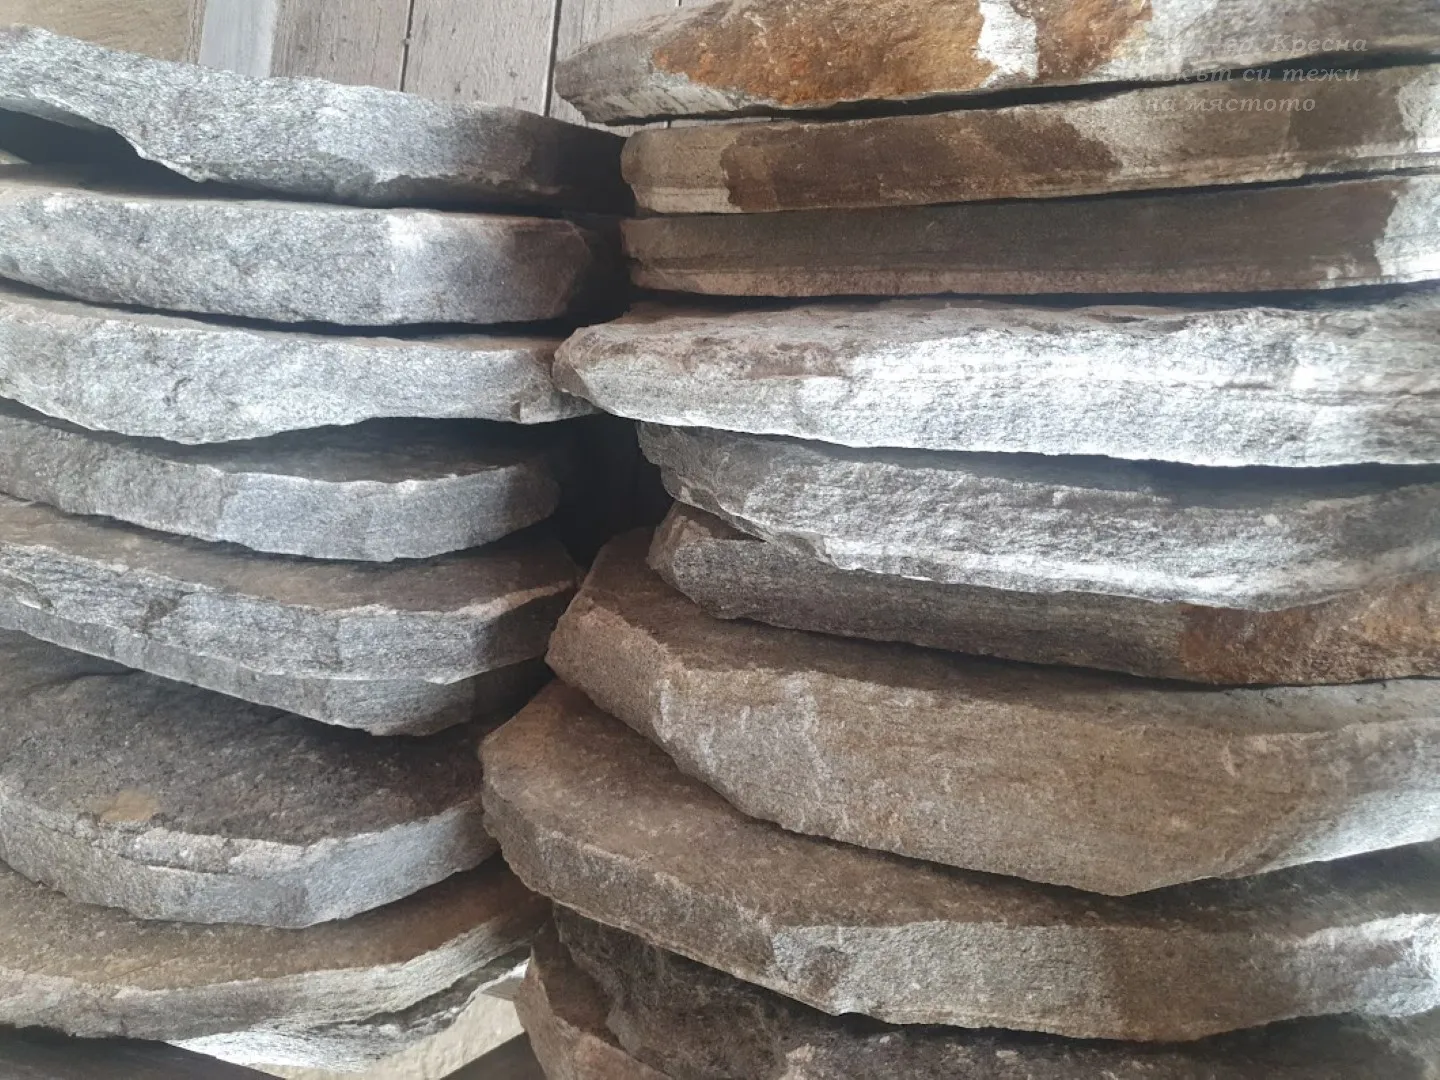
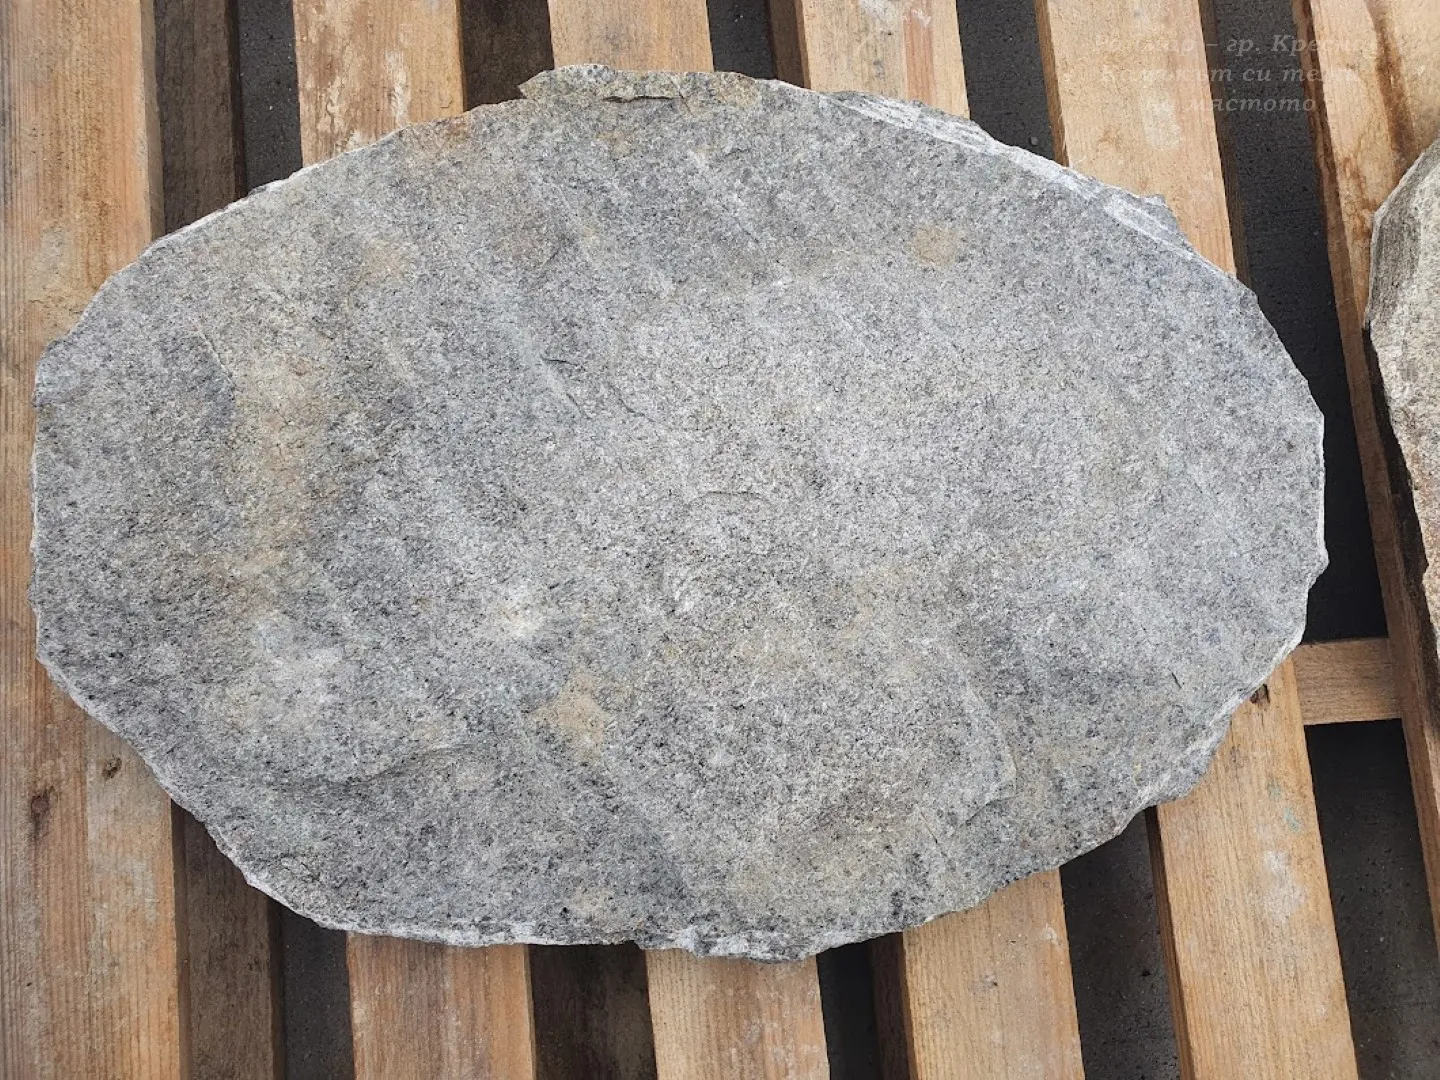
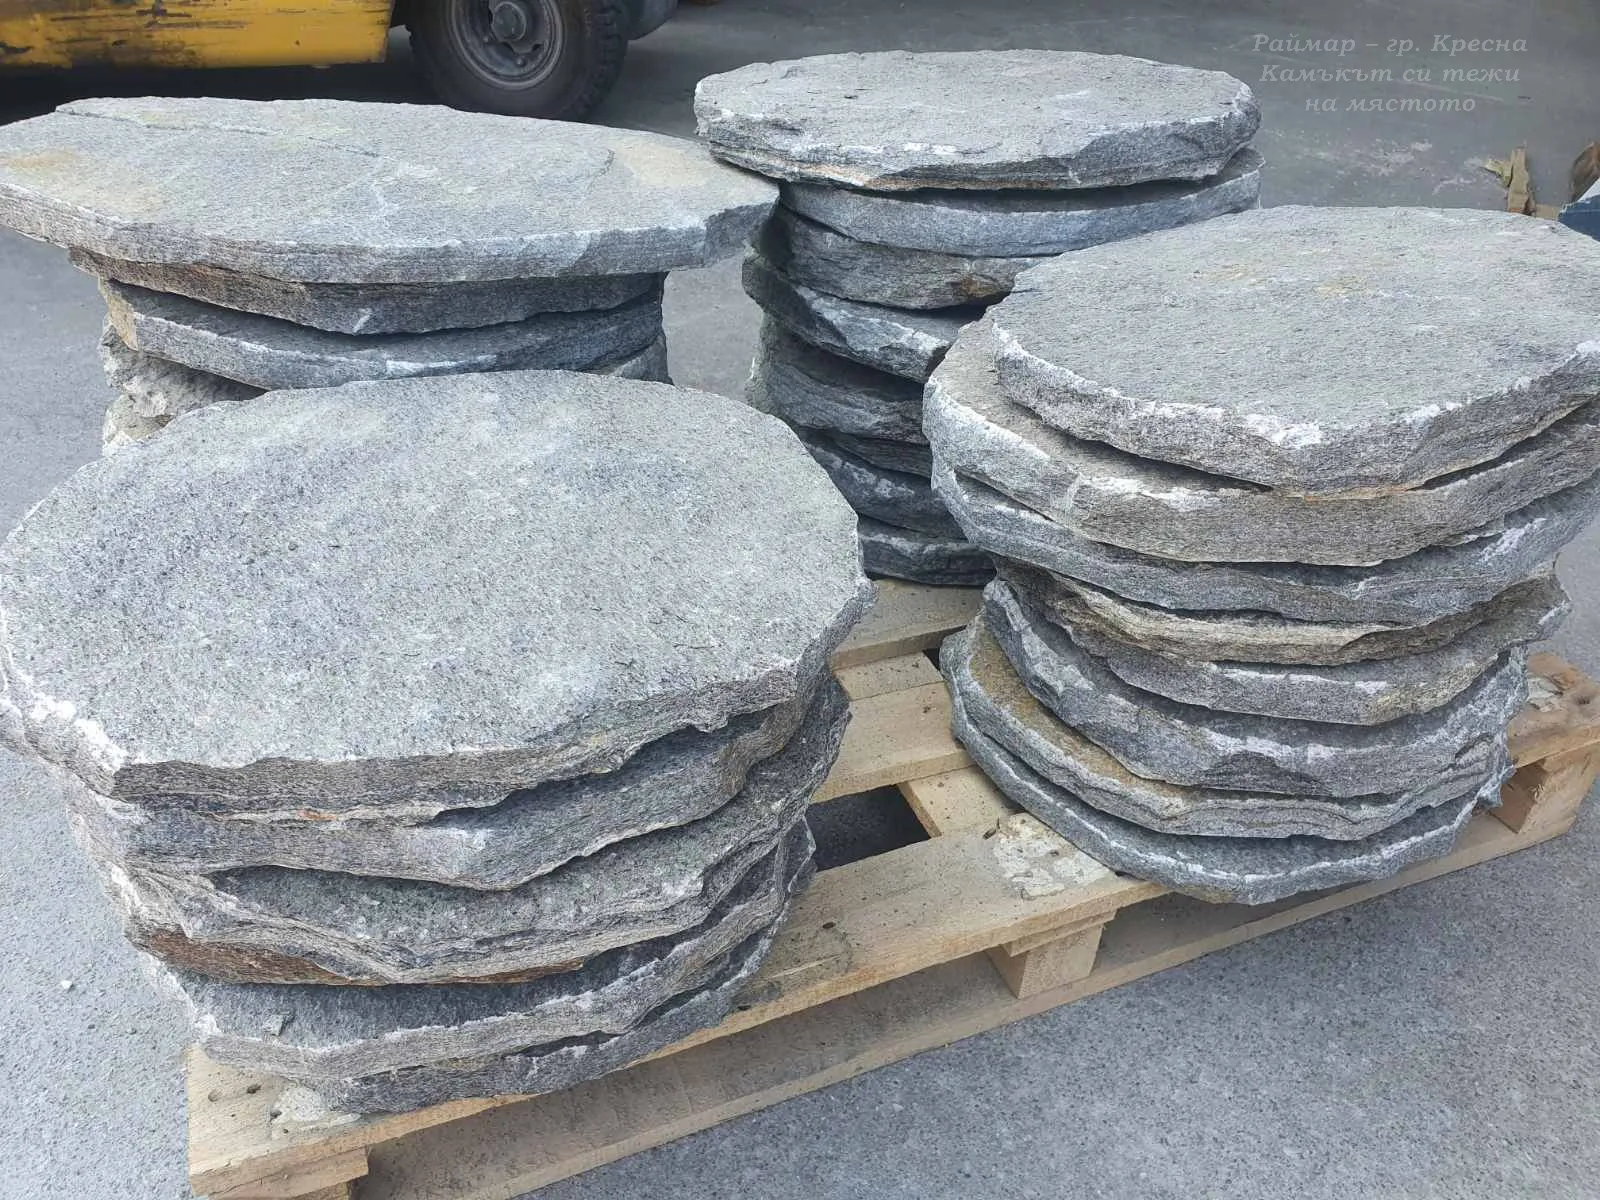
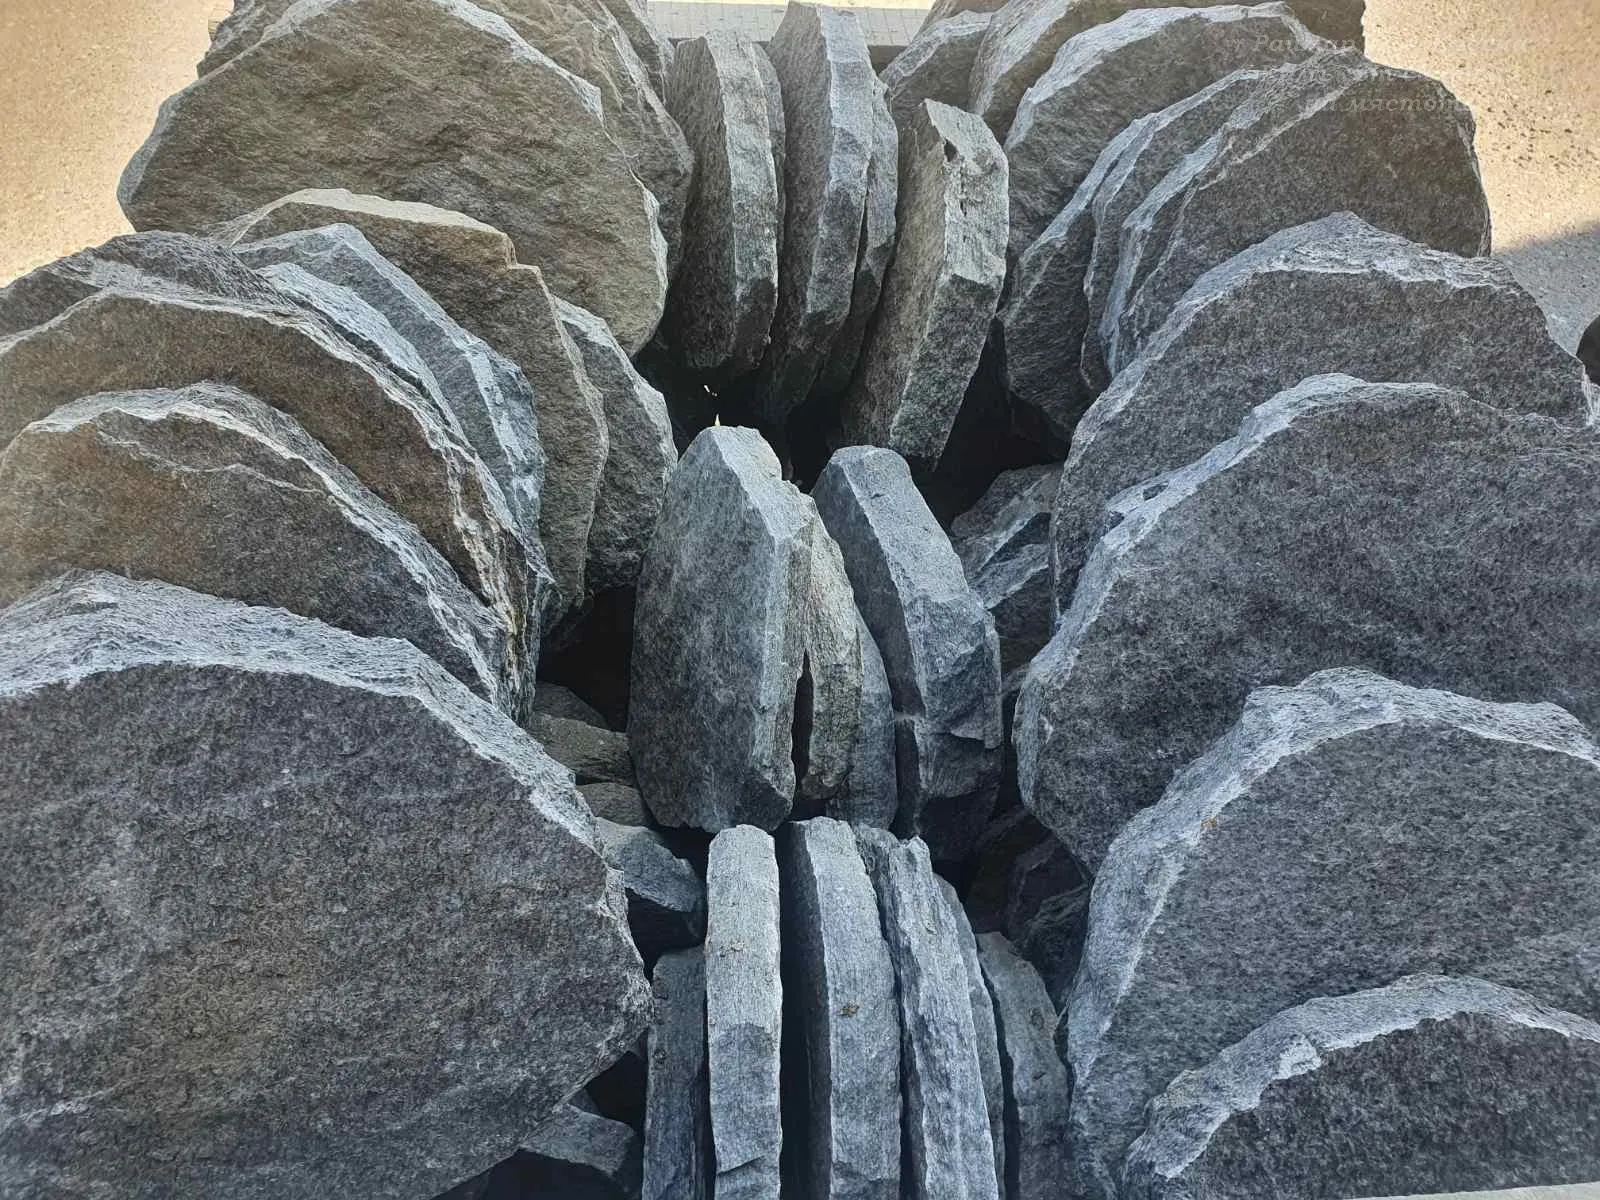
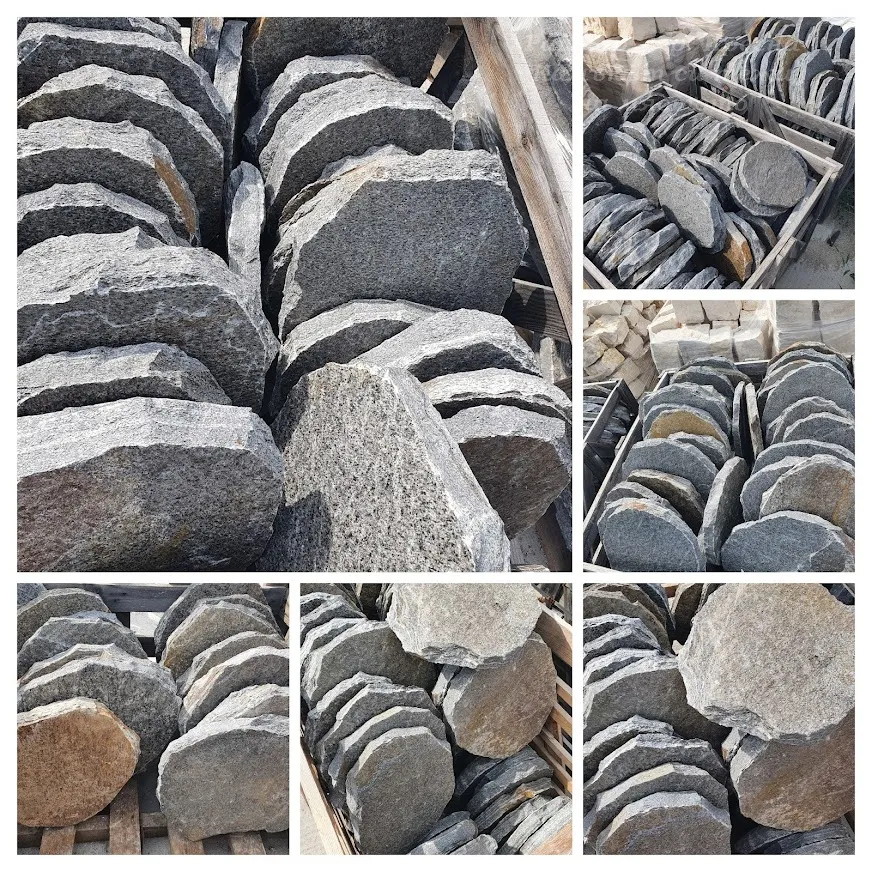
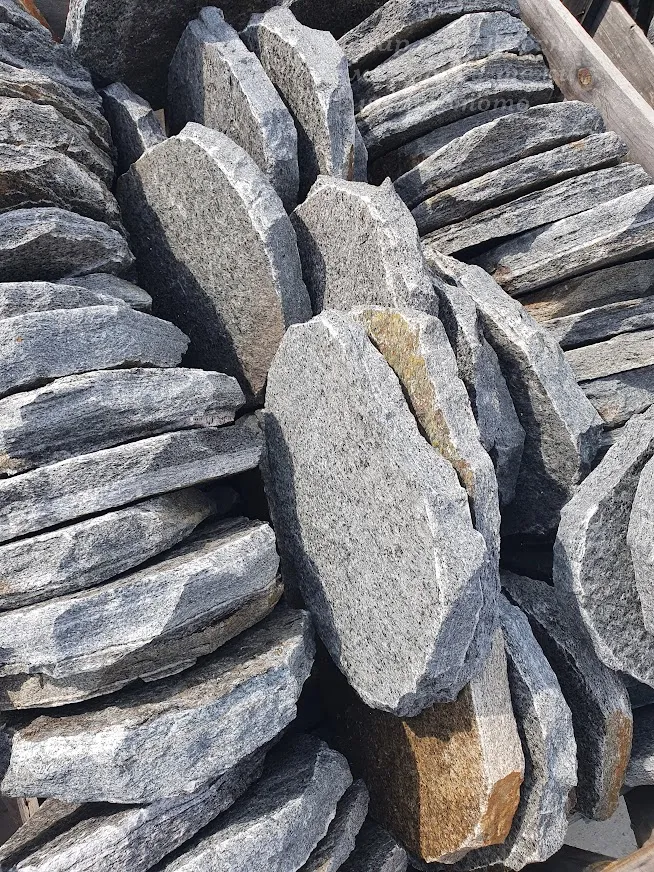
Stepping stones for pathways
| Available | |
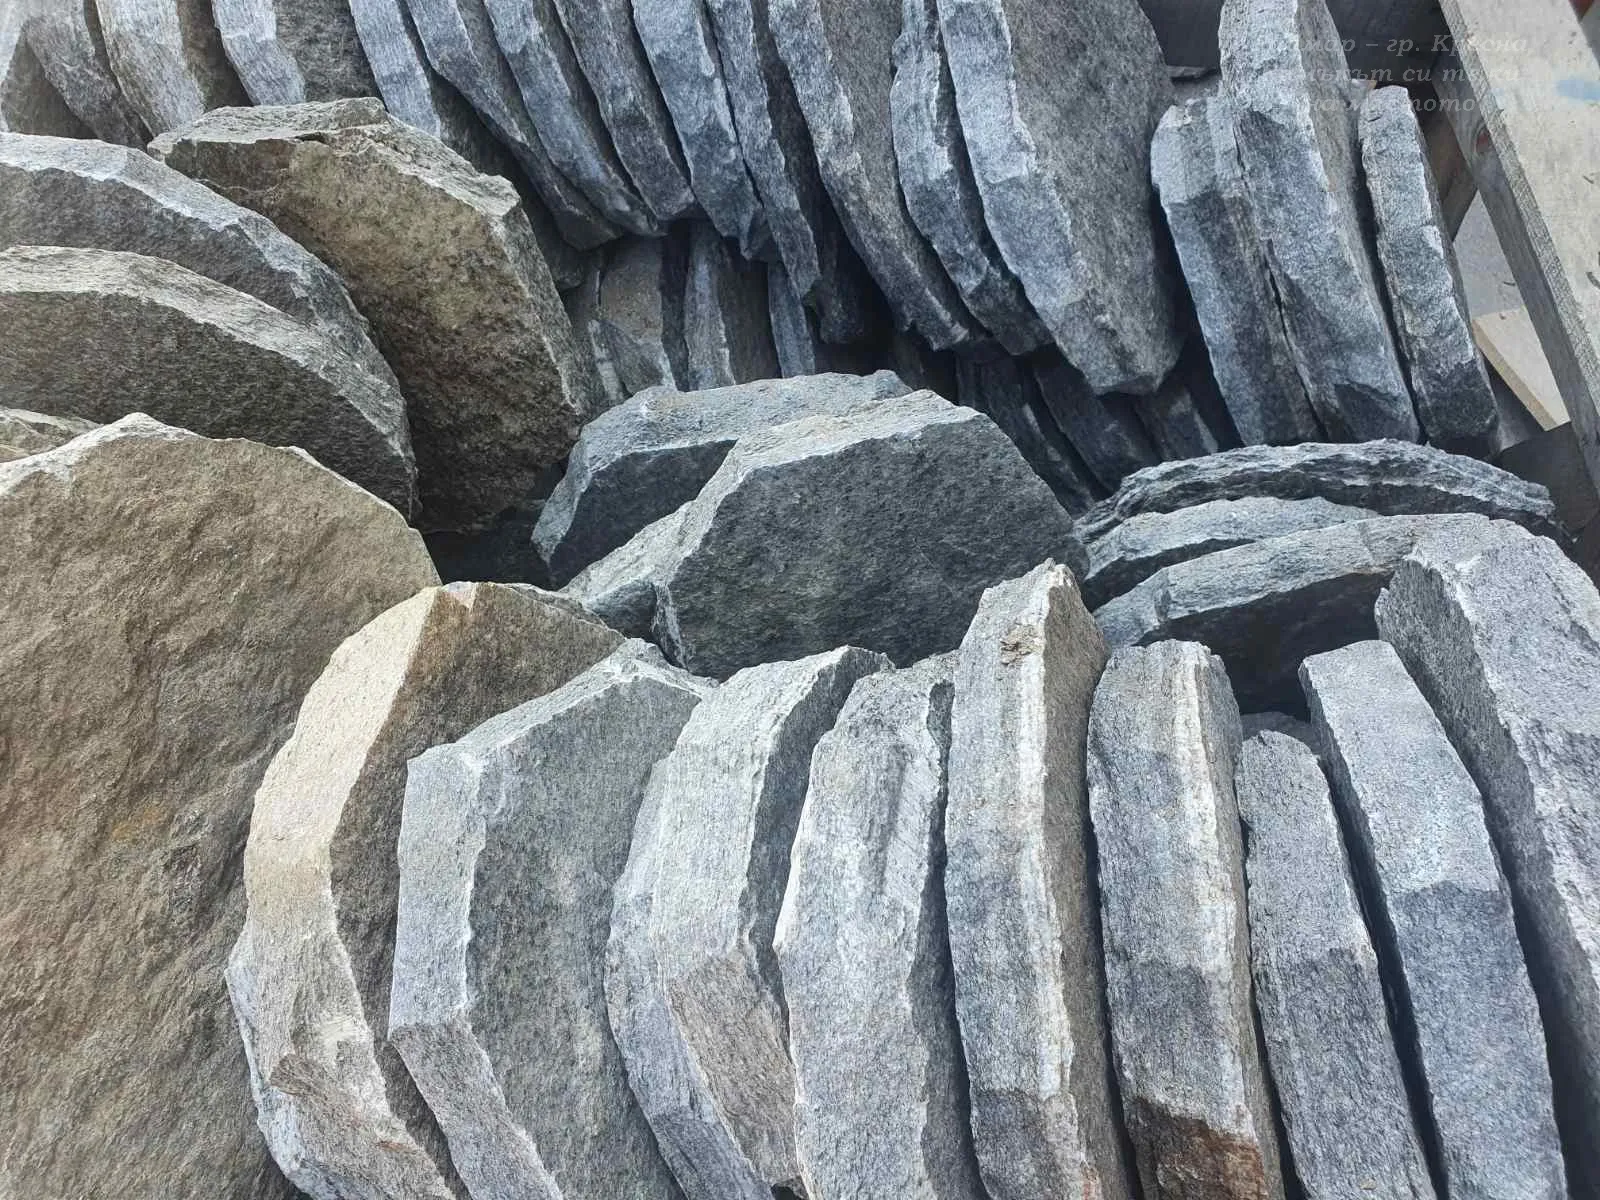
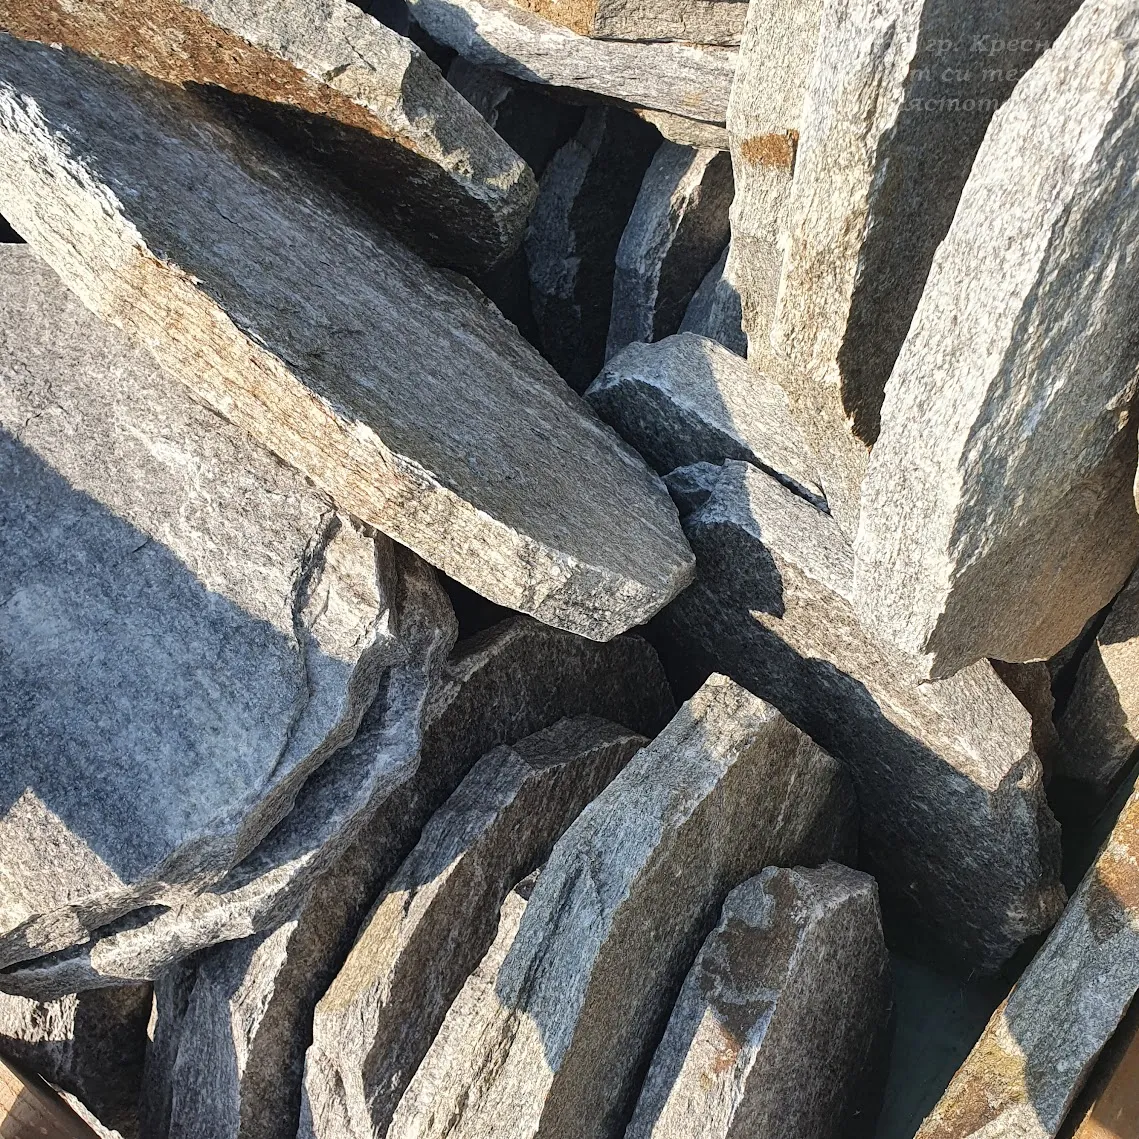
| Material | Gneiss |
| Sizes of the slates | polygonal #4/ 4-8pcs/sq.m |
| Finish | Natural |
| Price / Unit | Price for 1 piece |
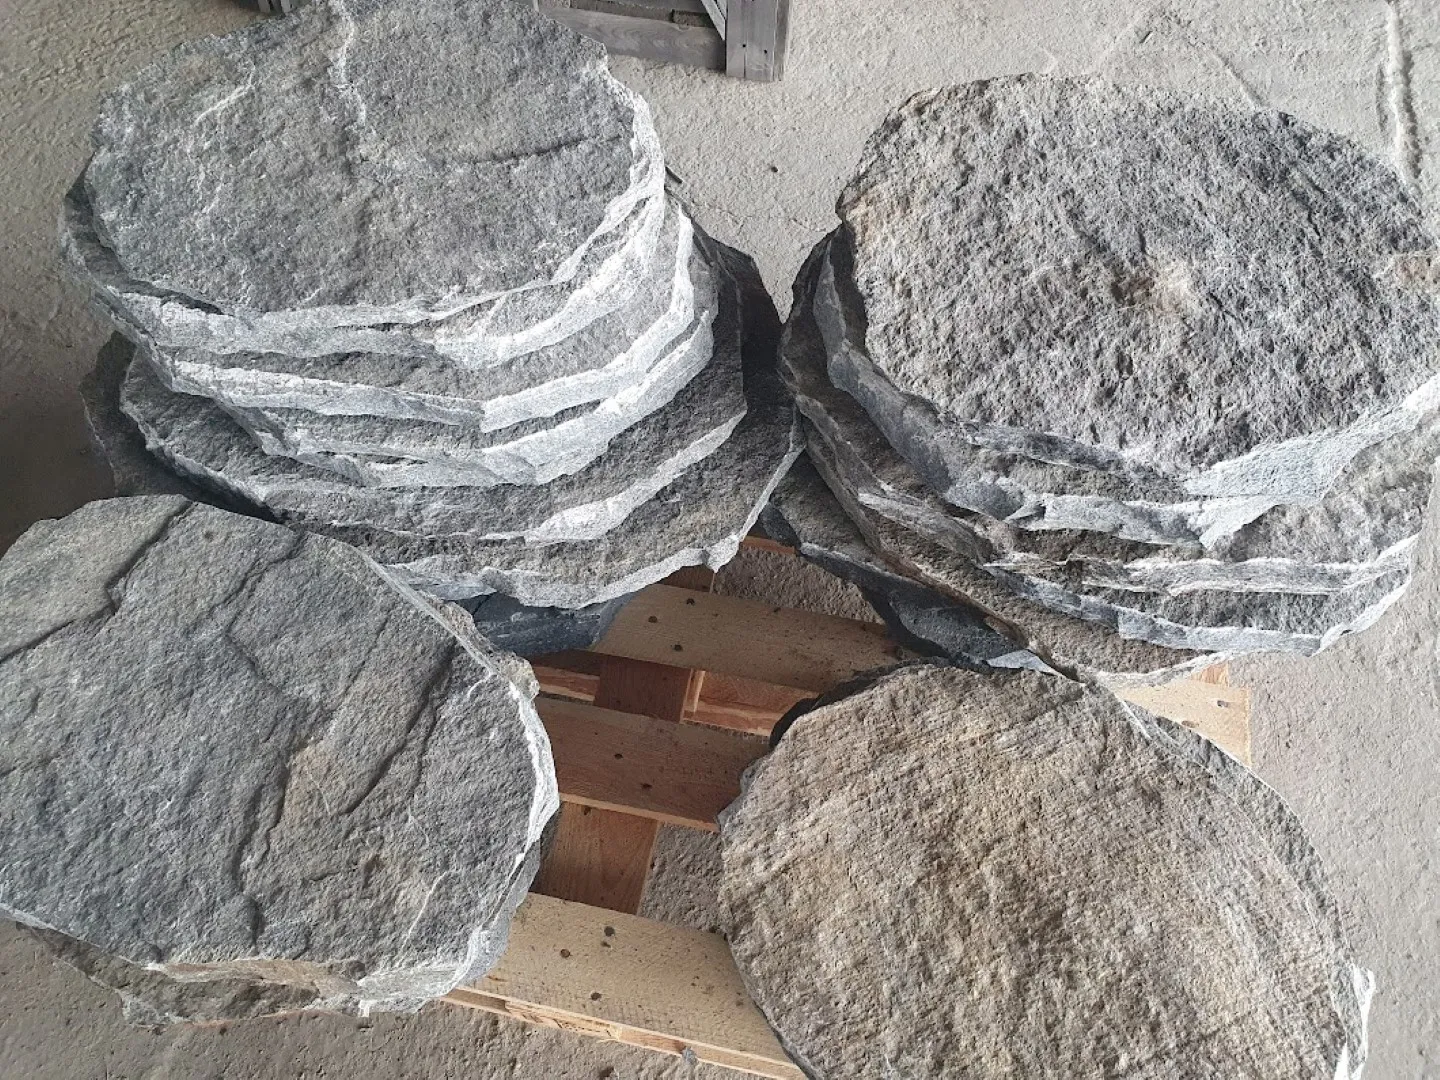
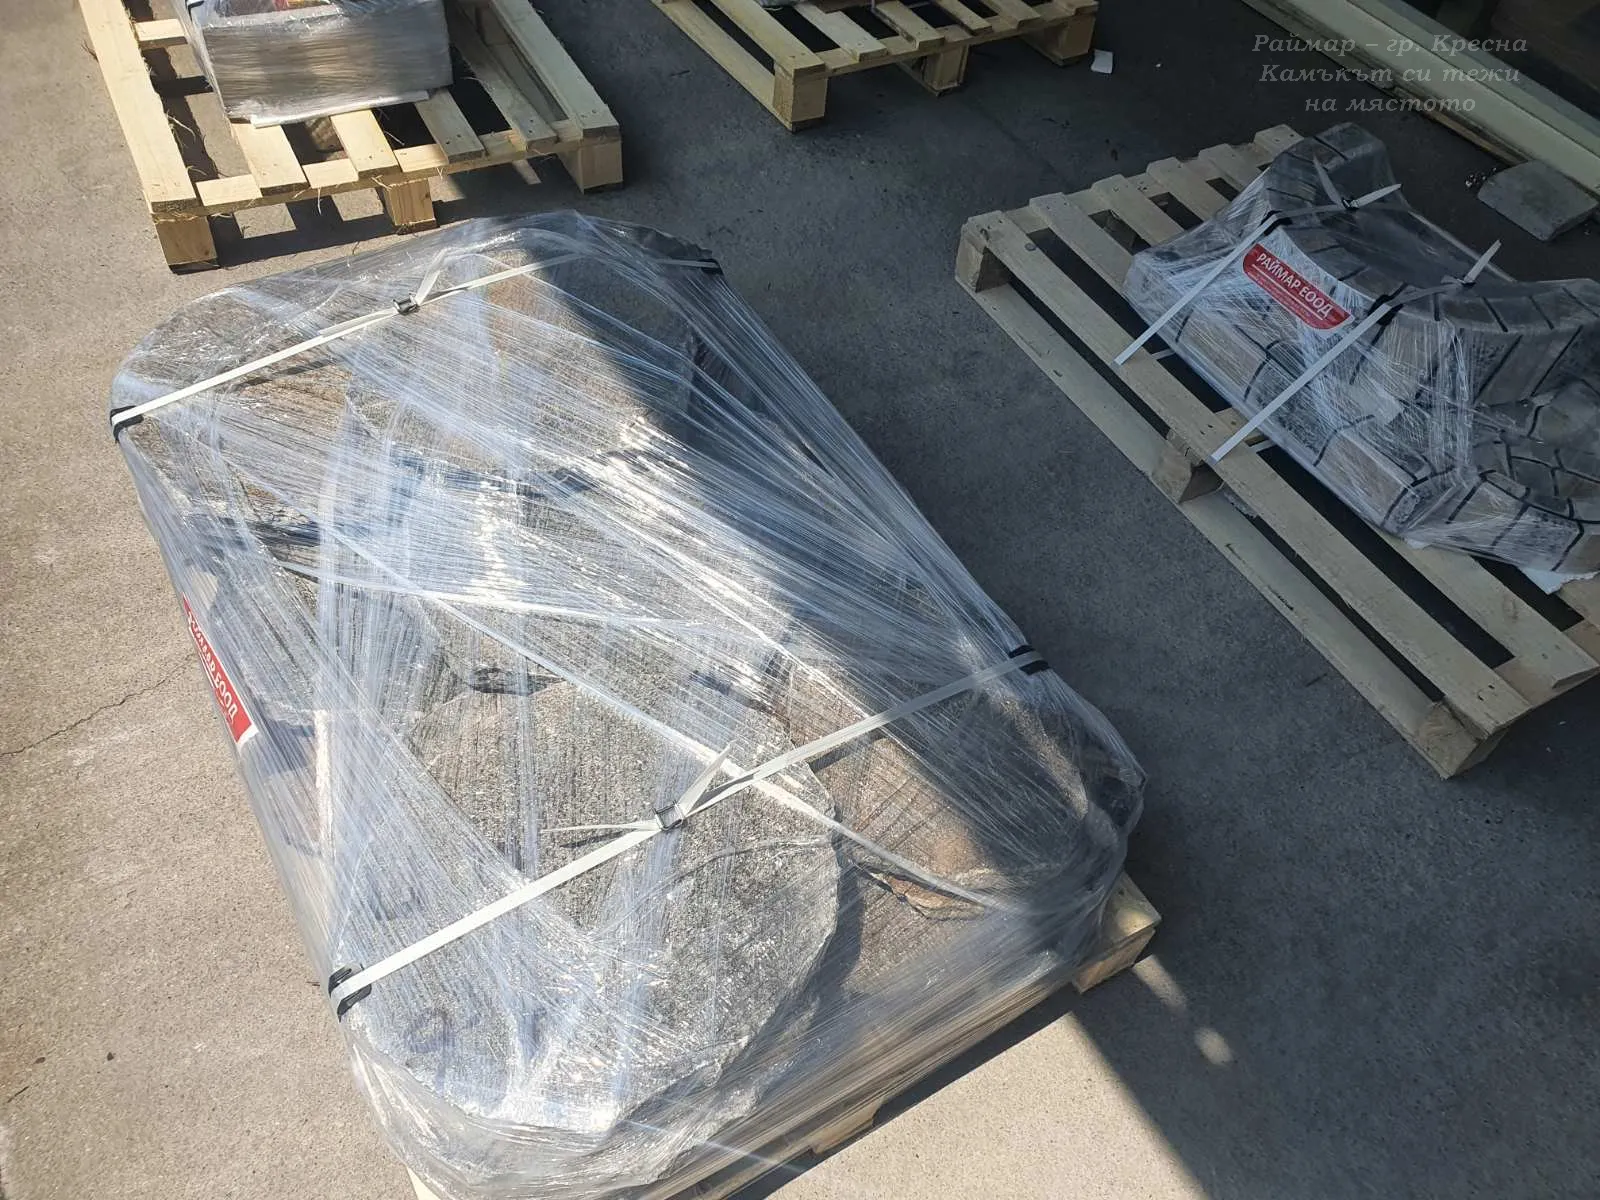
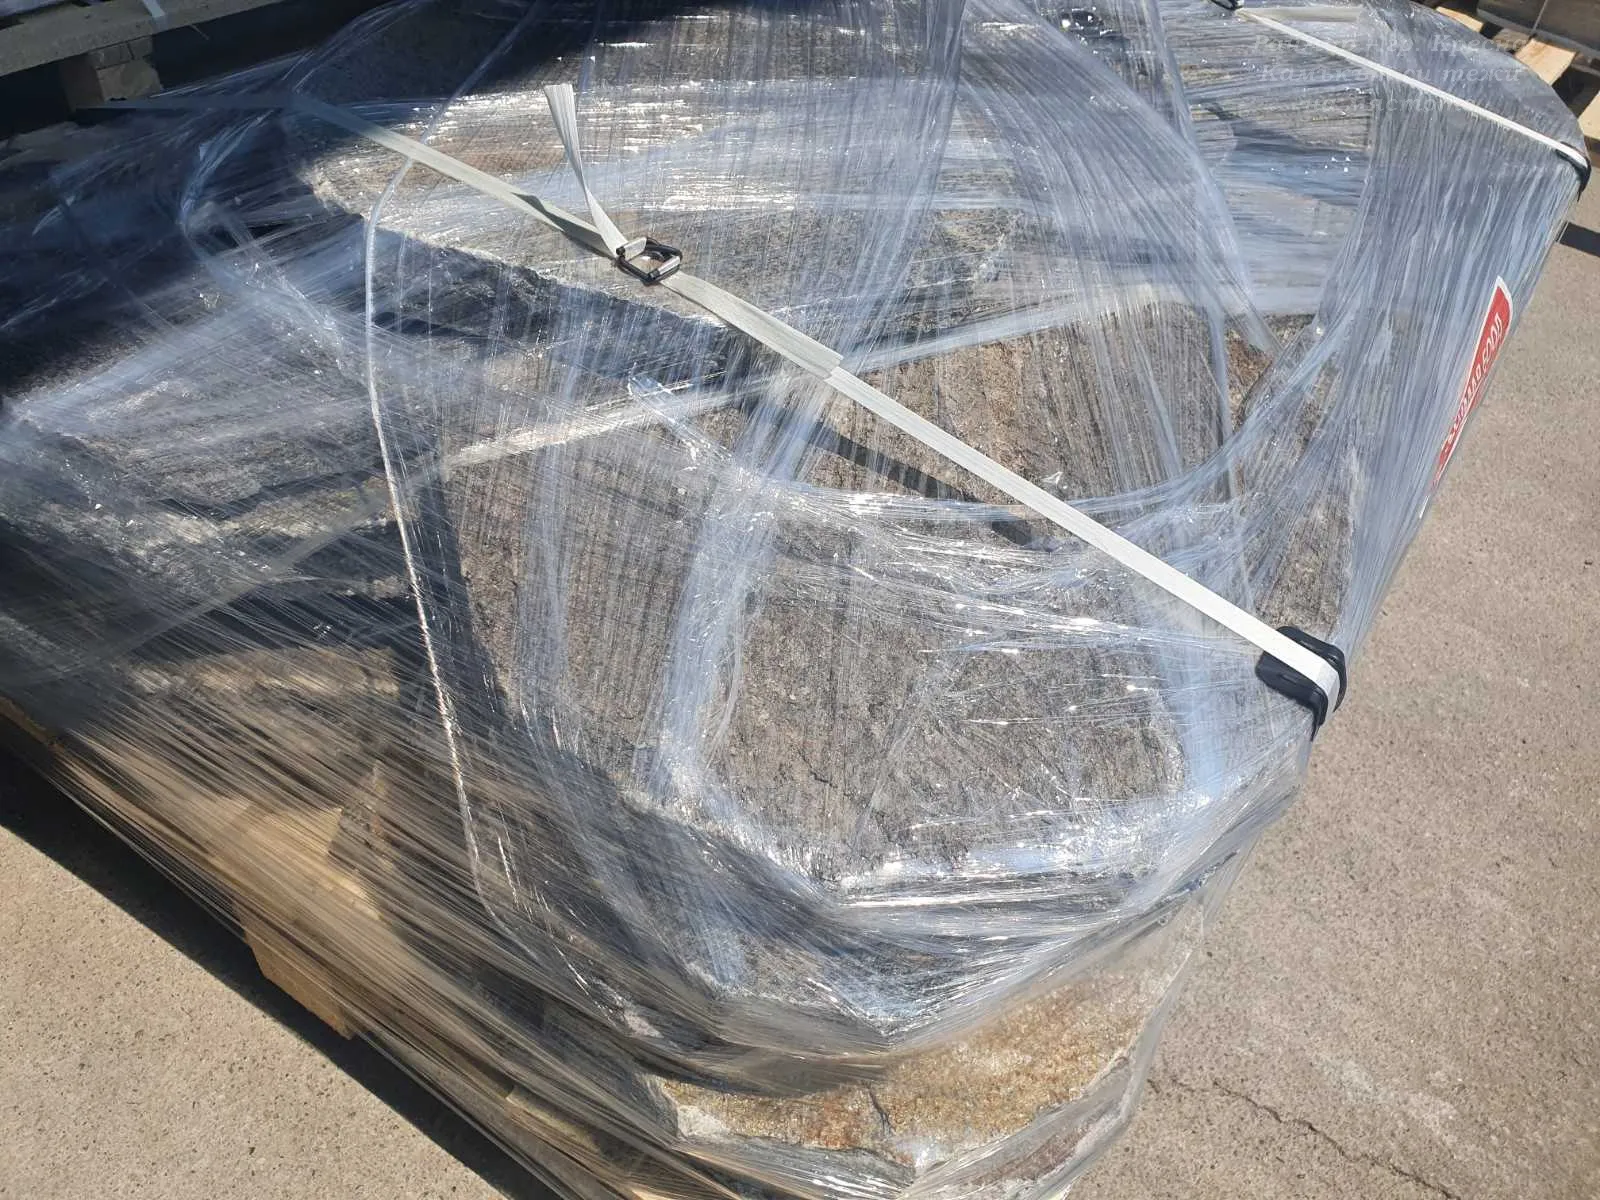
| Maximum pallet weight | 10-15 sq.m = 990 kg |
| Weight per 1 sq.m | 70-80kg/sq.m |
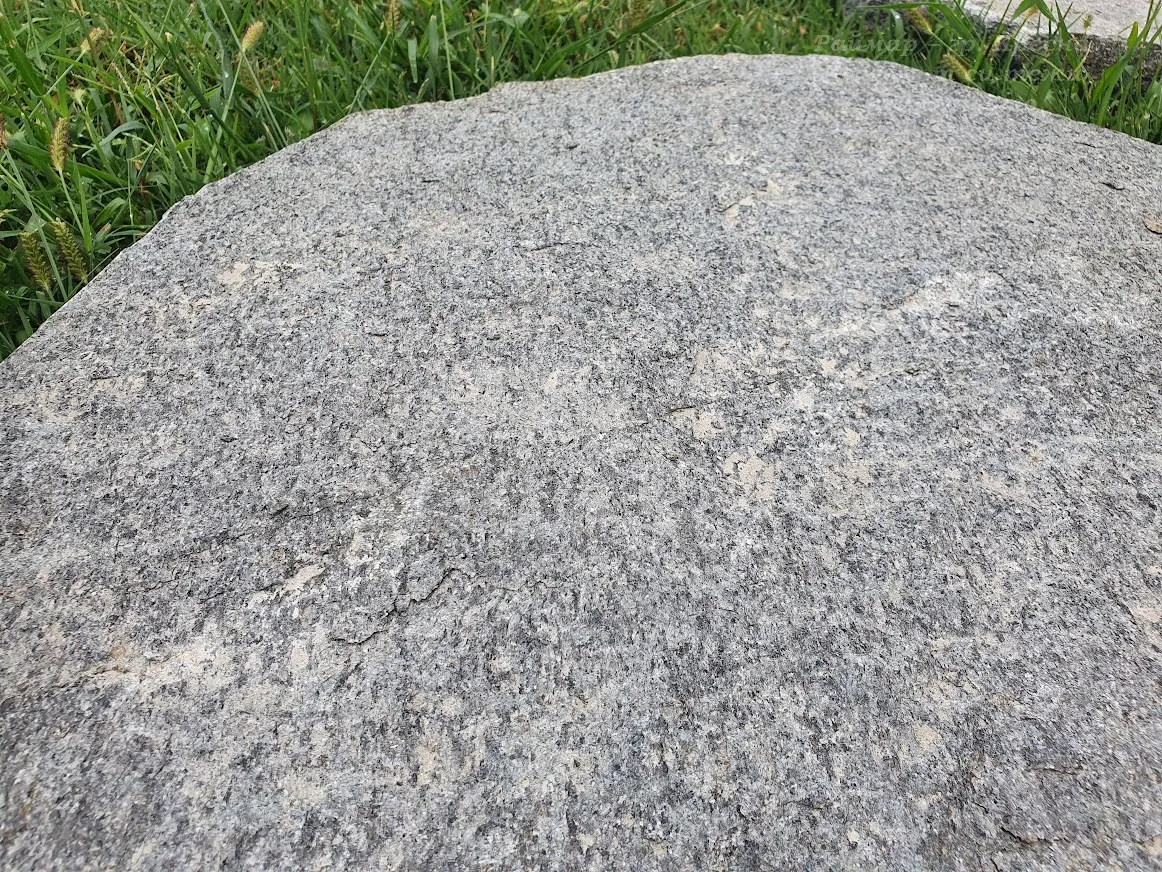
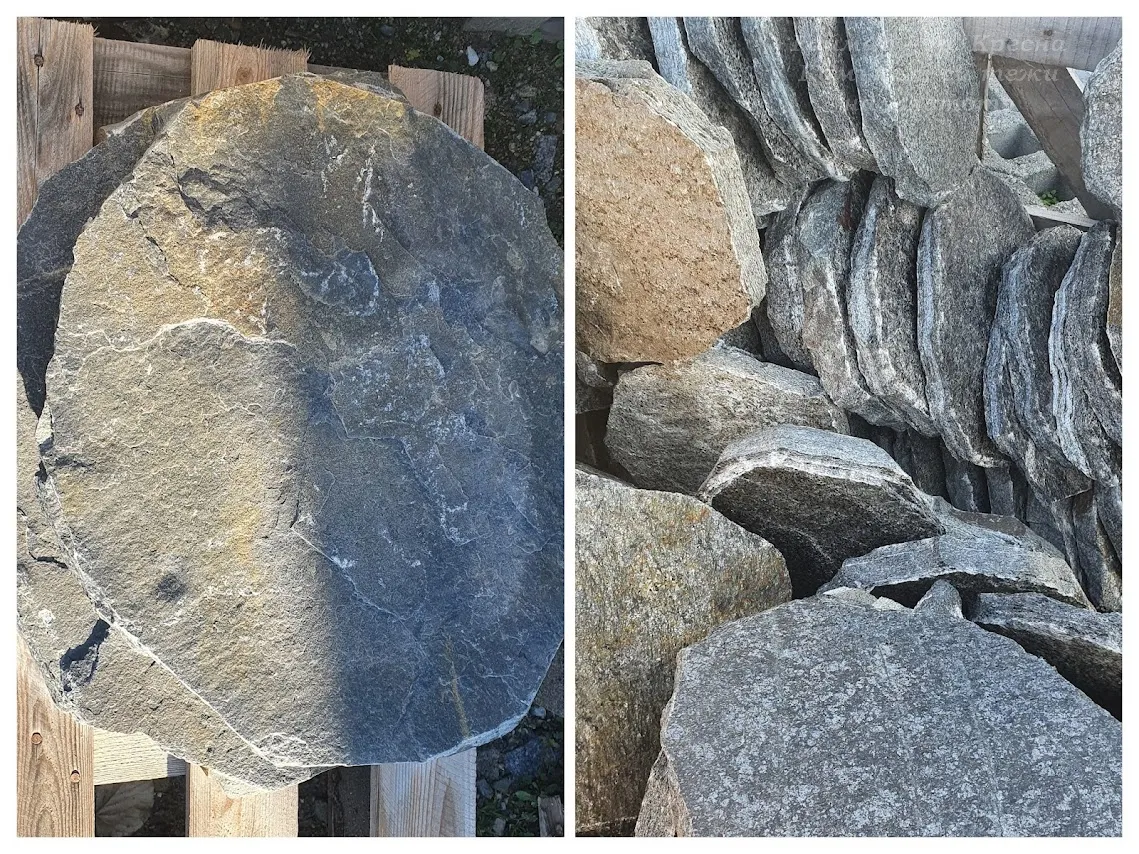
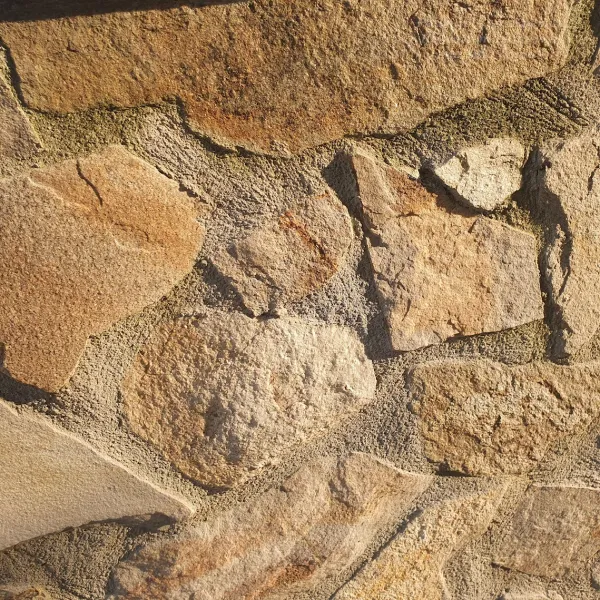
| Natural stone specifics | Possible deviations and variations in the colors and textures of the stone tiles are expected (resulting from the natural origin and formation of the stone). |
| Pre-sorting by color or caliber, as well as preferences for nuances, patterns, or color variations in the stone, is not possible in advance. | |
| Protection, mandatory impregnation, and maintenance (LTP or AKEMI) | For color enhancement and protection: Wet effect impregnator (LTP or AKEMI). |
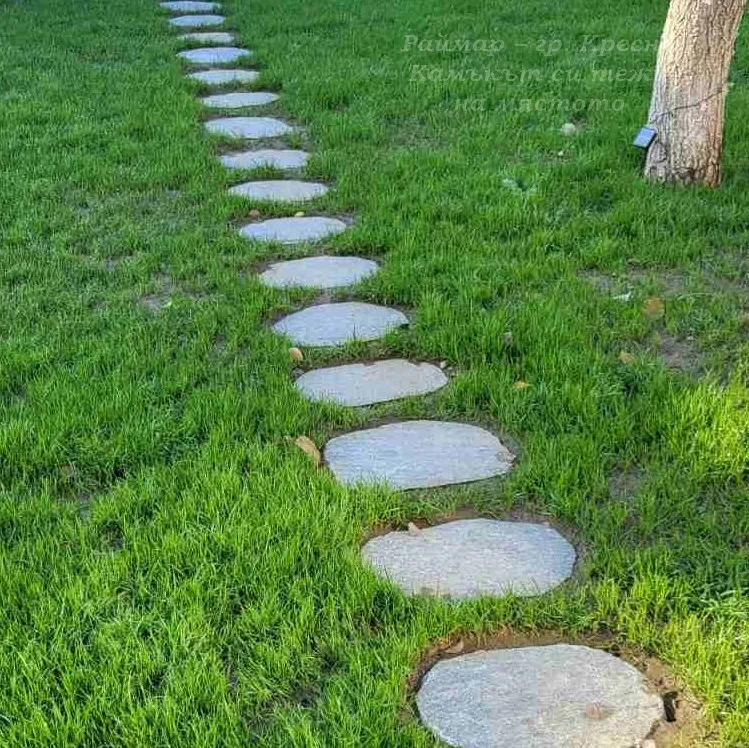
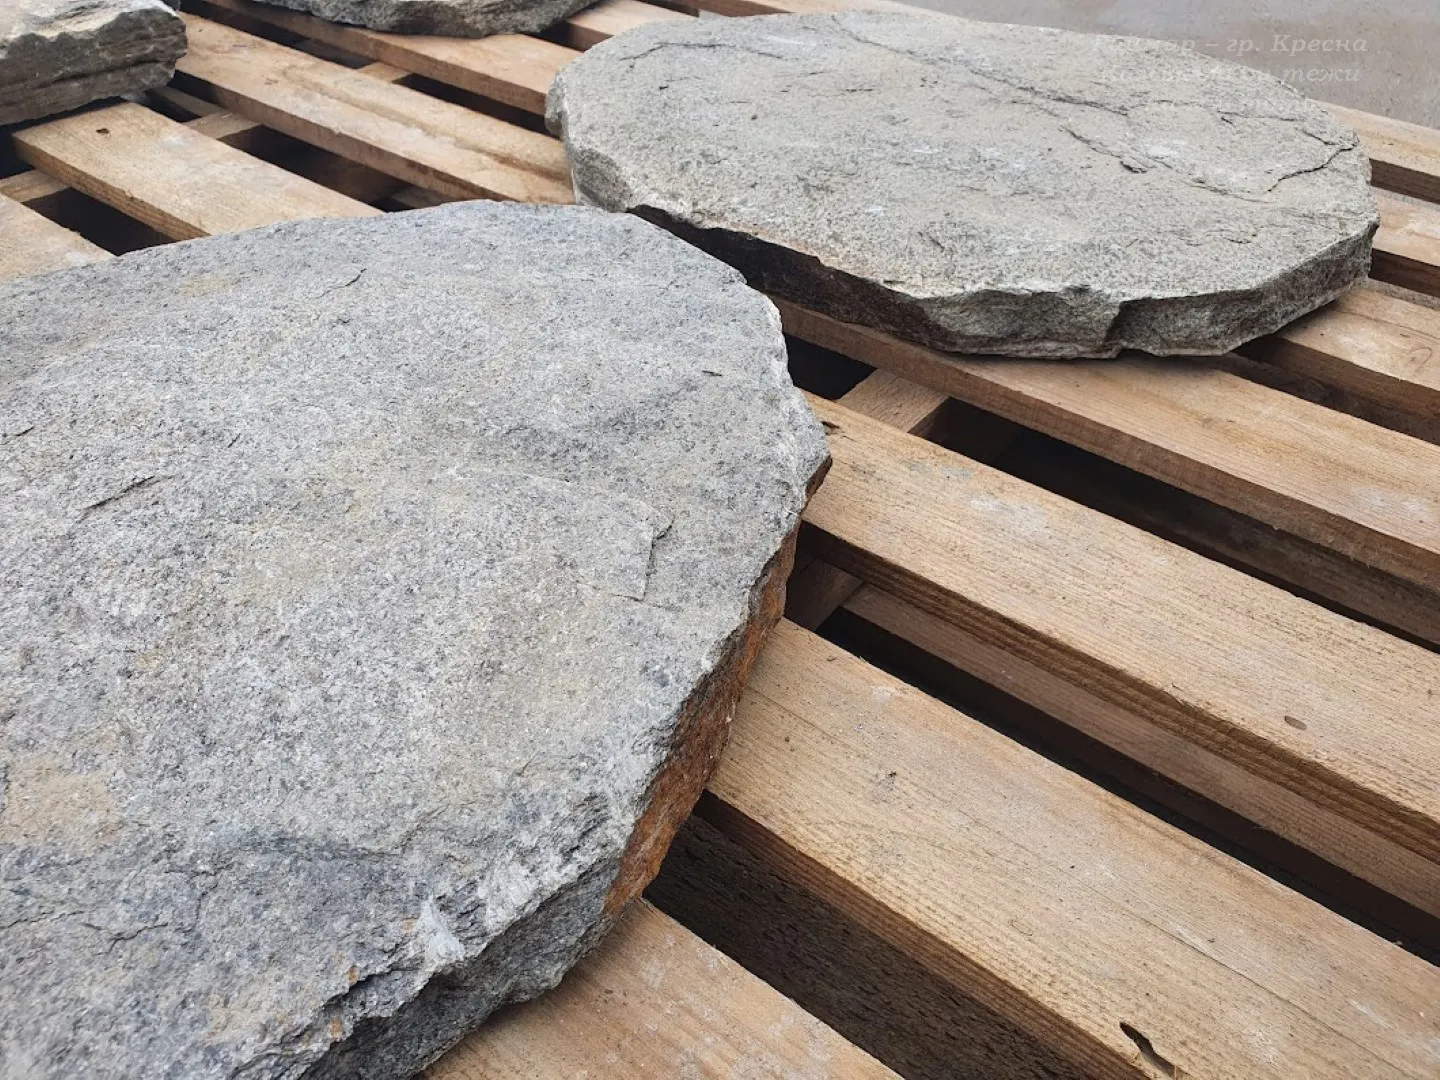
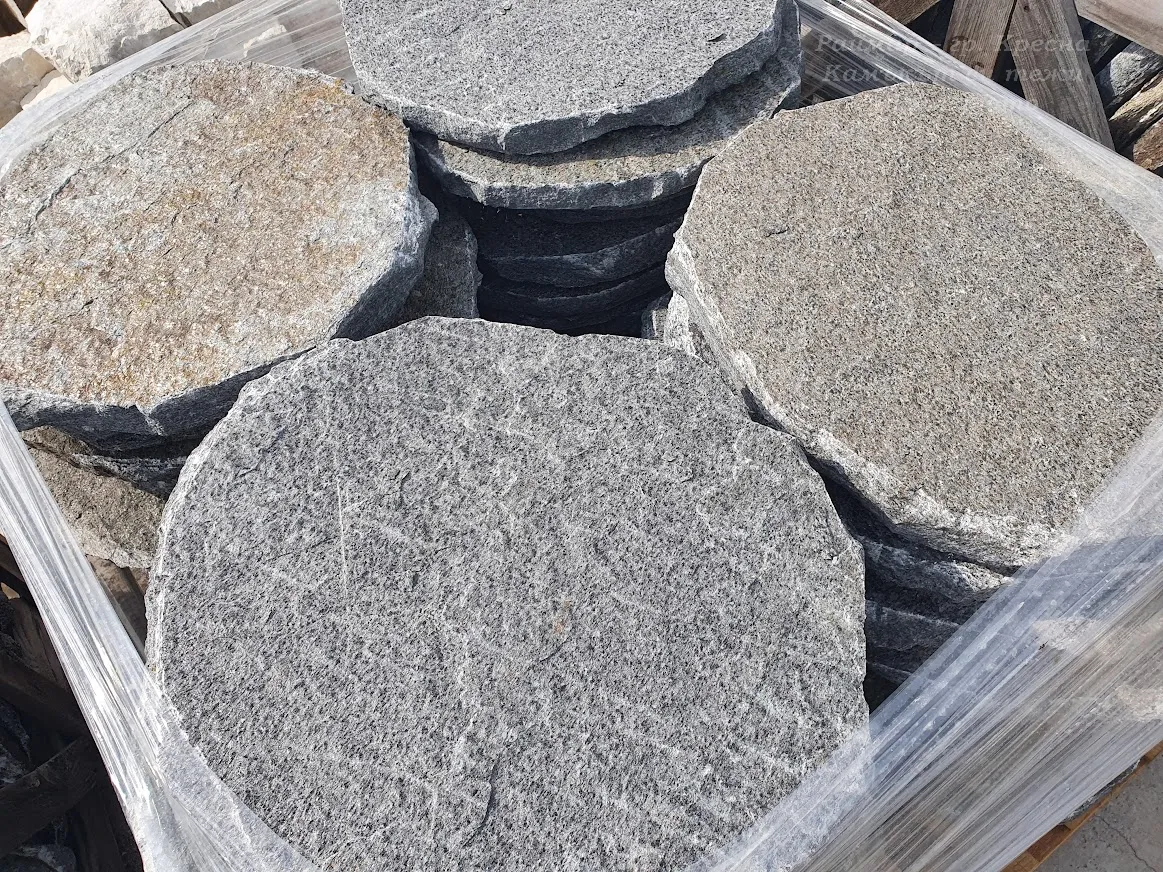
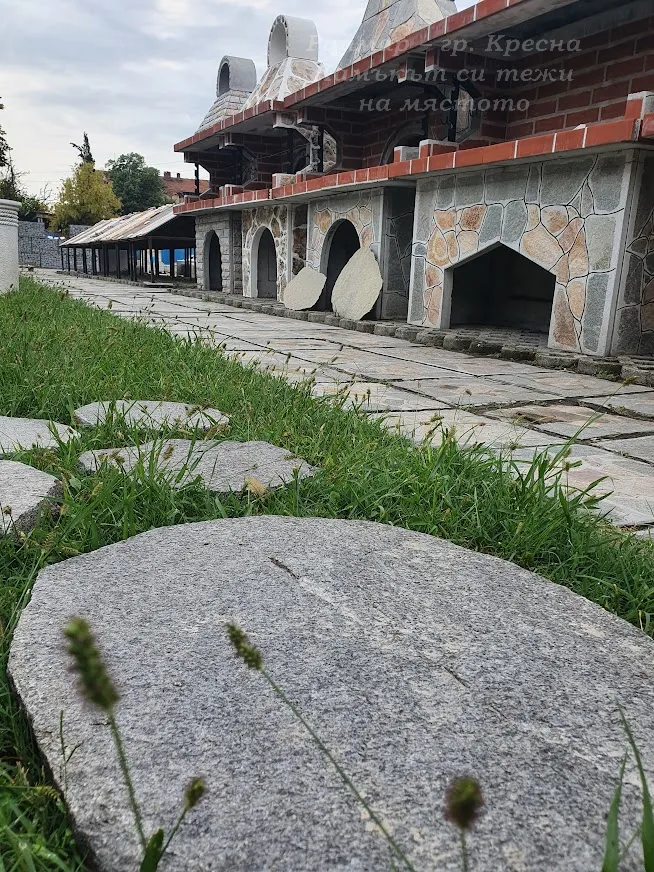
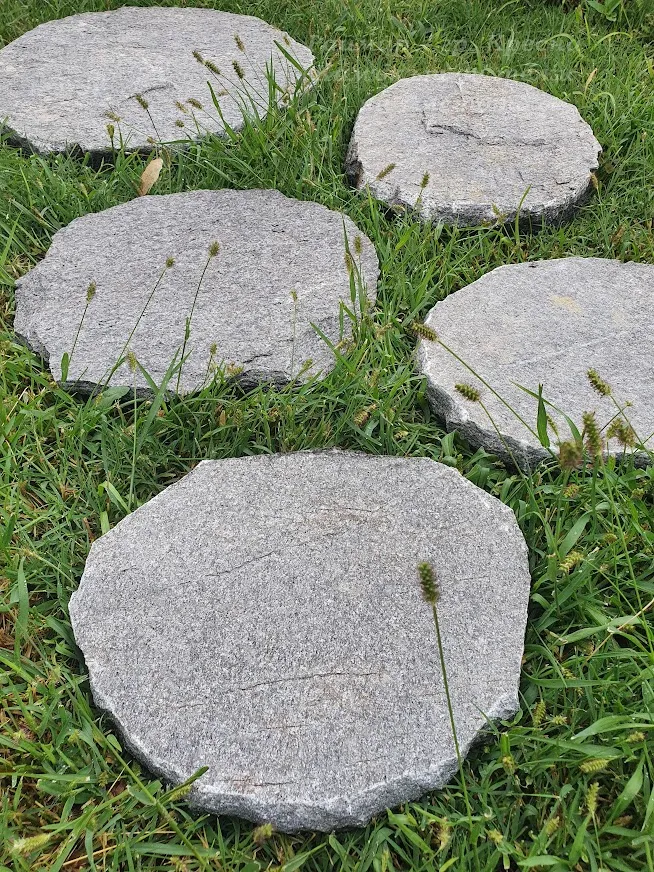
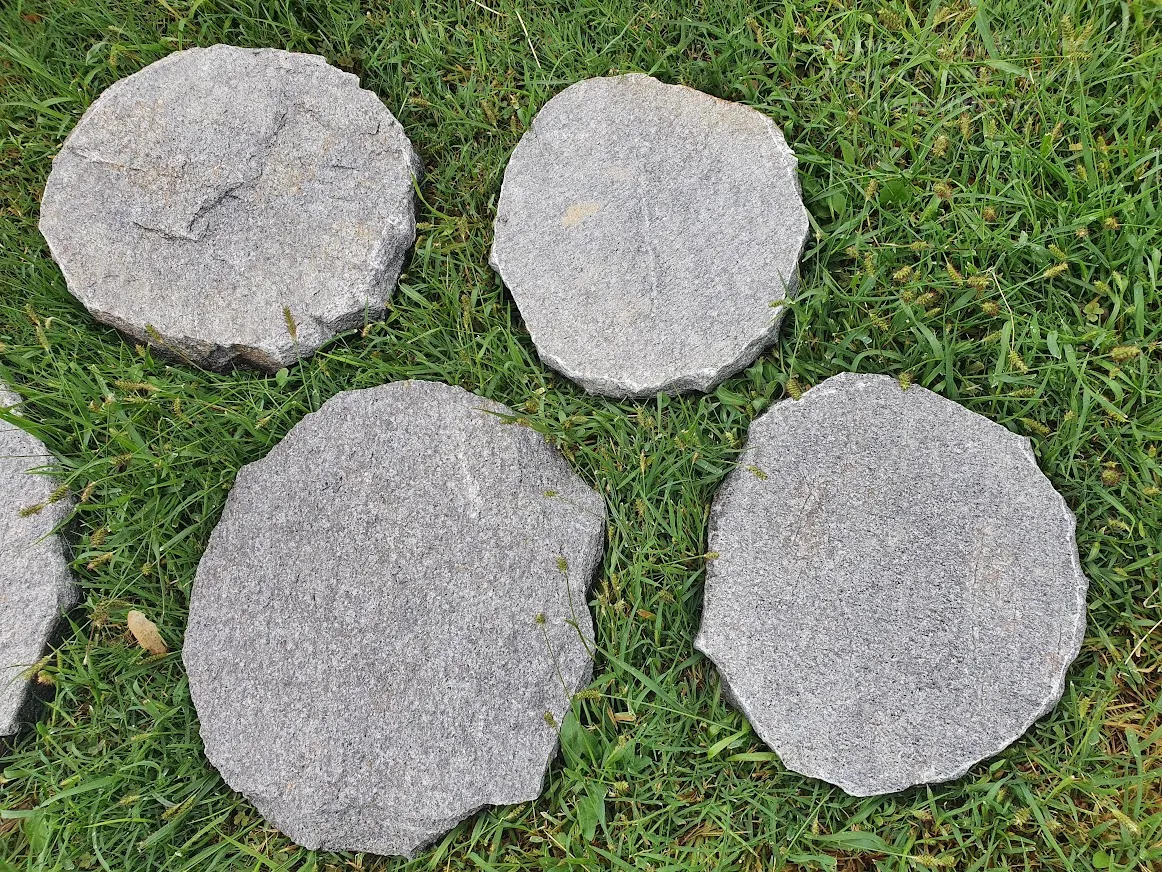
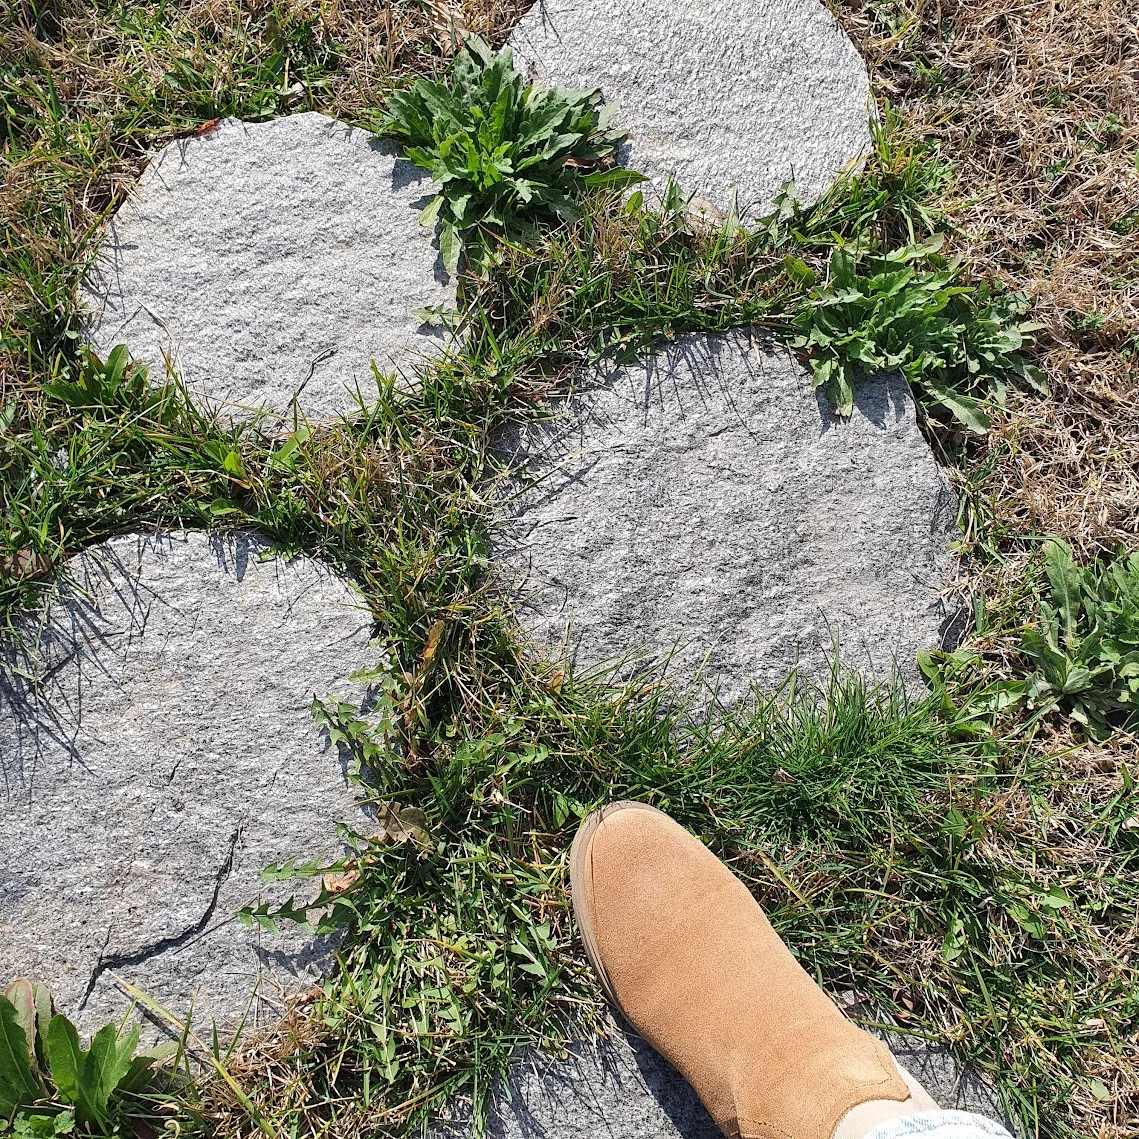
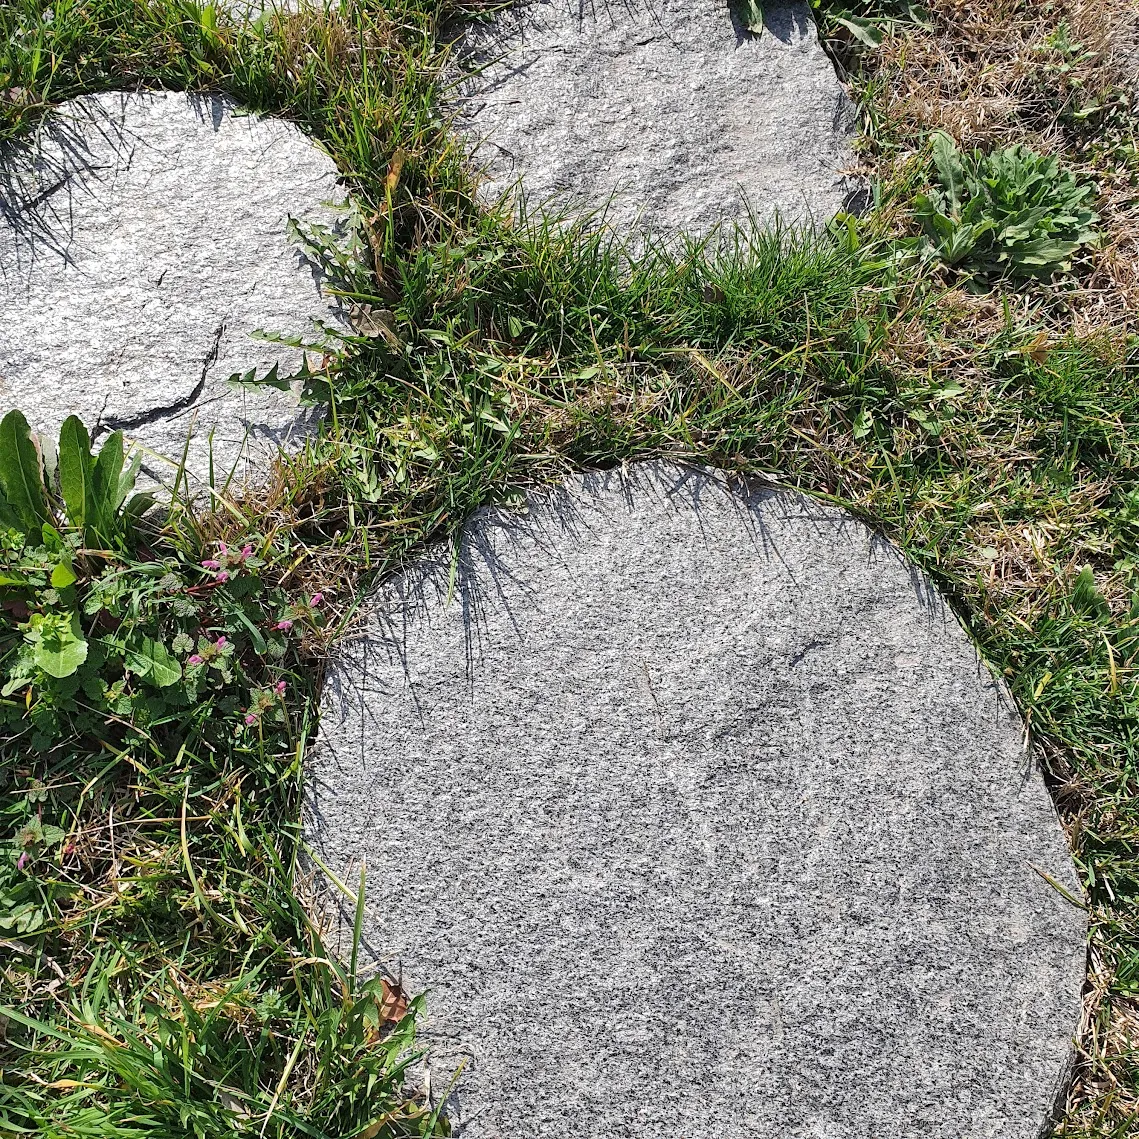
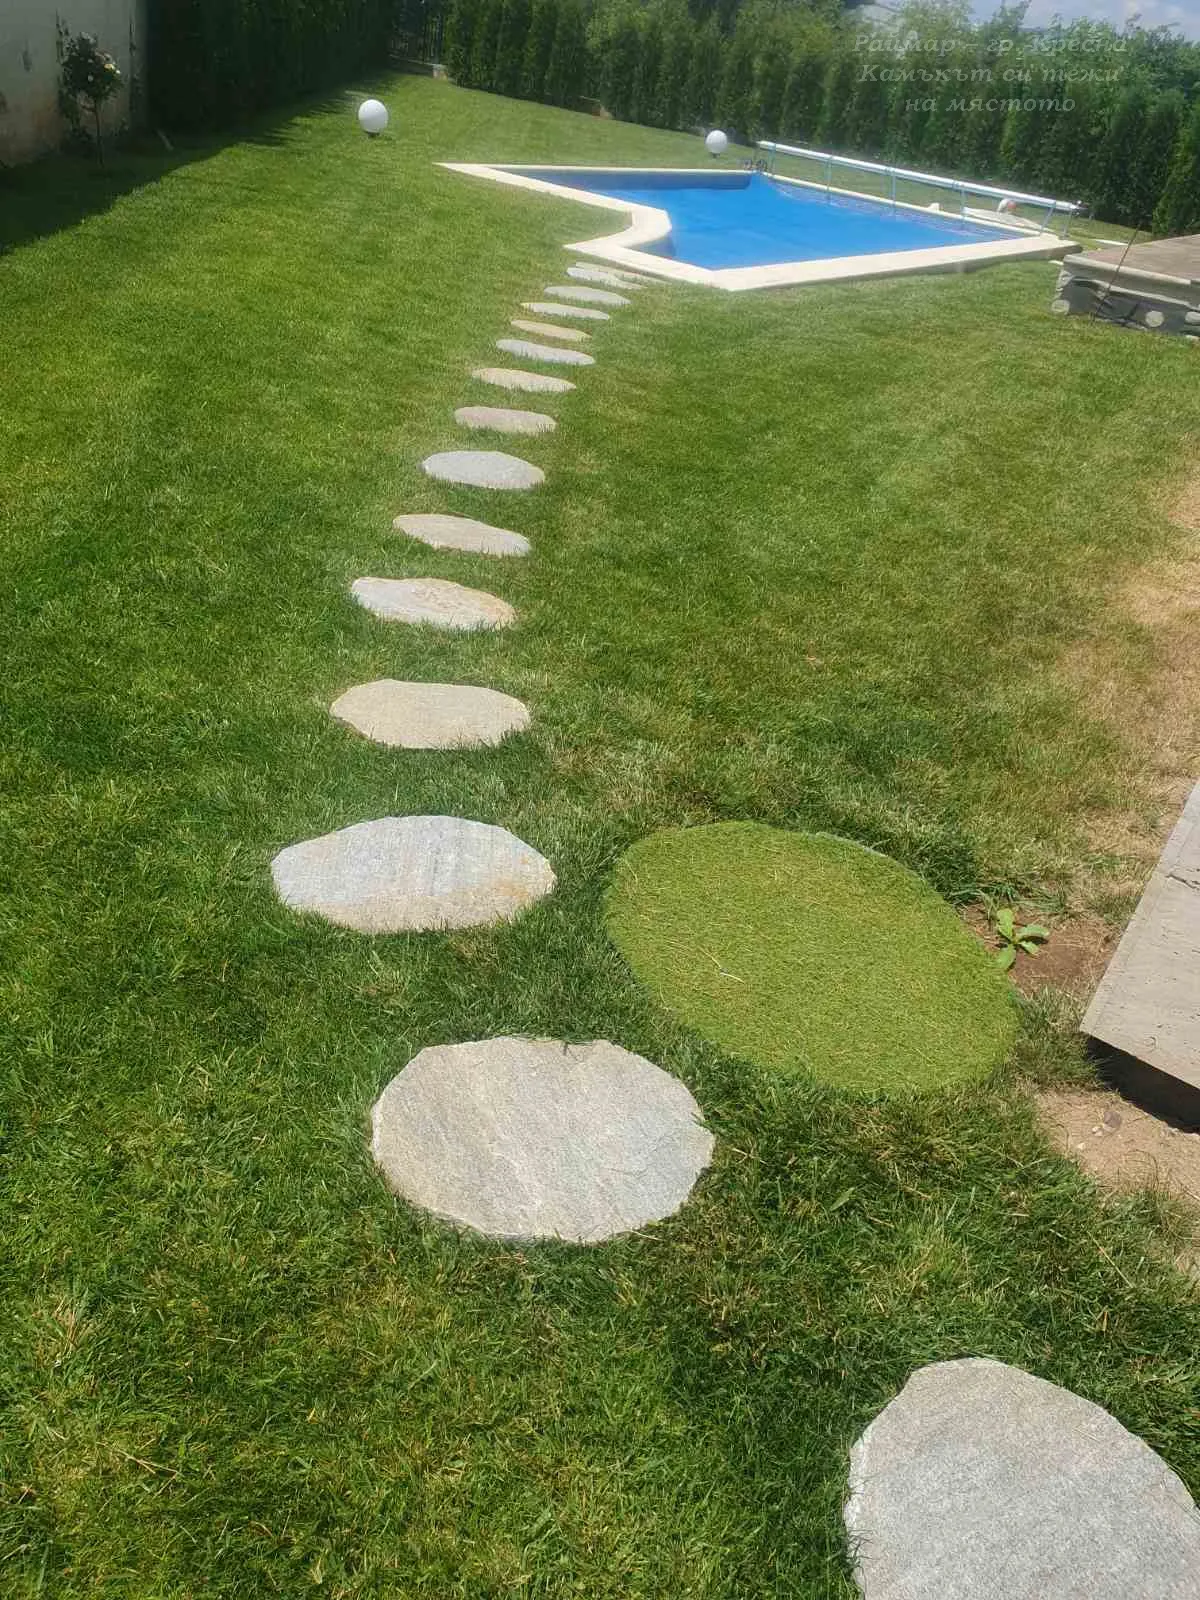
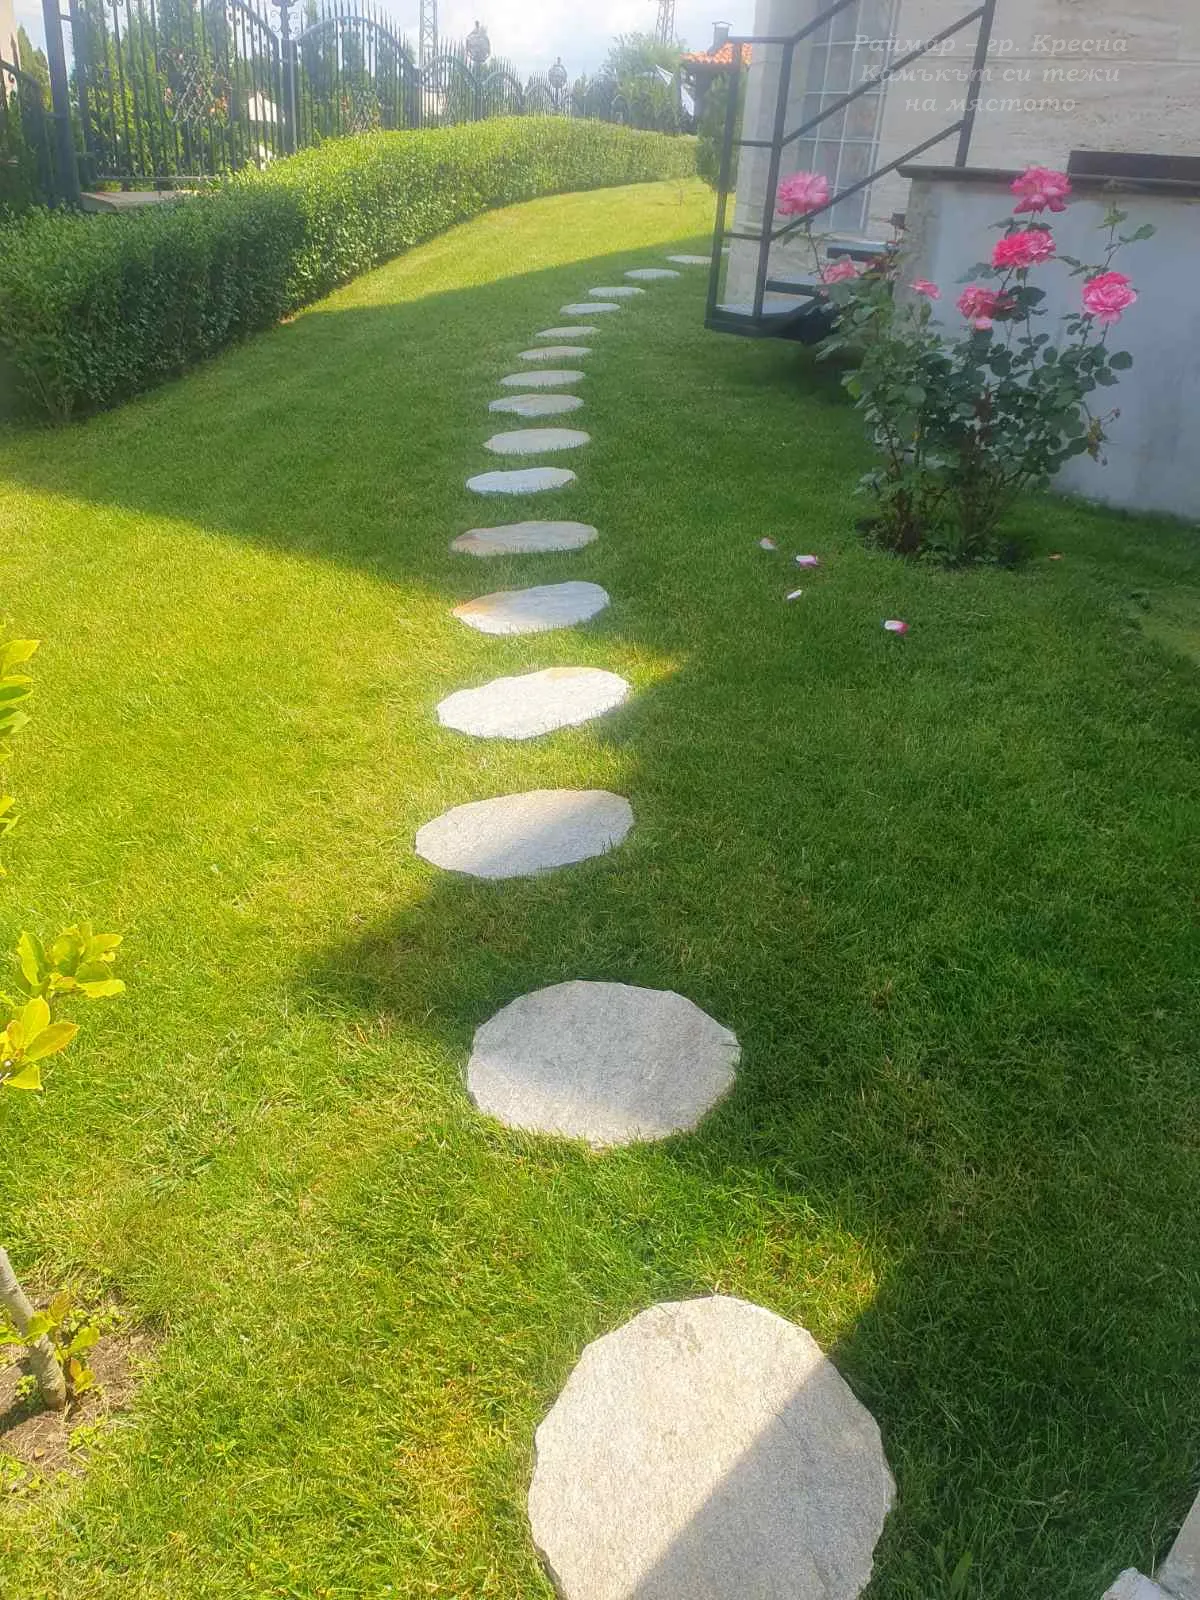
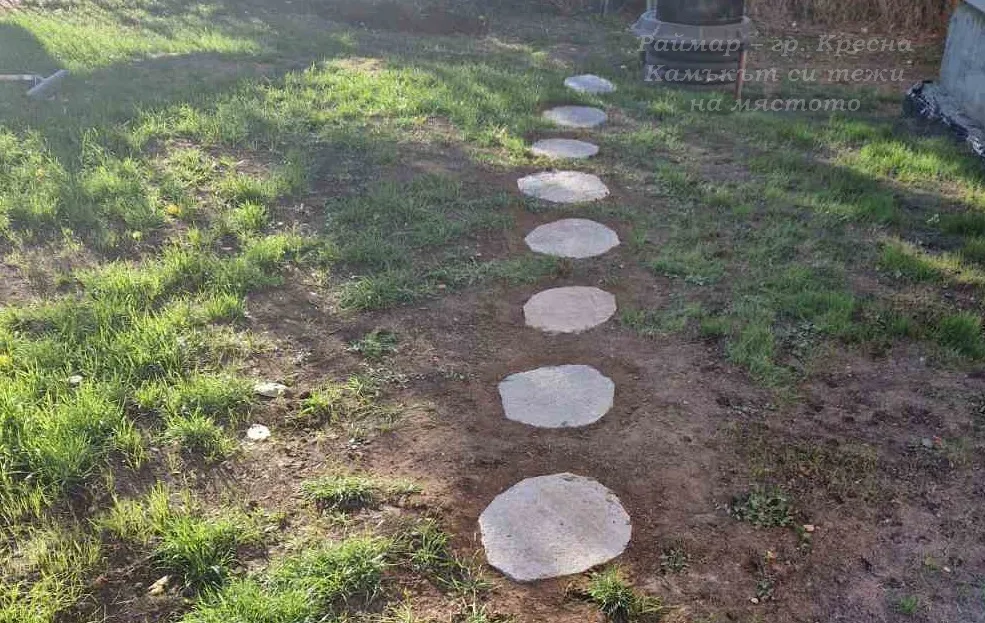
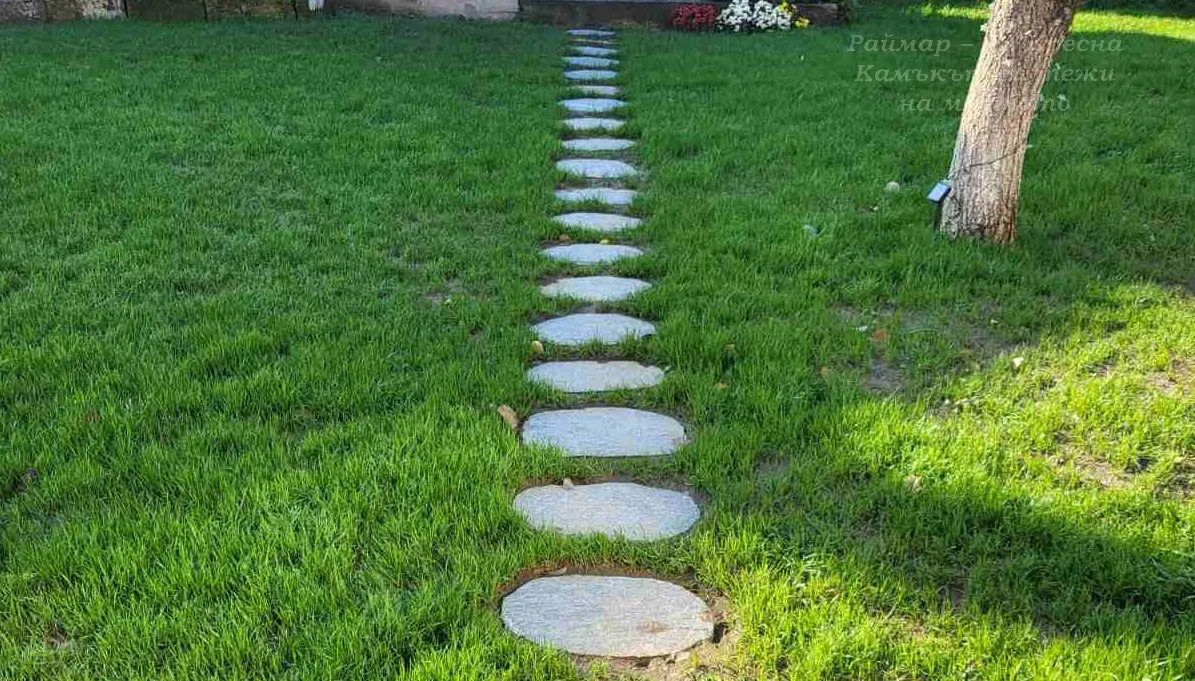
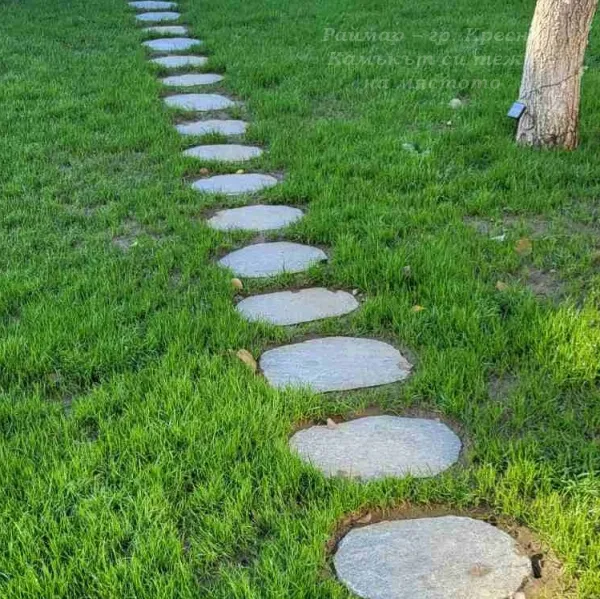
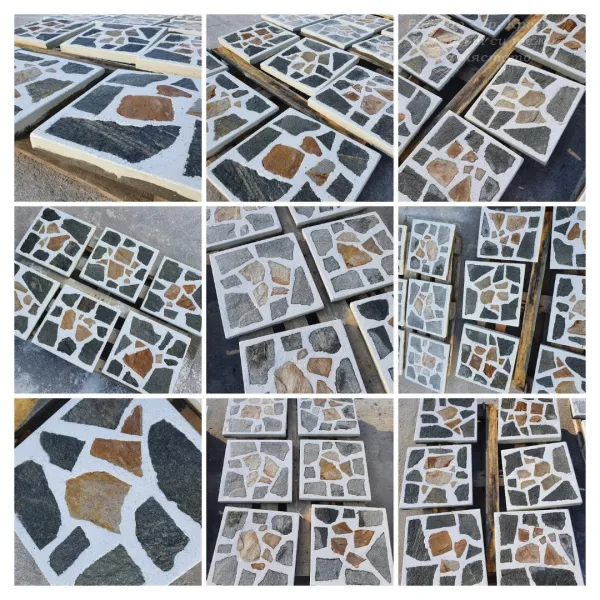
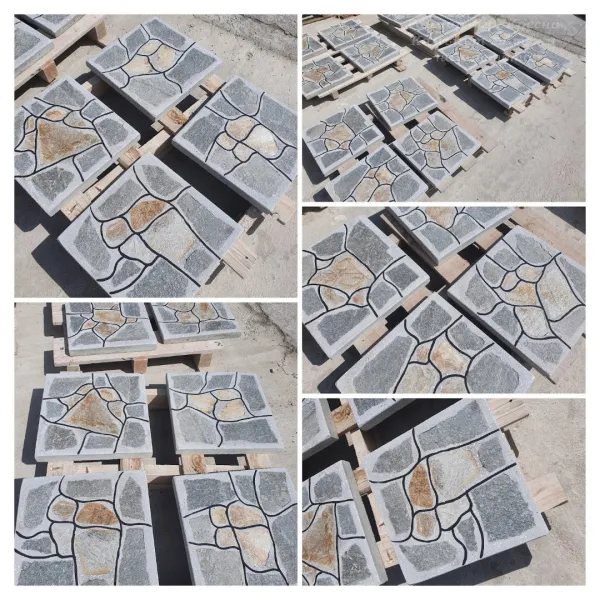
The stone steps for outdoor paving are the ideal solution for creating a natural and charming pathway in your garden.
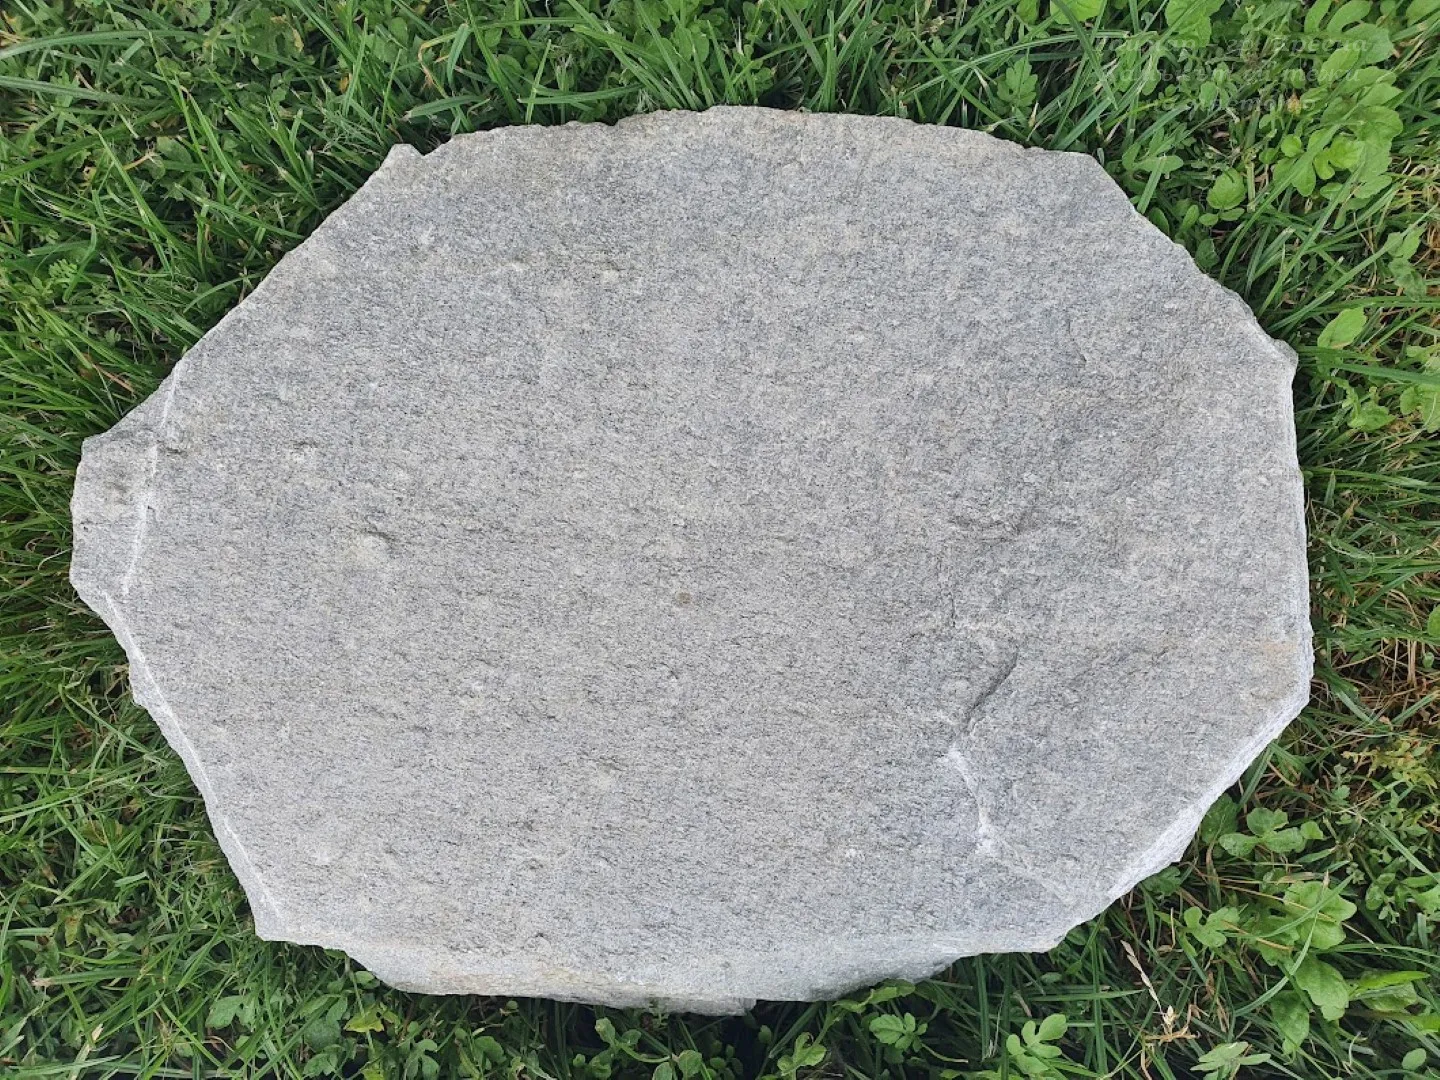
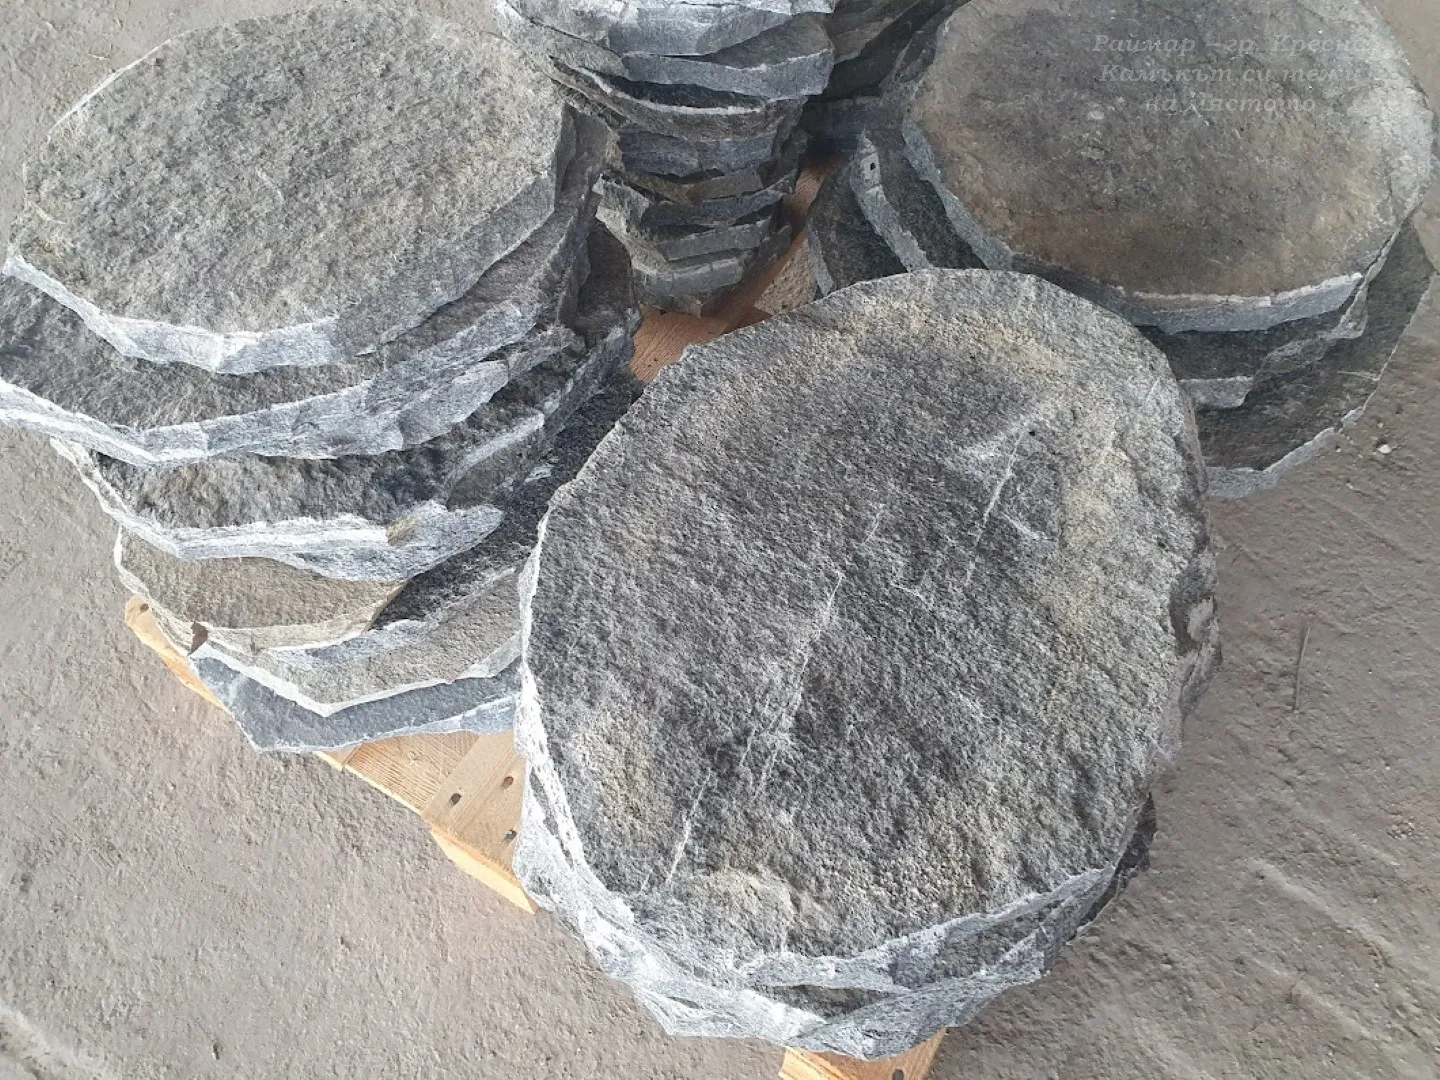
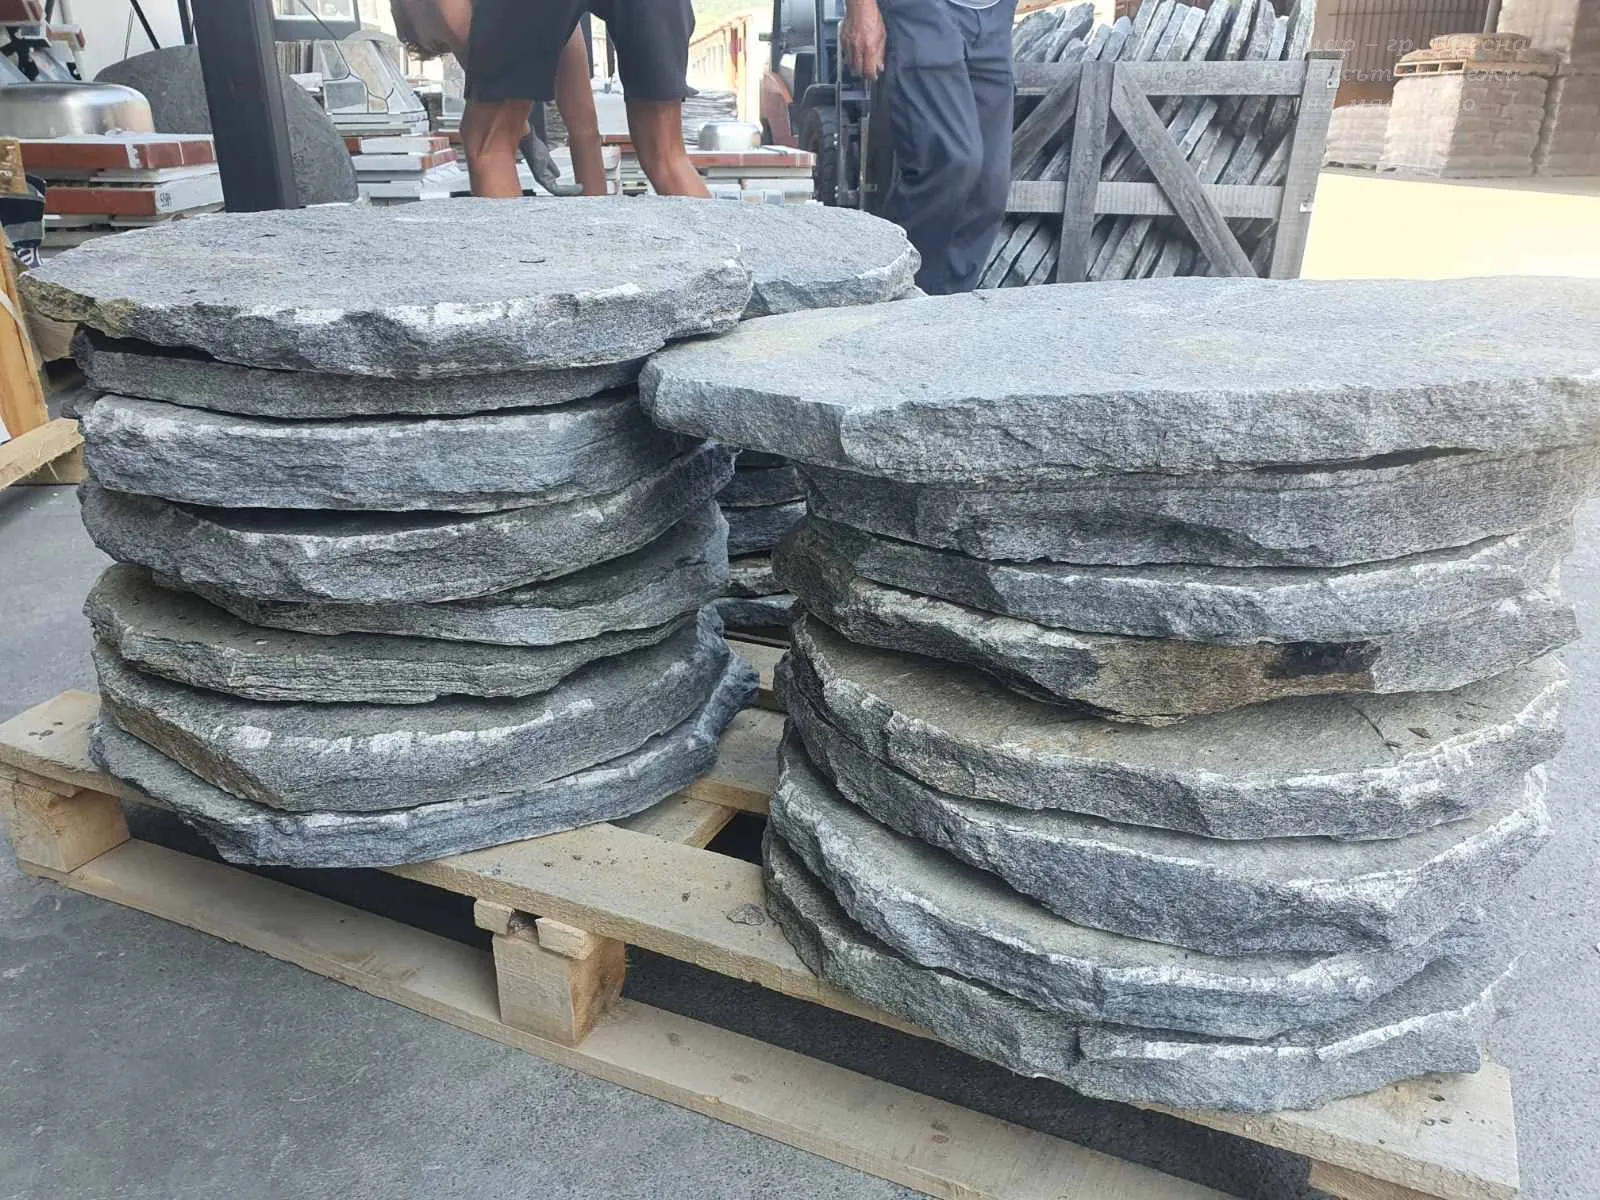
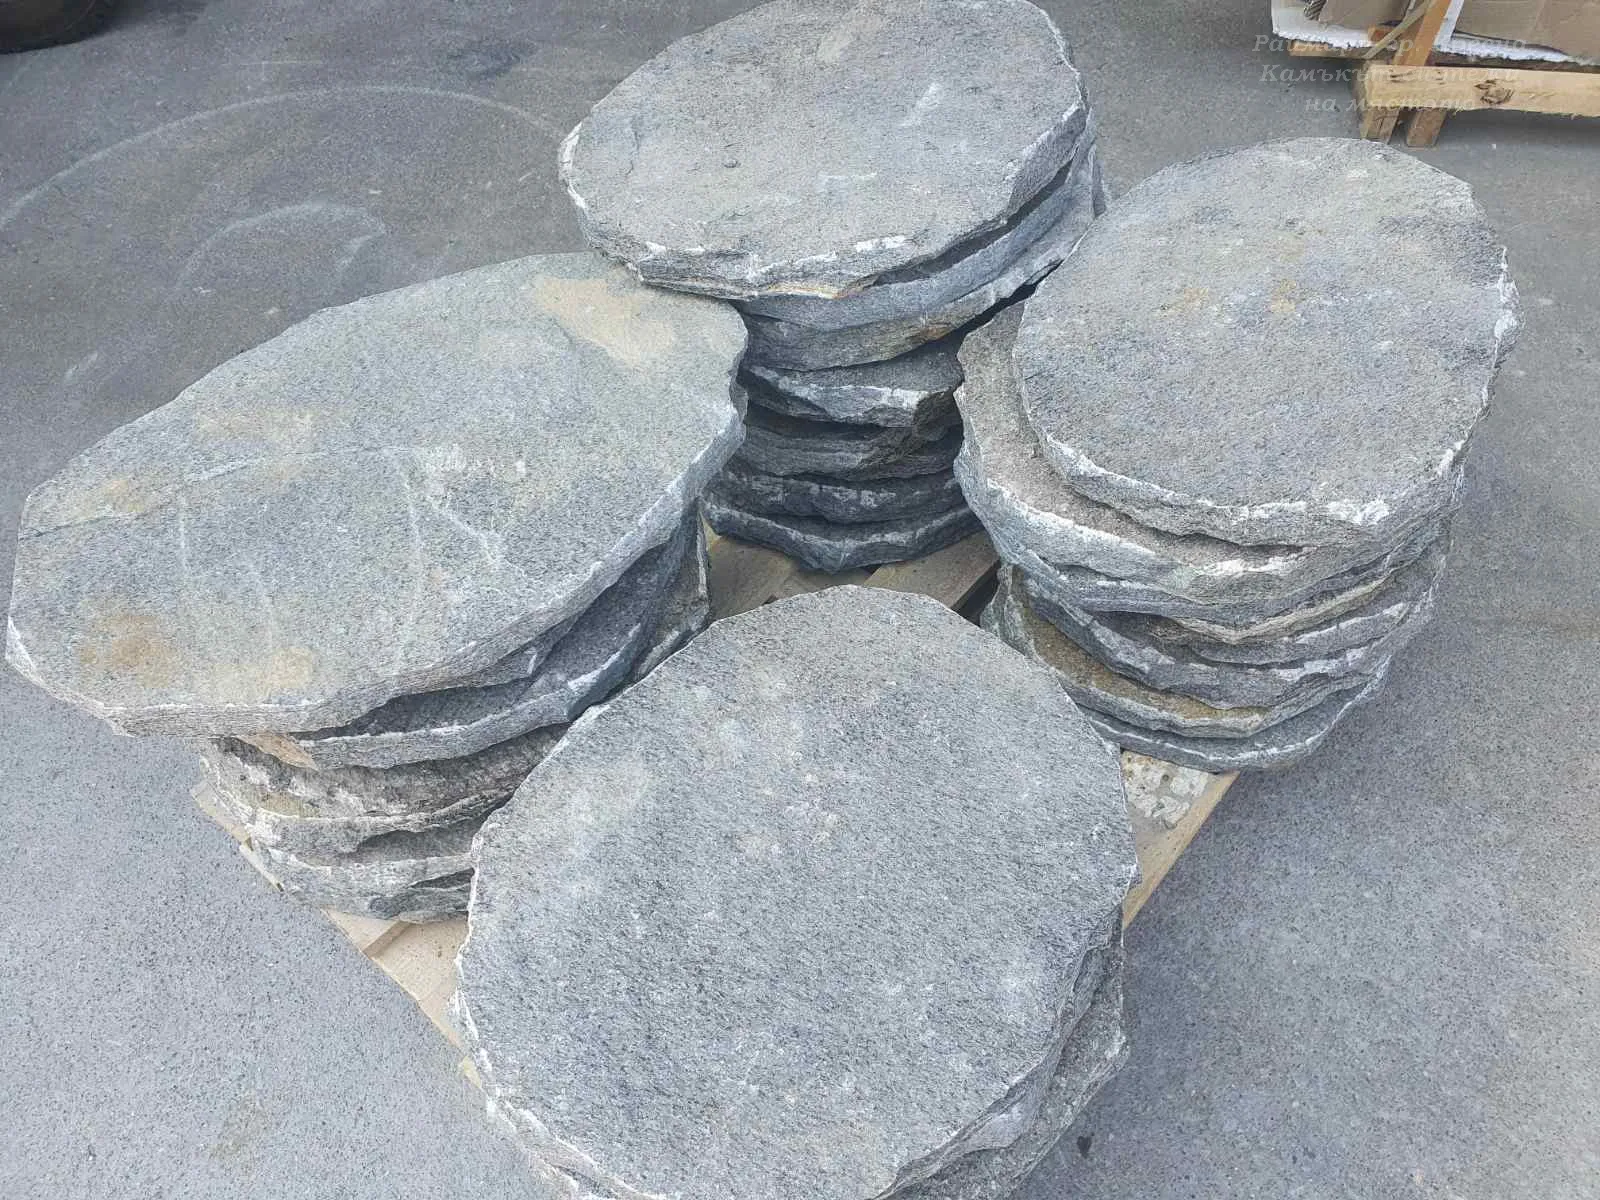
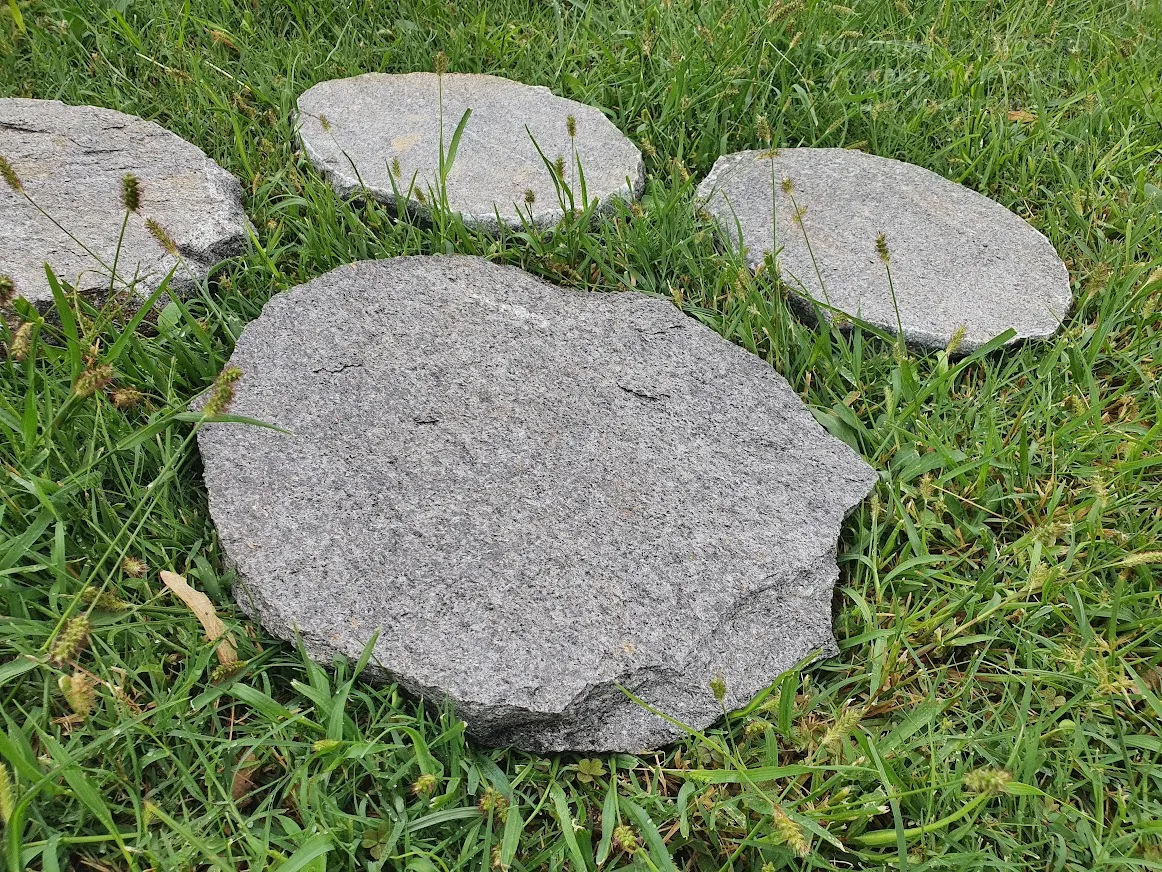
We craft them in two sizes - small and large, all with captivating looks and careful handcrafting: shaped by press into oval or circular forms.
Each step has a different diameter, which adds dynamics to the garden pathway. The small steps have a compact size and diameter suitable for a wide range of decorative and functional applications. The large steps feature a wider diameter, making them suitable for all types of pathways and applications with a diameter over 35cm.
A pathway of stone slabs shaped into steps offers the following advantages:
Aesthetic appeal: Stone steps charm with their natural craftsmanship. Their texture and colors blend perfectly with the surroundings, giving your garden a unique and natural look.
Durability: Stone steps are made from durable material - gneiss stone, which withstands outdoor elements and changes over time. They are load-bearing and do not easily deteriorate, providing a long-lasting and sturdy pathway in your garden.
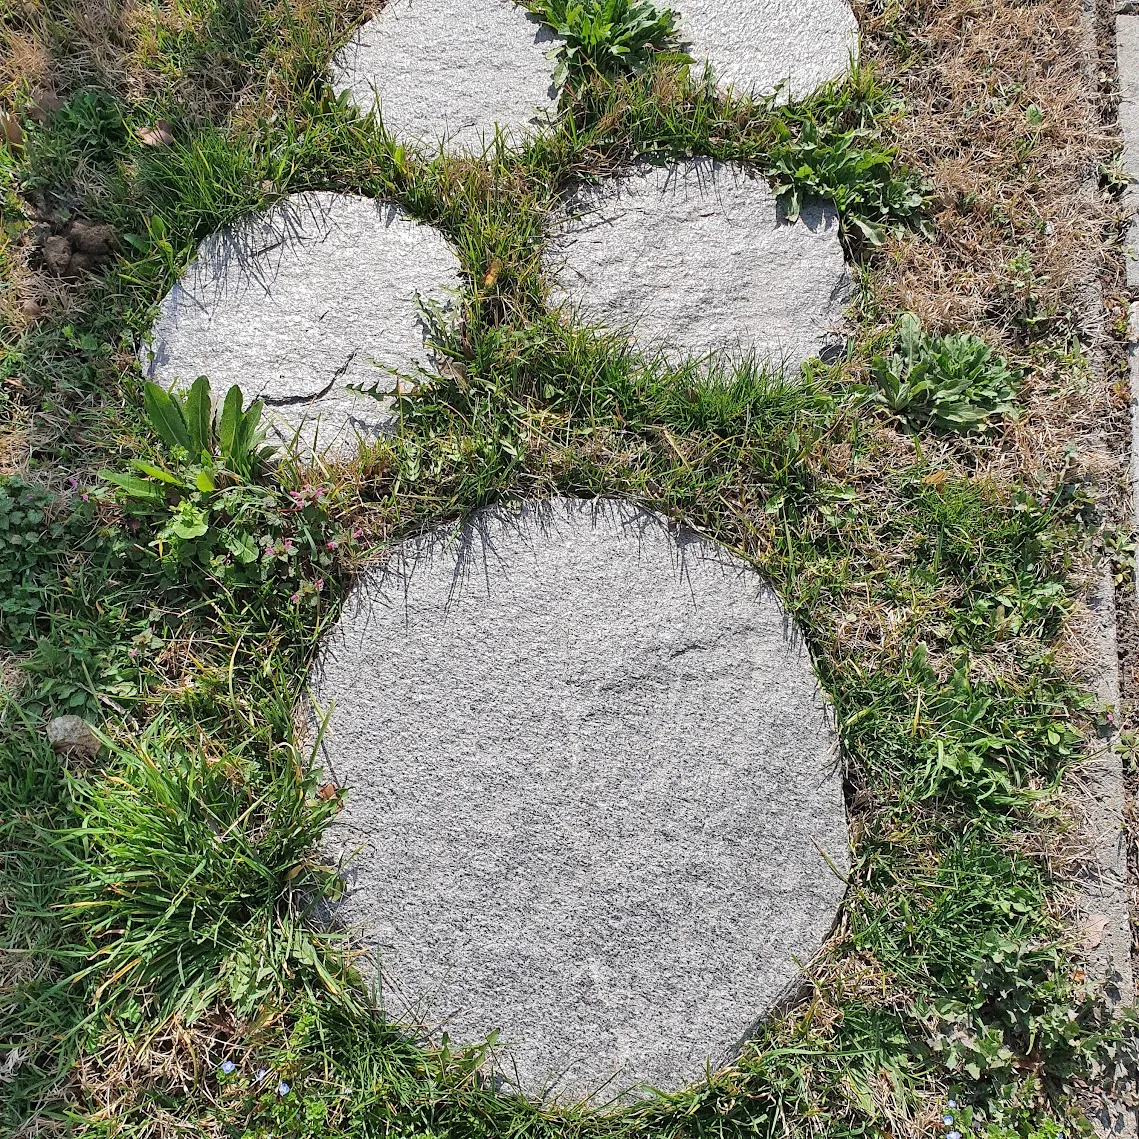
Practicality and functionality: The pathway of stone steps provides a stable and safe surface for movement. It's ideal for overcoming terrain irregularities, avoiding mud, rocks, or other obstacles. Stone steps can also serve as landmarks in the garden for exceptional landscape design, allowing you to enjoy a variety of plants and accents.
Easy maintenance: Stone steps require minimal maintenance. They are easily cleaned from dust, moss, or other debris with water and a brush. Additionally, stone is resistant to water and does not retain moisture, making it resistant to mold or moss formation, especially when treated with the right products.
Eco-friendliness: Stone steps are an ecological and preferred material for garden paving. They are a natural product that causes no pollution or adverse effects on the environment.
Creating a pathway of stone slabs shaped into steps not only adds beauty and functionality to your garden but also provides pleasure and a sense of harmony with nature.
How to lay steps for a garden pathway:
To lay these stone steps, you need to choose the suitable location. Initially, it's good to place the large steps at the desired location "dry," considering the necessary distance between them. Then place the small steps to connect the large steps and give an aesthetic structure to the pathway.
Prepare the ground where the steps will be placed, ensuring the surface is leveled.
Determine the exact distance between the steps and mark their locations on the ground.
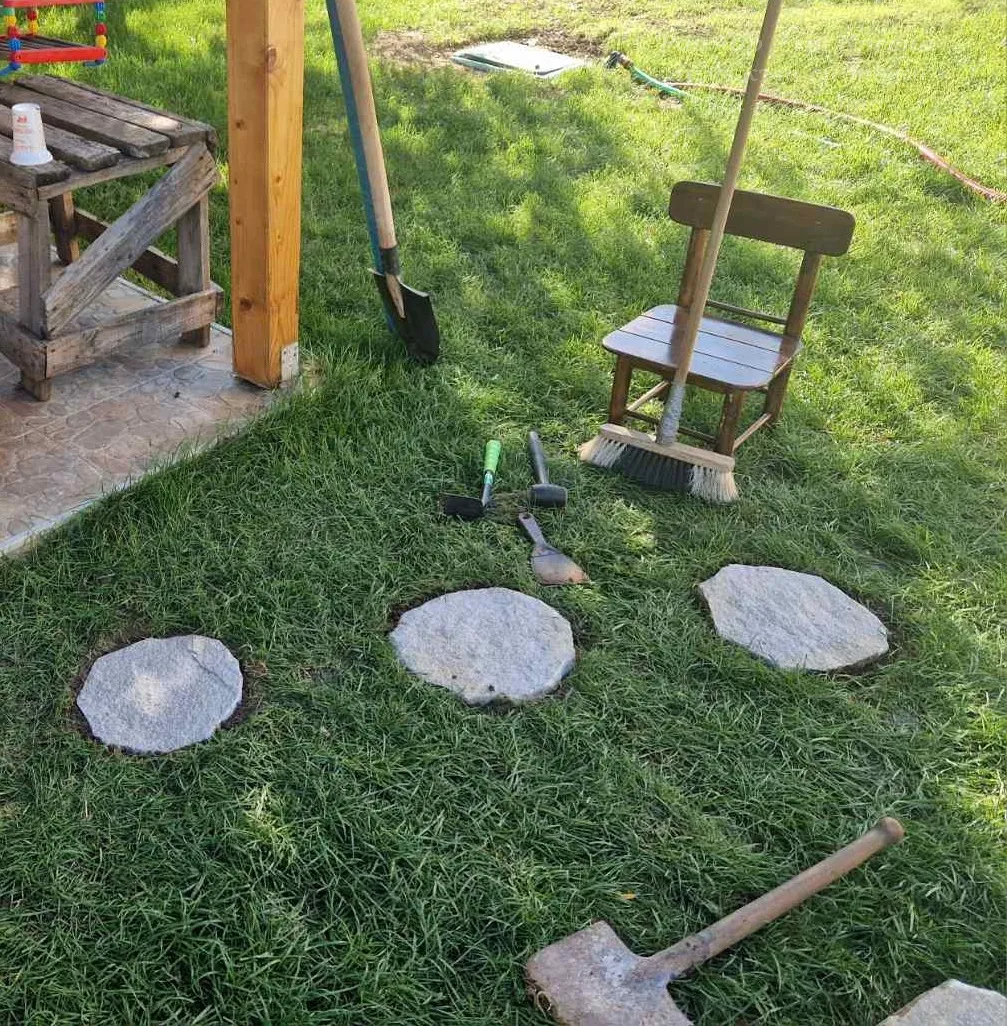
Use a shovel or another appropriate tool to dig the corresponding indentations at the marked spots. Their depth should be sufficient to accommodate the steps in length and width, along with their bedding of fine sand.
Place a thin layer of sand at the bottom of the dug holes to create a bed. This will help with stability and leveling of the steps.
Position the first step into the first indentation, placing it on the sand bedding. Make sure it's correctly oriented and level with the ground surface. Align the step by pressing and gently moving it back and forth.
Once the first step is properly positioned, use a level to ensure it's horizontal and then in line with the adjacent steps. If necessary, add additional sand to level.
Continue with the same process for placing the subsequent steps. Follow the markings and maintain a relatively equal distance between the steps. Gradually fill the holes and level the steps, creating a beautiful pathway with your own hands. :)
When all steps are in place, check the entire pathway for aesthetics and stability. Make sure there are no height or horizontal irregularities in the steps. If you notice any issues, correct them before proceeding further.
Once the steps are securely positioned and leveled, clean off any excess materials such as sand from the surface of the steps and the pathway. Use a broom or brush to remove any traces of construction materials.


 Български


