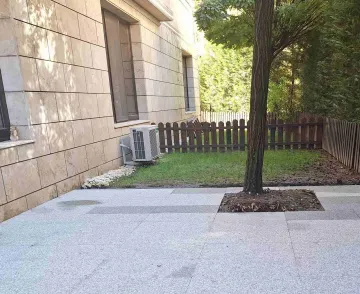
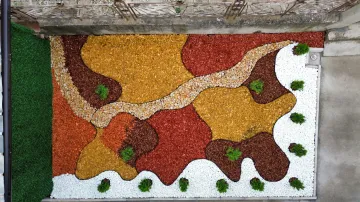
The textural contrasts and rough surface of rustic stone floorings create an aged, distressed, and relaxed design. A masterfully arranged stone flooring emphasizes the natural beauty of nature in a Tuscan, coastal, and modern rustic style.
The sun-soaked color scheme of the external rustic stone floorings creates a warm and welcoming atmosphere in a Mediterranean style.
The use of natural stone as a building material dates back thousands of years. The archaeological heritage found attests to the great durability, high technical qualities, and resilience of stone in various climatic conditions.
Stone tiles serve for:
Beautiful architectural decoration with aesthetic enhancement of the respective building element
Protective function (shield) on vertical walls or horizontal flooring, and
Easy maintenance and cleanliness.
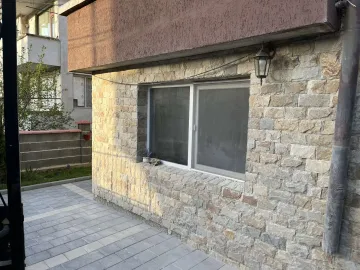
Outdoor cladding and flooring always require special resistance to atmospheric influences. All types of natural stone can be used outdoors and are frost-resistant, especially when impregnated with the right products.
The surface of rustic tiles is never super smooth, protecting against the risk of slipping.
The installation of stone cladding and flooring falls under the finishing works of construction (after completing the rough works and laying a solid foundation).
Preparatory work includes cleaning from pollution.
Horizontalness is checked, and any protruding parts are knocked down.
When installing stone tiles on concrete flooring below the groundwater level, additional insulation is necessary.
The levels of the flooring are determined, and they are continuously monitored using a straightedge or level.
The installation starts from the edges inward.
Each stone tile is pre-mounted dry, before its final placement with mortar. It is pressed and lightly tapped with a rubber mallet until leveled with the adjacent tiles. Excess mortar from the empty joint is cleaned with a trowel.
The joints are filled with a suitable color grout mix and cleaned. Finally, the clean and dry stone surface is coated with a sealer.
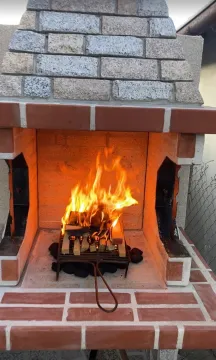
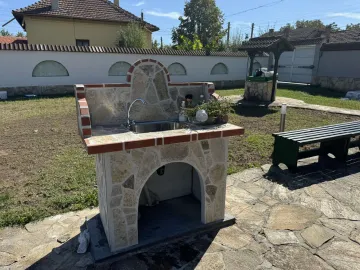
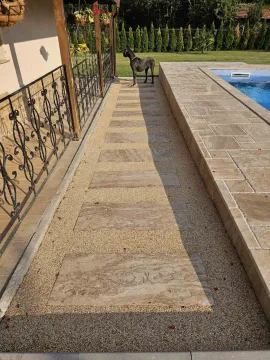
Similarly, terraces and staircase platforms are also tiled.
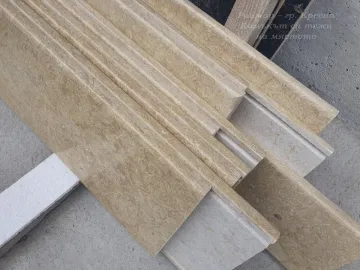
Unshaped stone flooring tiles always have two sides with possible variations in color saturation. It is the craftsman's job to choose the flatter and more suitable side in terms of color to fit the stone in the right place.
We all know that natural stone has been used in construction since the dawn of human civilization. We continue to be amazed today by the craftsmanship of stonemasonry left to us by our ancestors.
Well, but we are no longer in the Stone Age for a long time. Still, a number of very good and interesting materials have emerged, made and produced by machines created by man.
But there is something very important: besides being very beautiful and easy to maintain, natural stone is a resilient, green material with a low carbon footprint.
We borrow the stone from the heart of the earth. We enjoy it, use it safely for the long term, and then return it back to the earth – where its creation process began.
For pathways with grass joints:
Unshaped, polygonal gneiss tiles are ideal for creating a pathway with grass joints, as they are made of natural materials that are extremely robust and resistant to all weather conditions. These stone tiles have a beautiful and natural texture that adds additional character to your garden.
Here are a few steps to make such a pathway with grass joints using unshaped, polygonal stone tiles:
Prepare the area - Determine where you want the pathway to be and clear the area of grass, roots, and stones. Level the soil and tamp it down with a compactor machine.
Measure and mark the area - Use a tape measure or wooden markers to determine the exact shape and dimensions of the pathway.
Prepare the foundation - Create a layer of gravel and sand about 5 cm thick. Tamp down the layer to create a stable surface.
Start with the end tiles and place the stone tiles - Arrange the tiles, leaving gaps between them for grass joints. For greater stability, you can use small stones and gravel to reinforce the tiles.
Create the grass joints - To create grass joints, pour sand and grass seeds into the gaps between the tiles. Continue this way until you finish the entire pathway.
Once you complete the first part of the pathway, you can continue with the same technique and build additional sections of the pathway that suit your needs.
When the pathway is completed, it will not only add beauty to your garden but also provide you with a functional space for walks and relaxation. This way, you can enjoy your garden and have a beautiful and comfortable place for quality time with family and friends outdoors.


 Български

 1 - raimar.bg")


 polygonal slates 1 - raimar.bg")