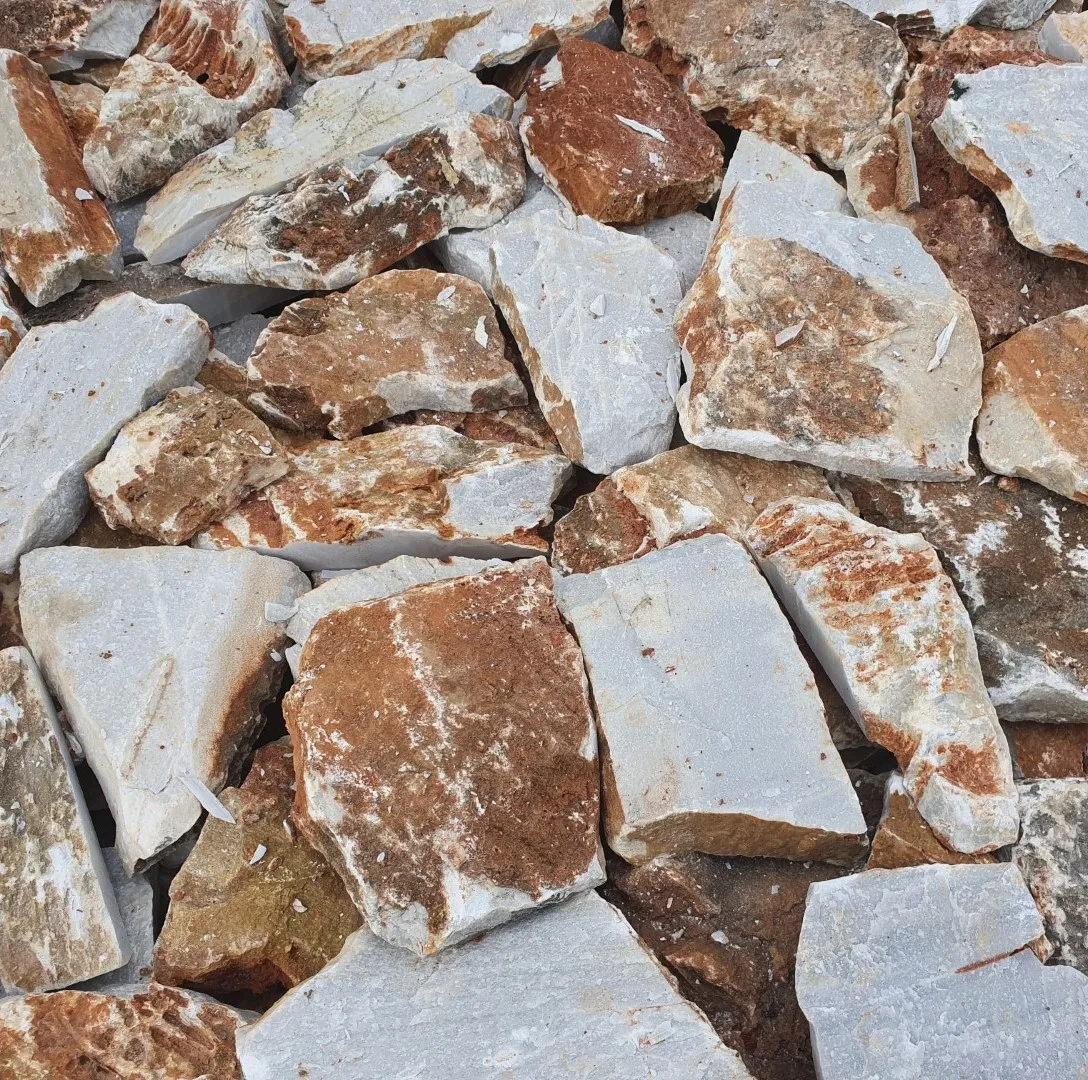
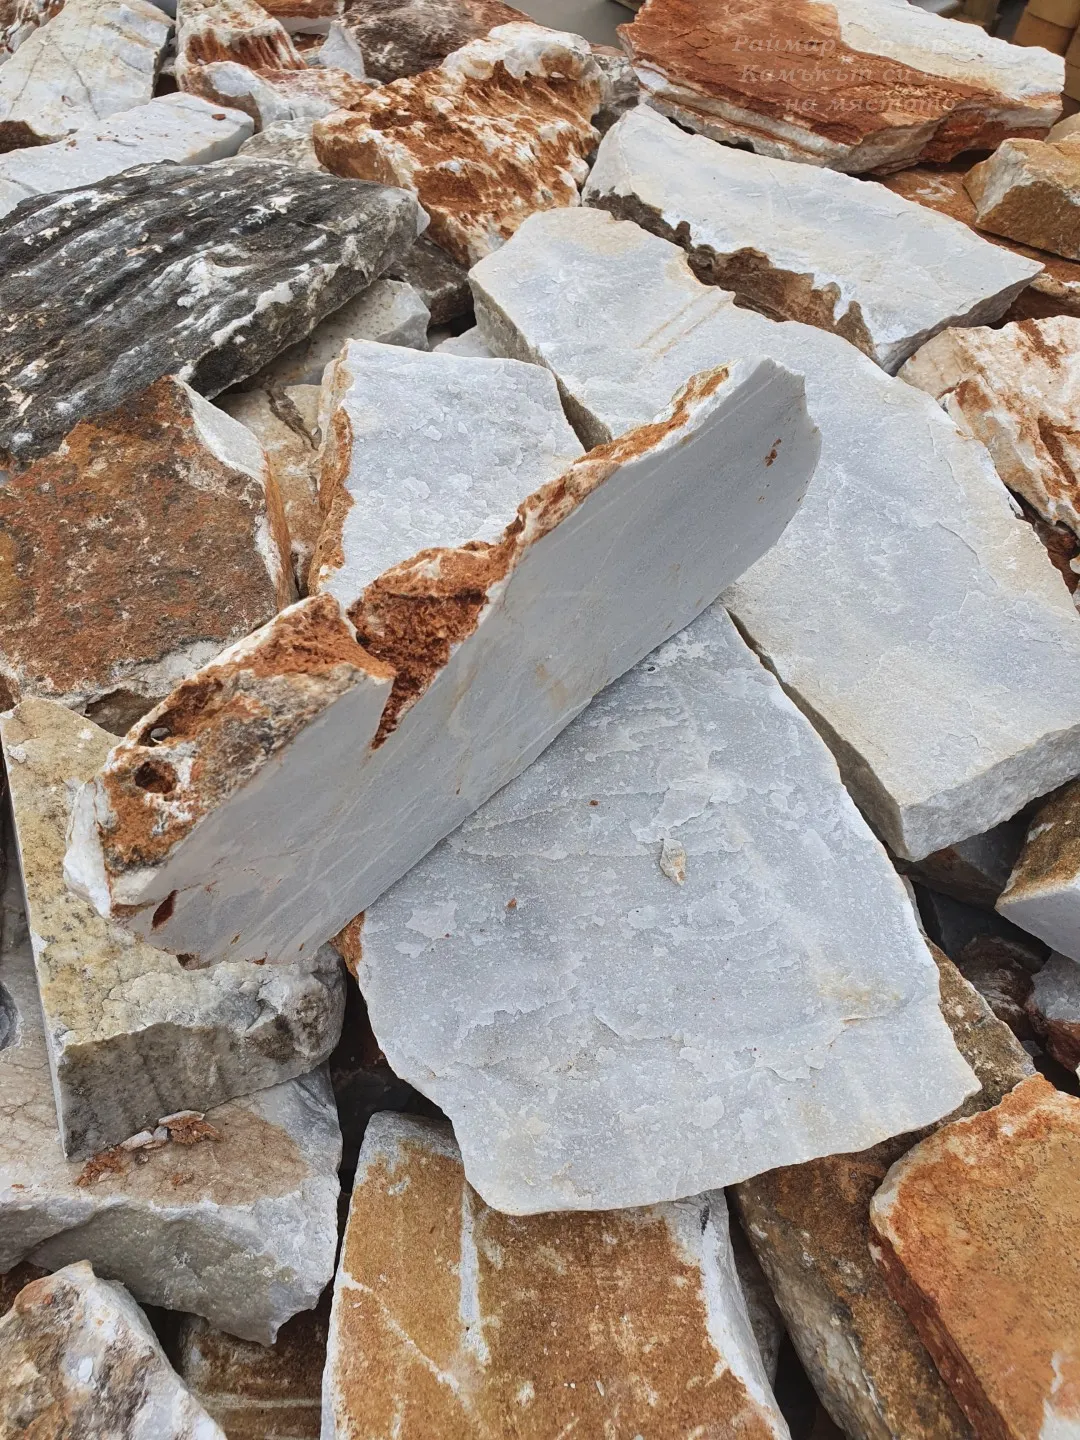
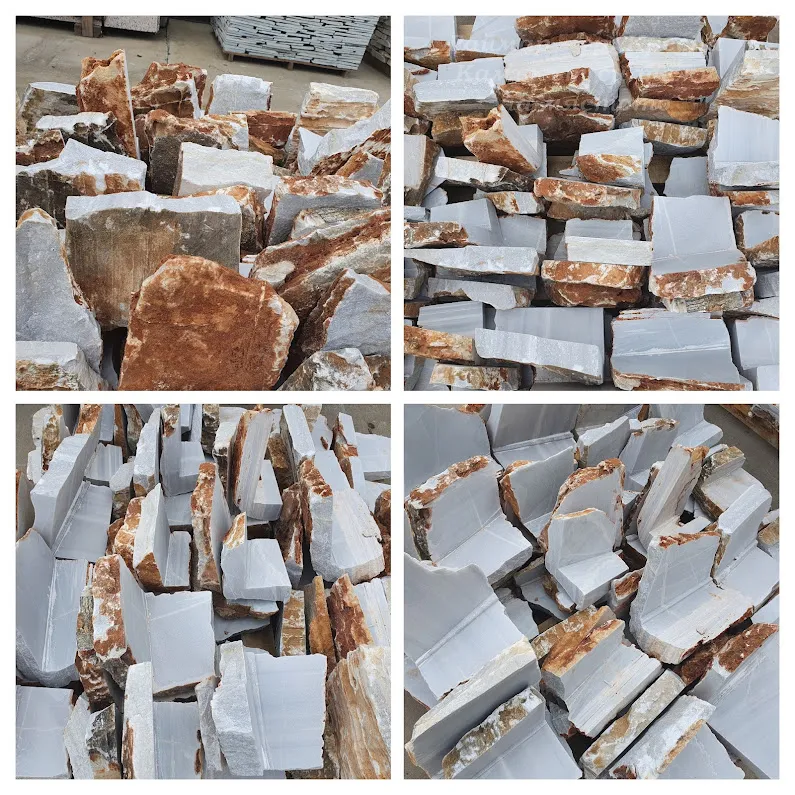
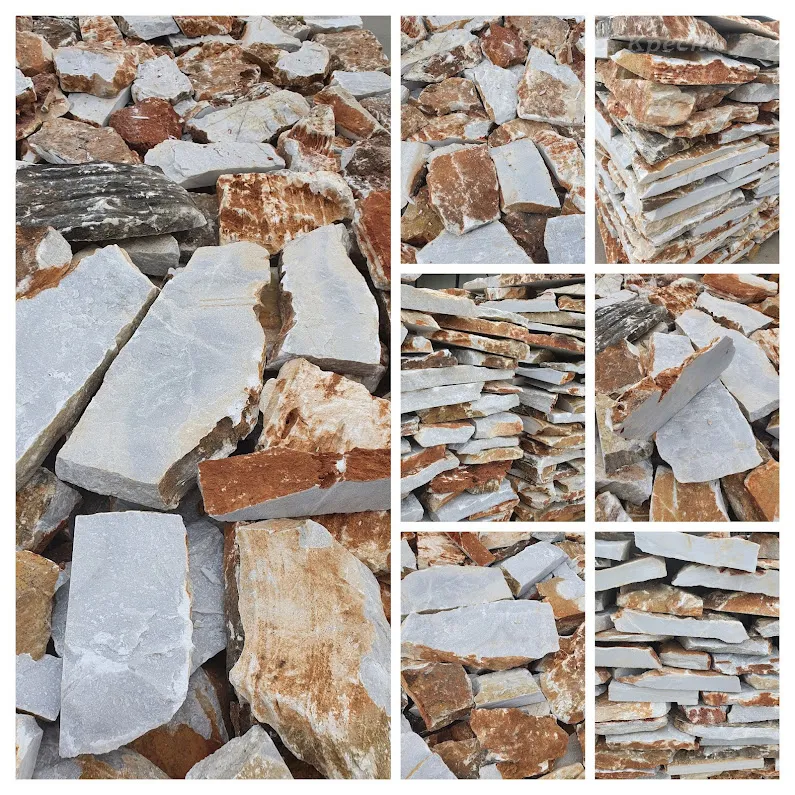
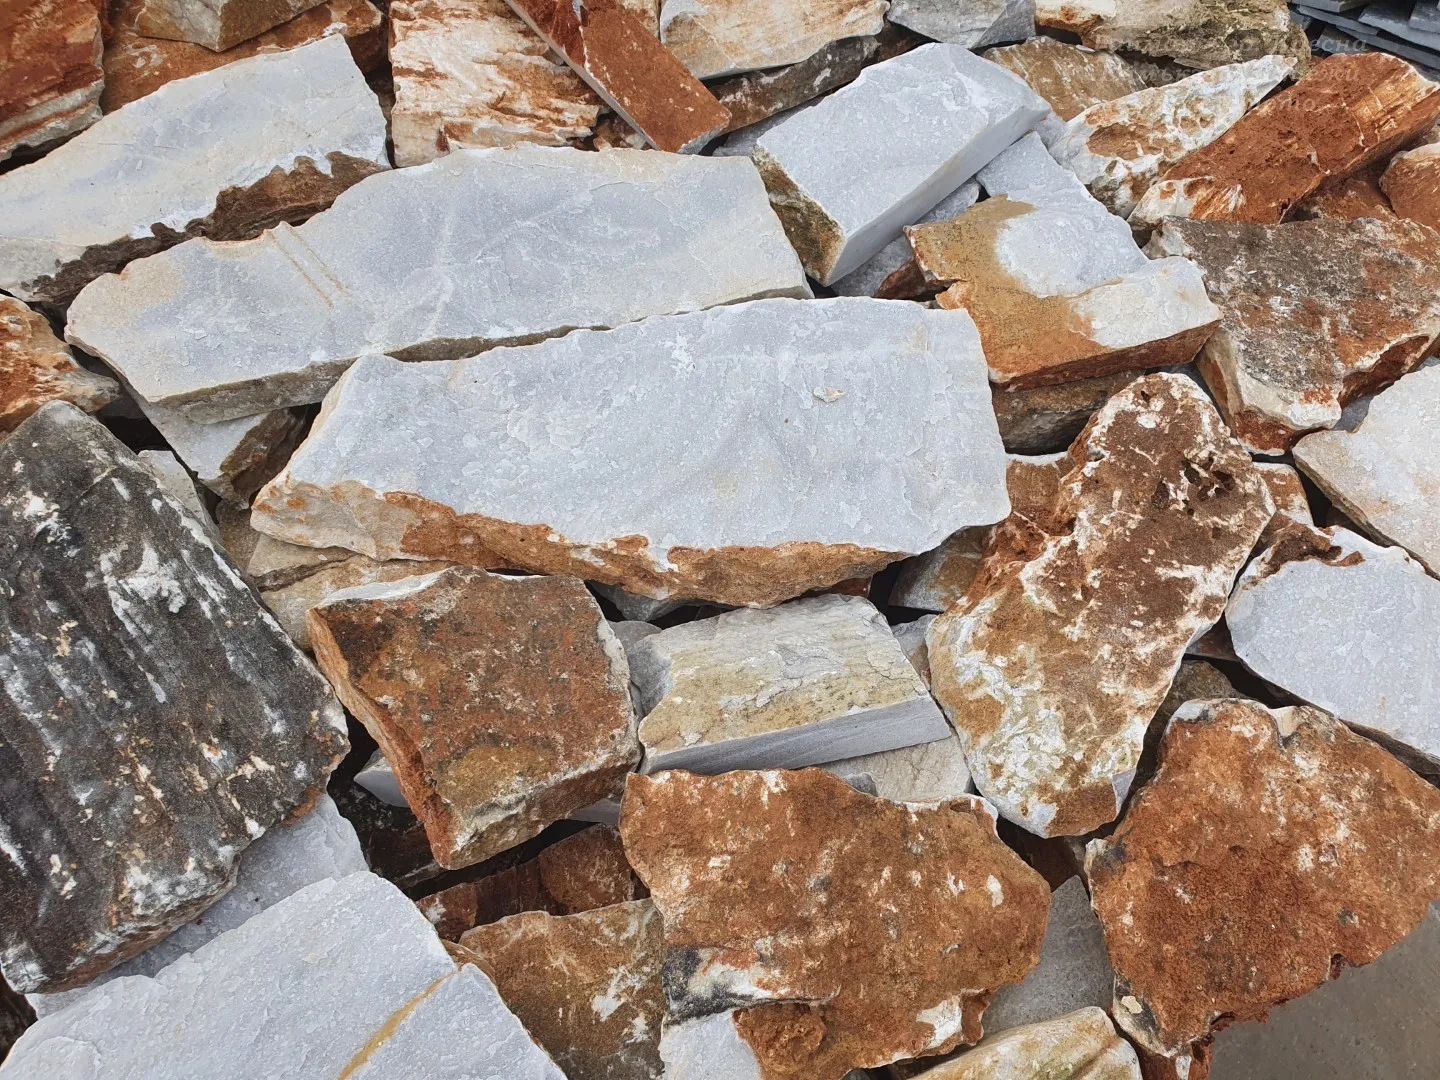
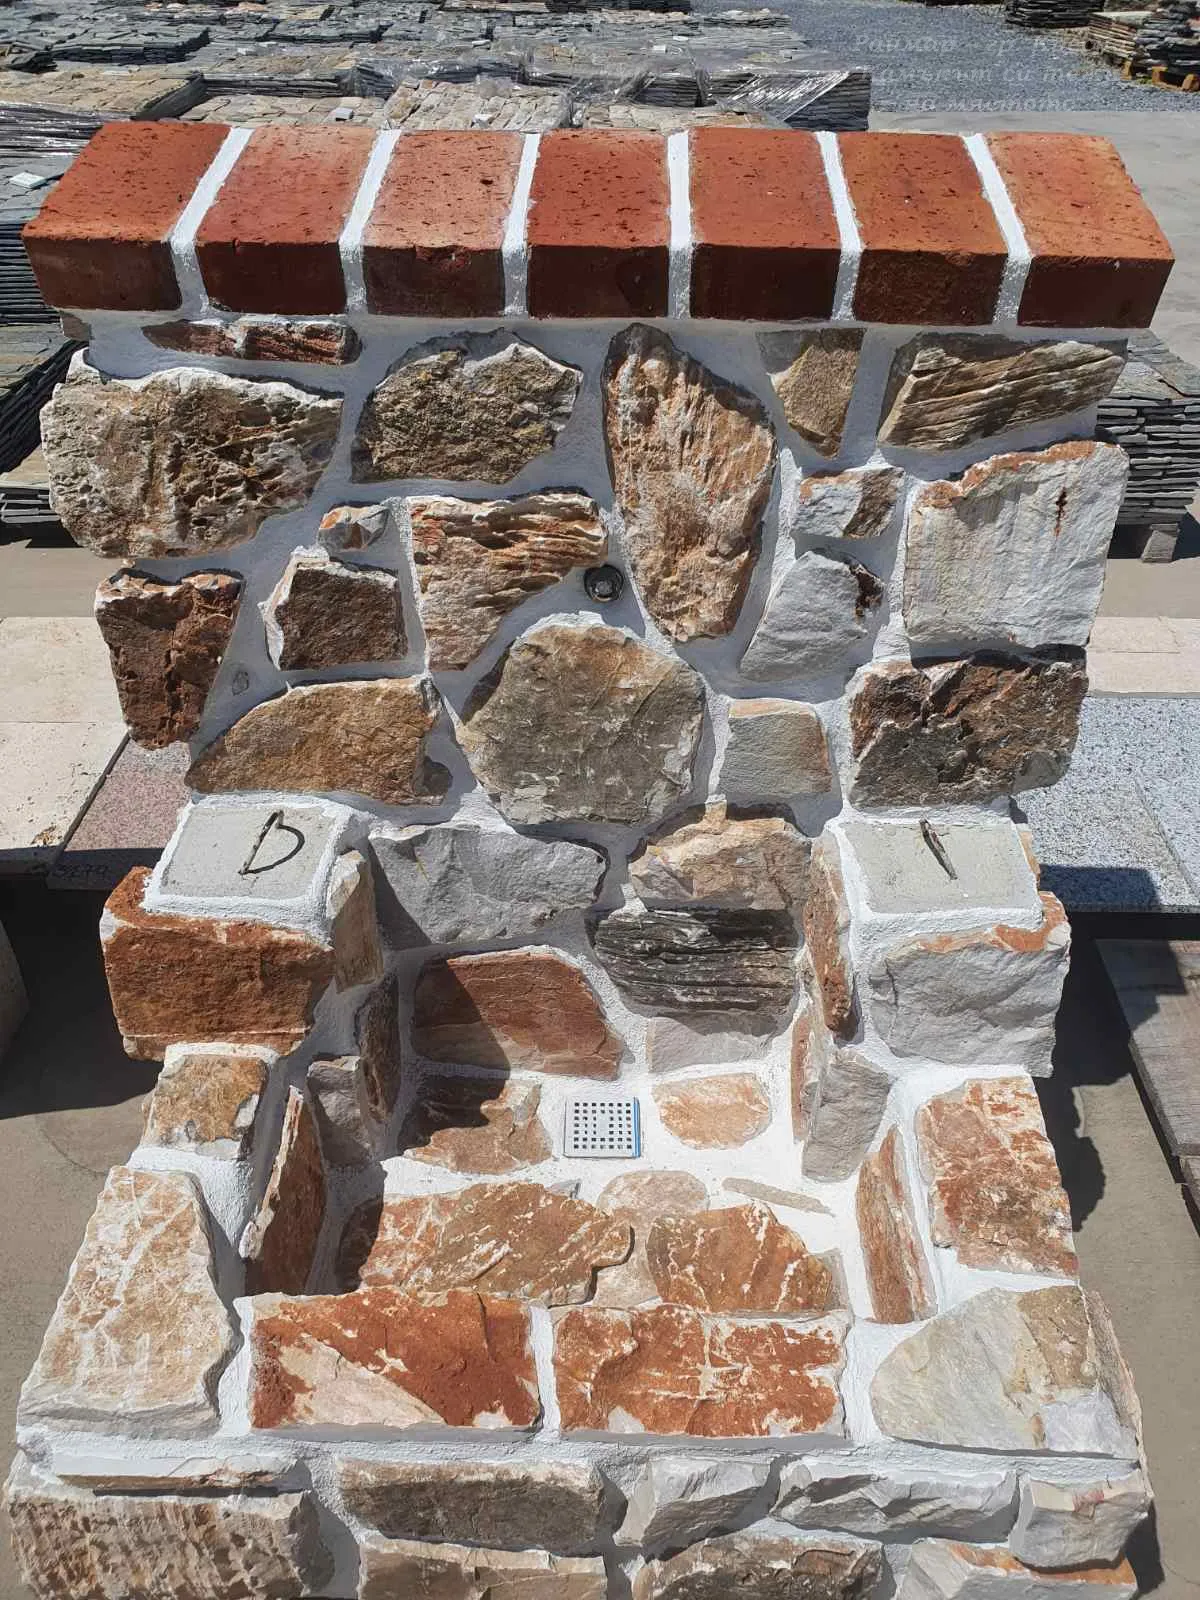
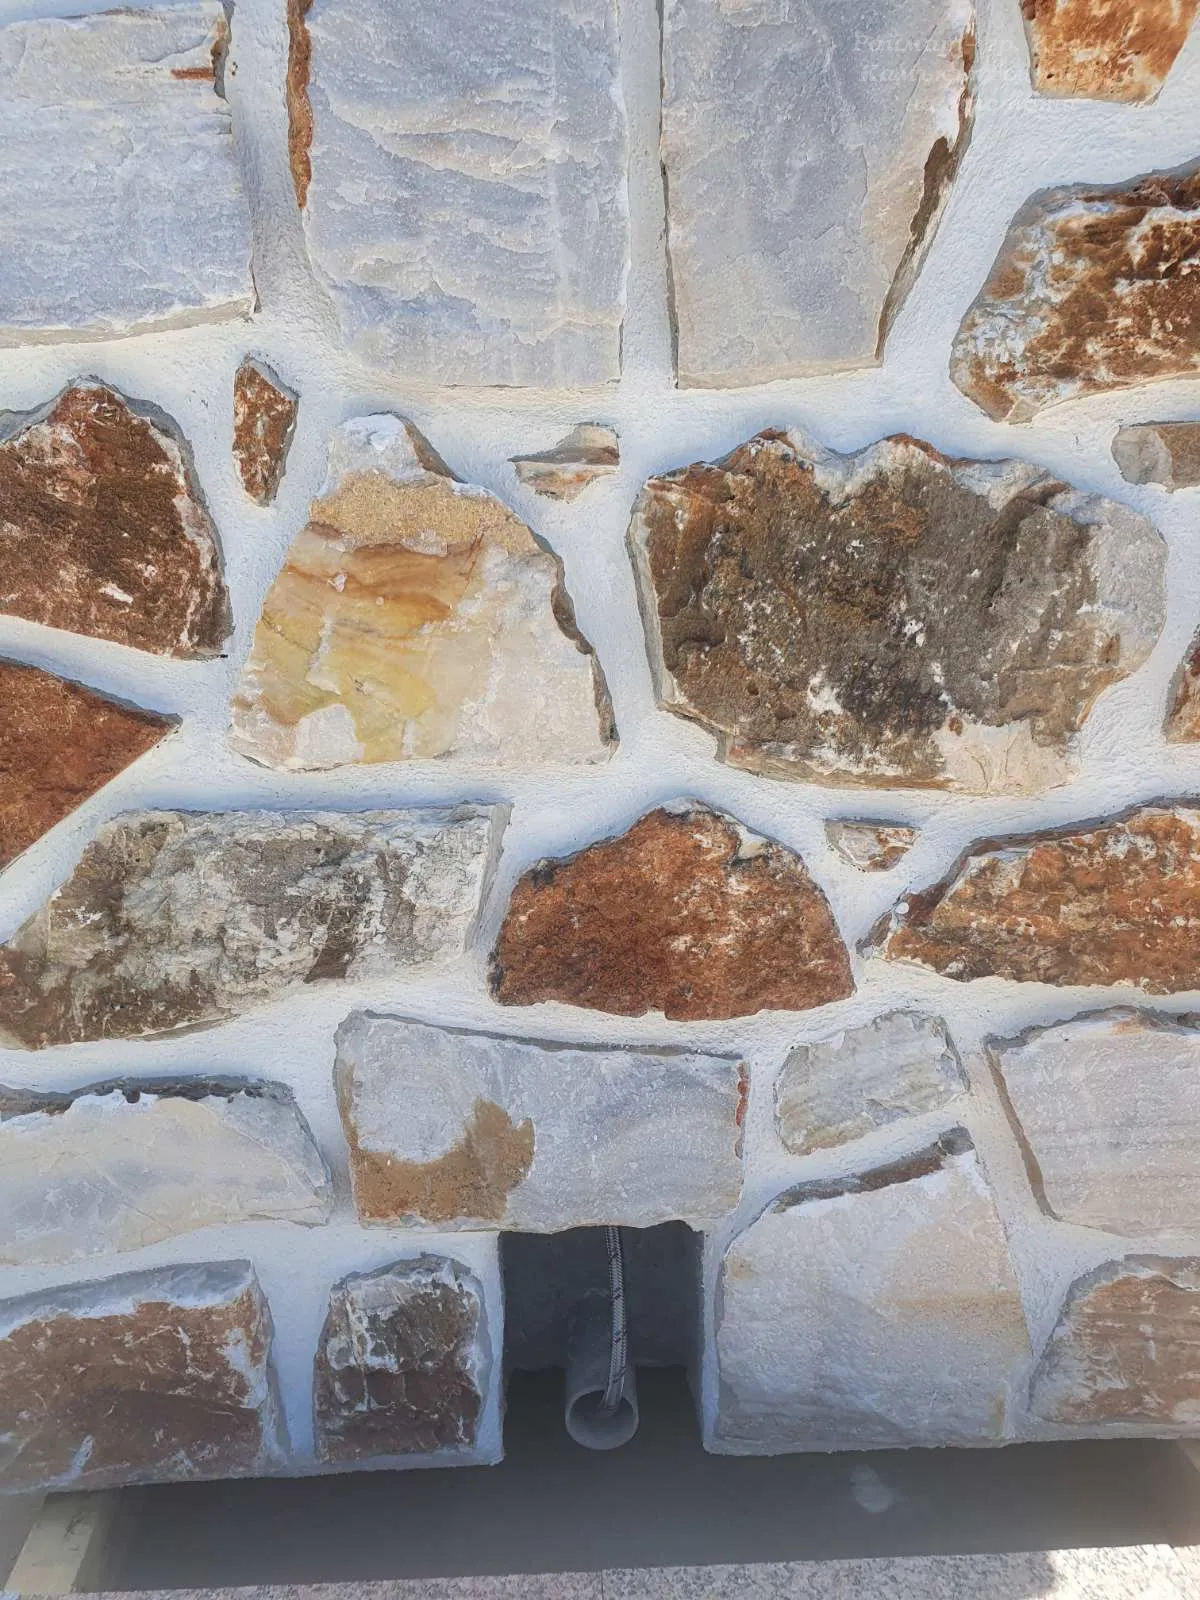
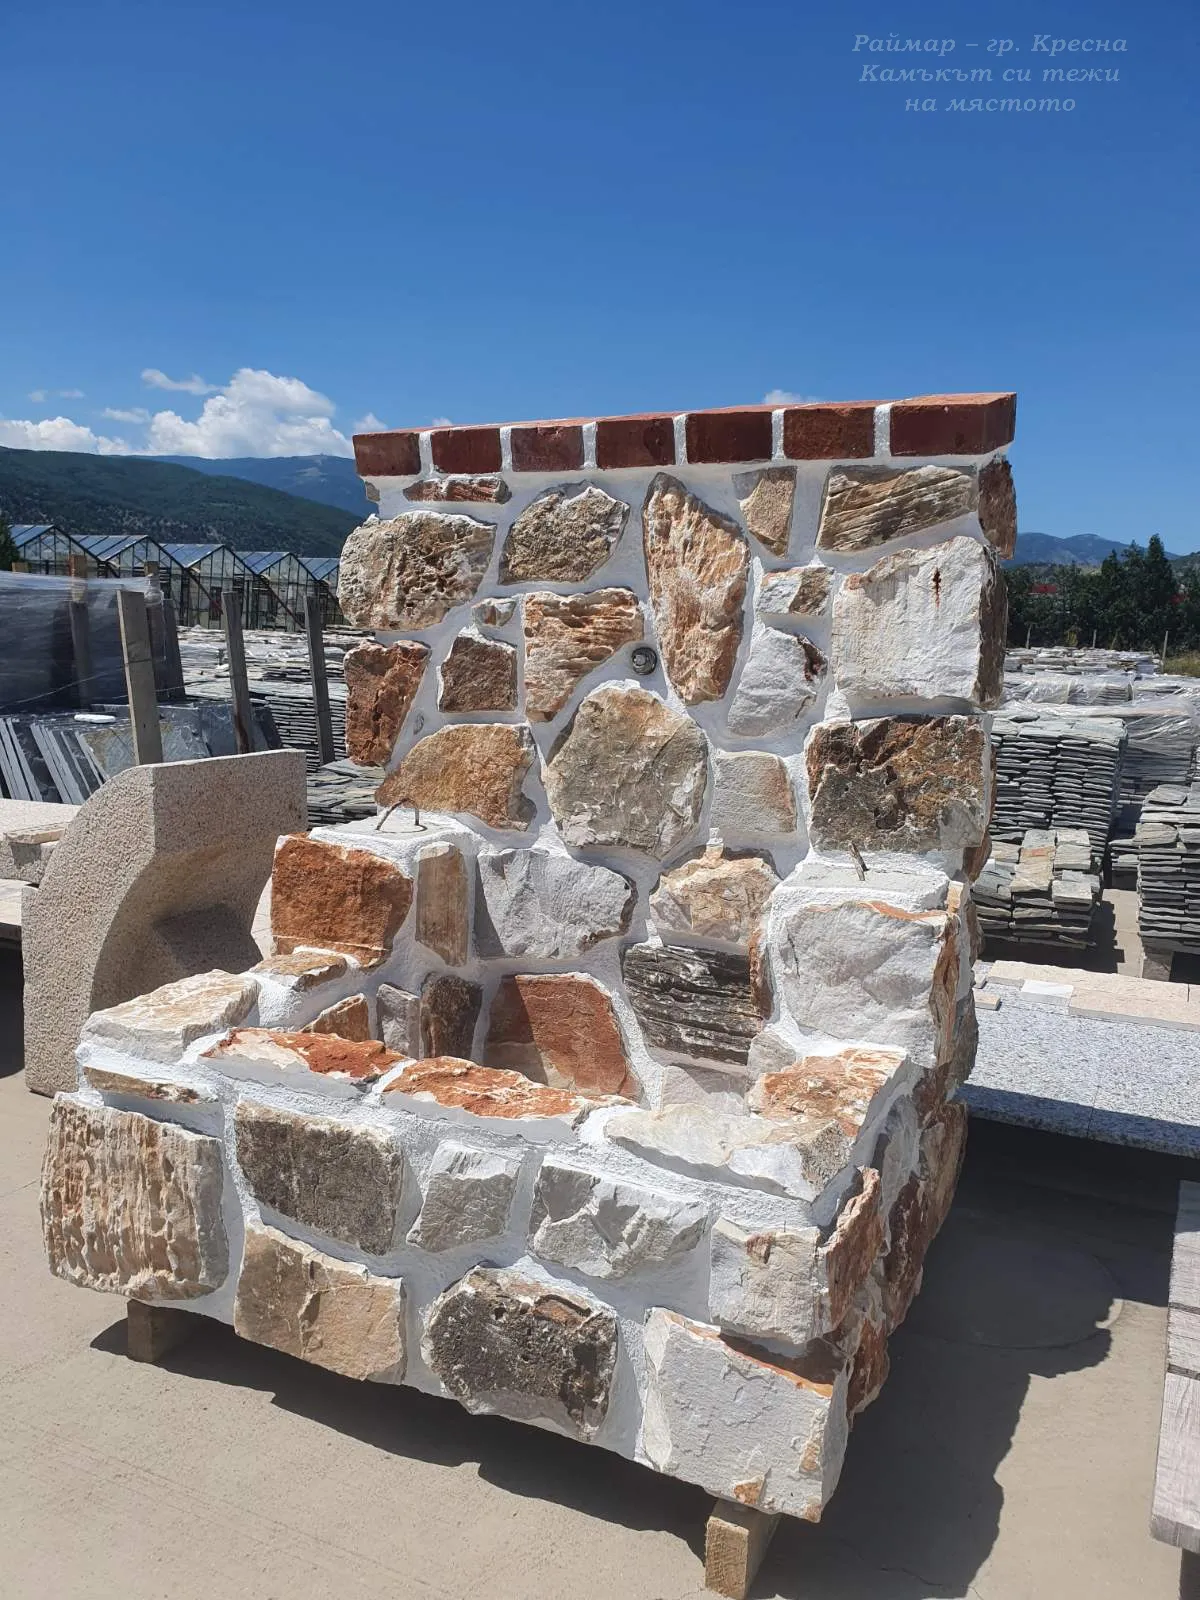
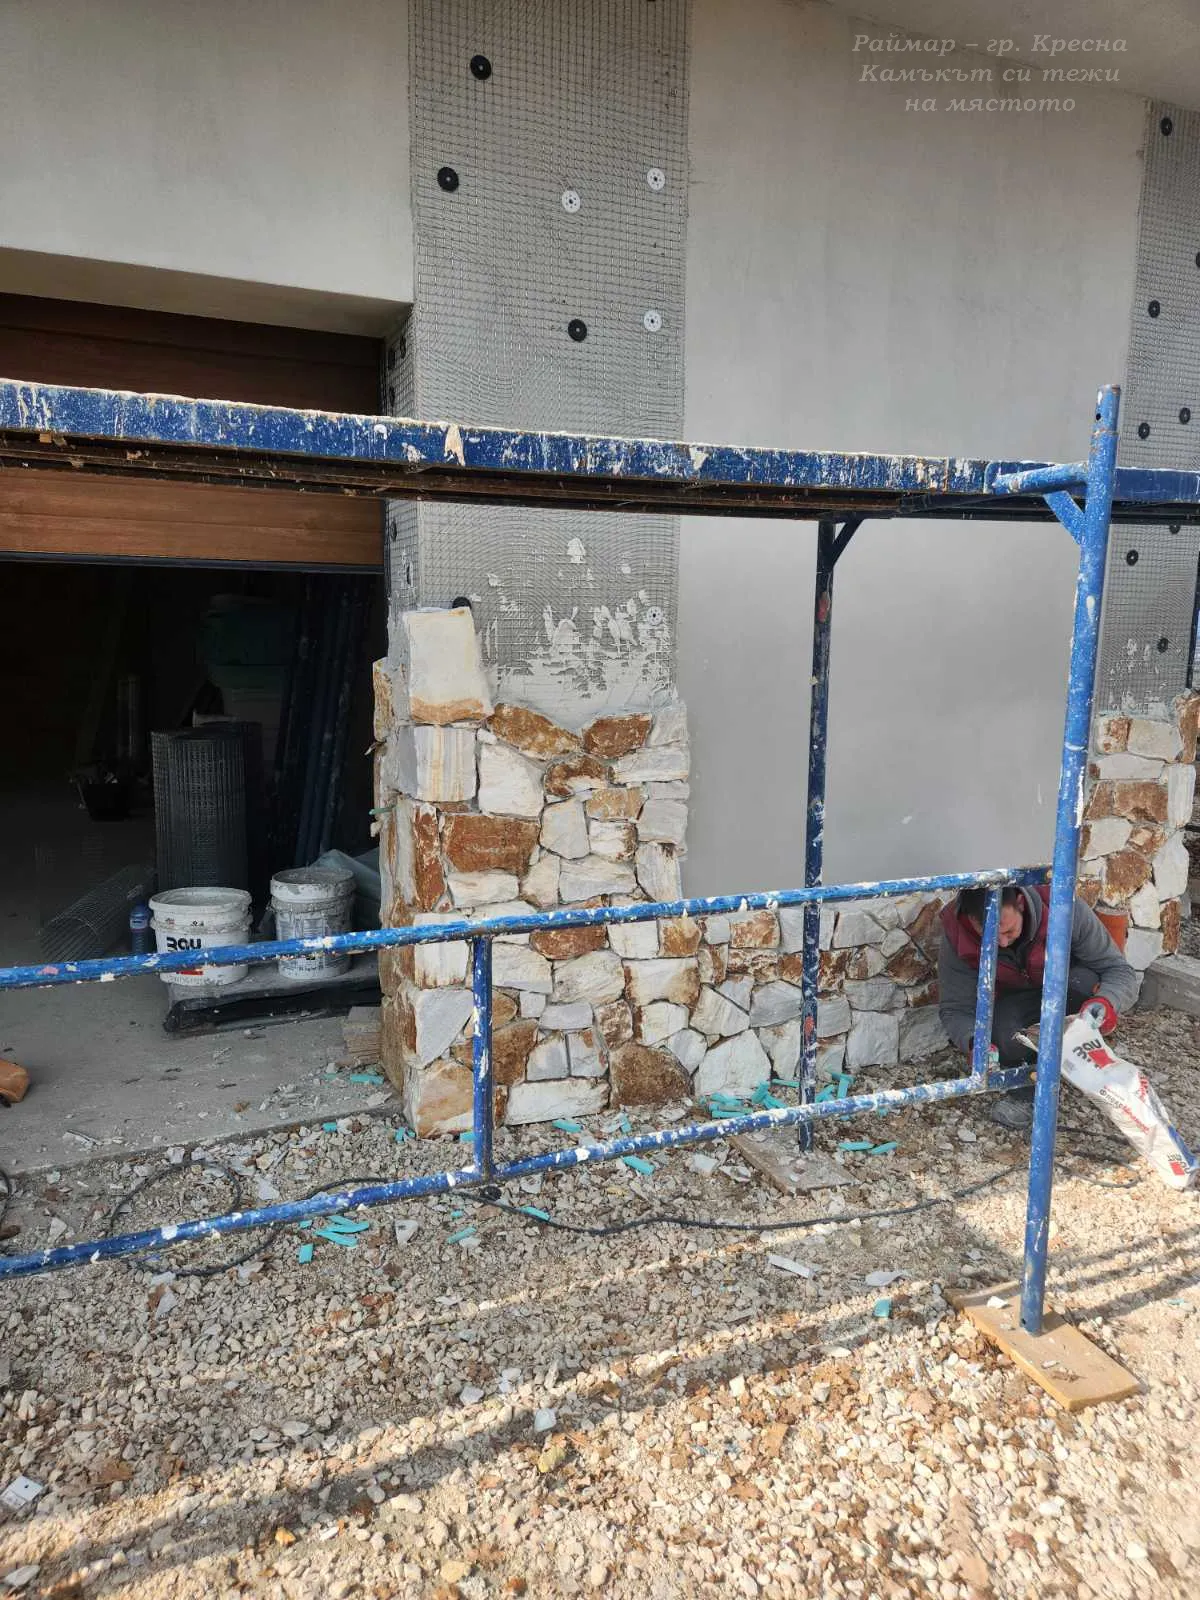
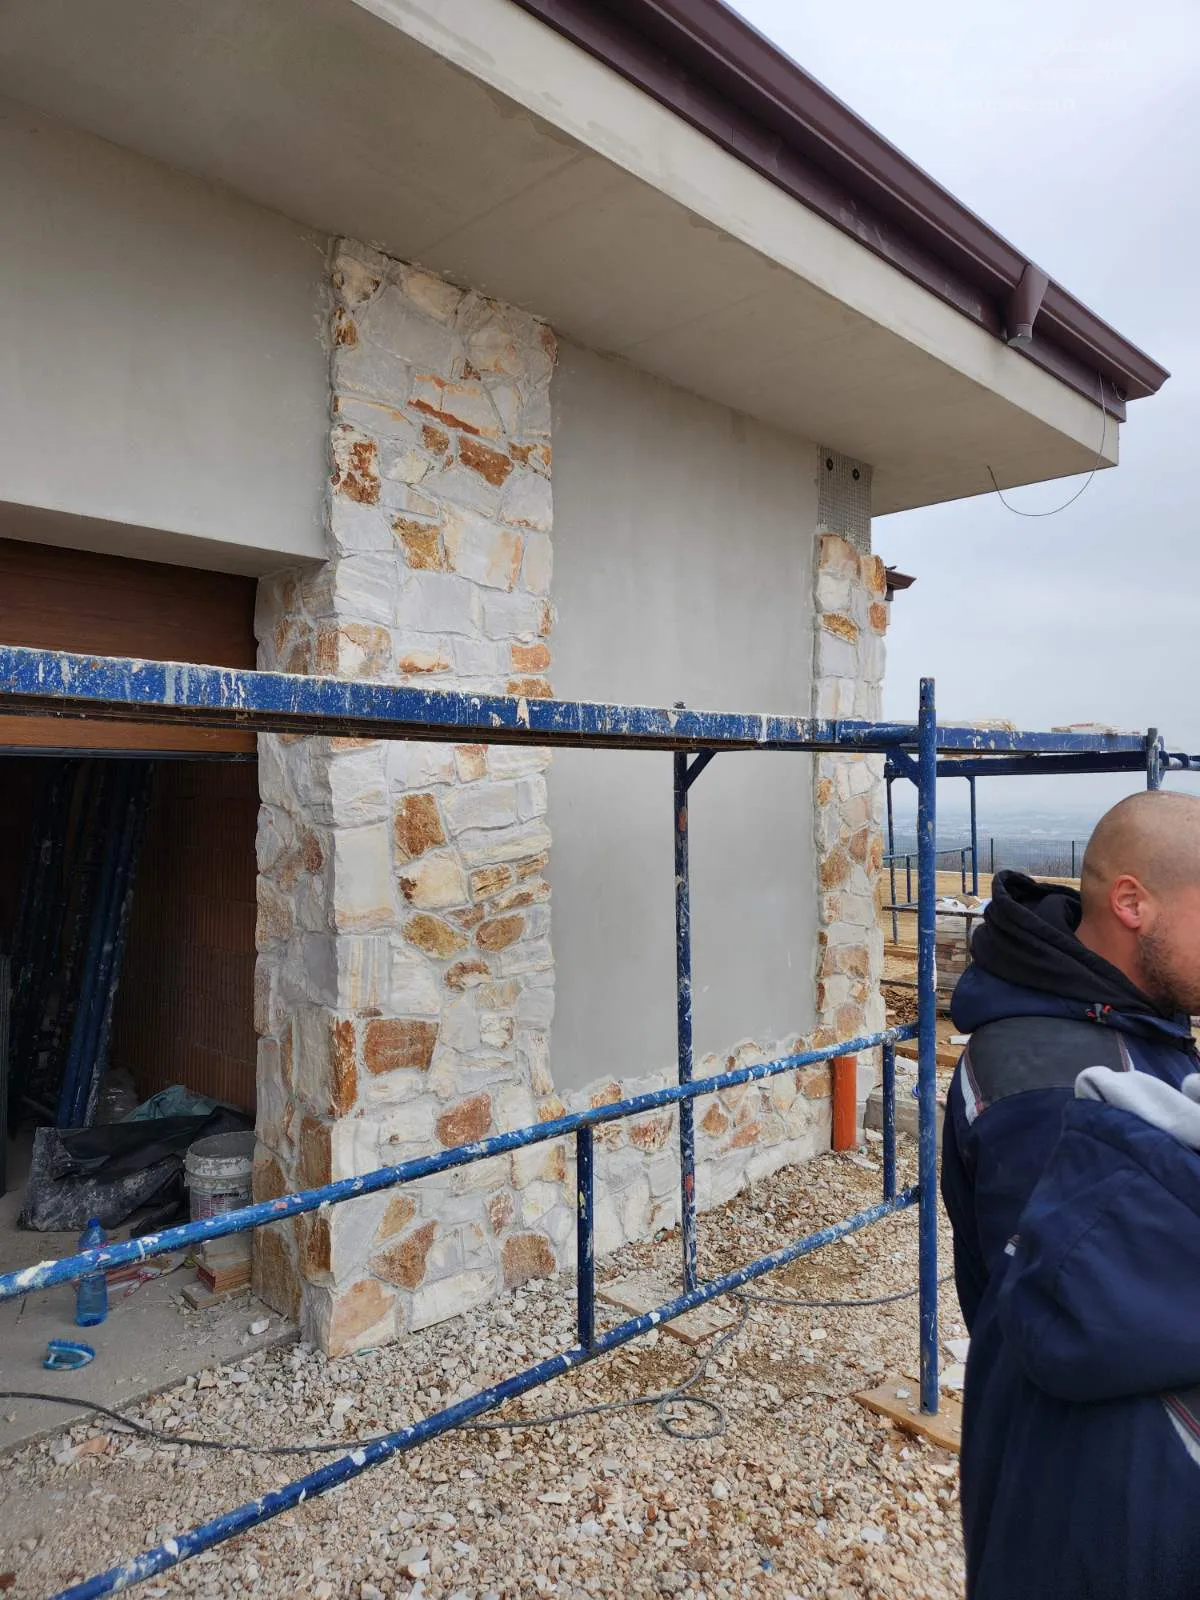
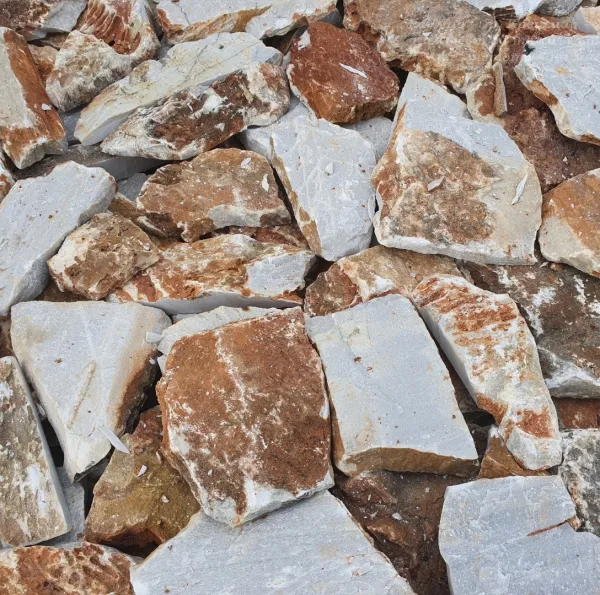
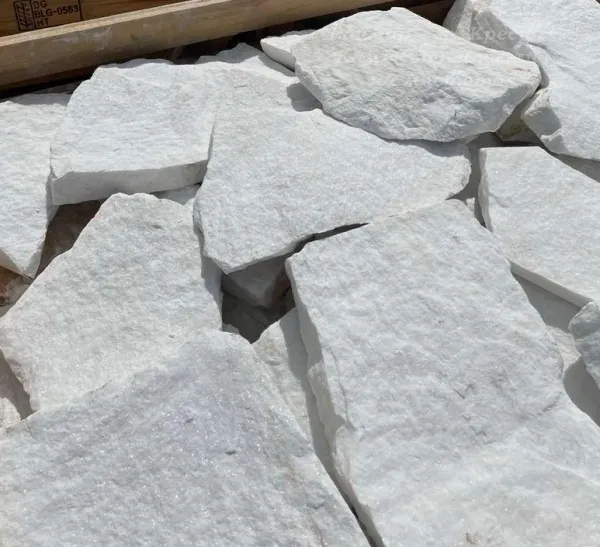
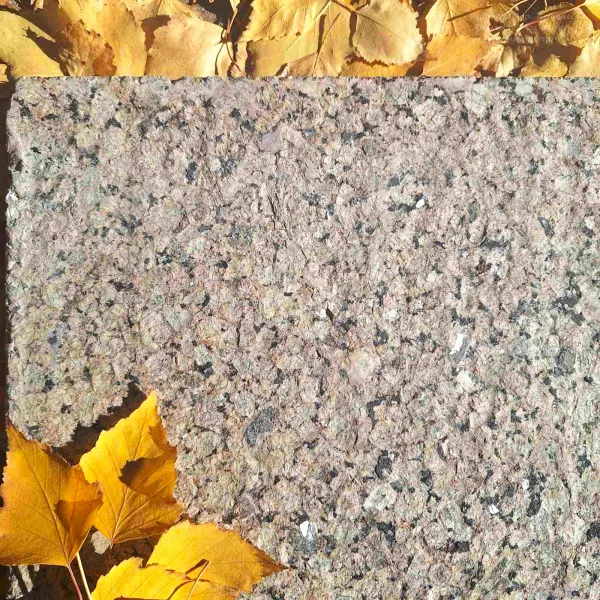
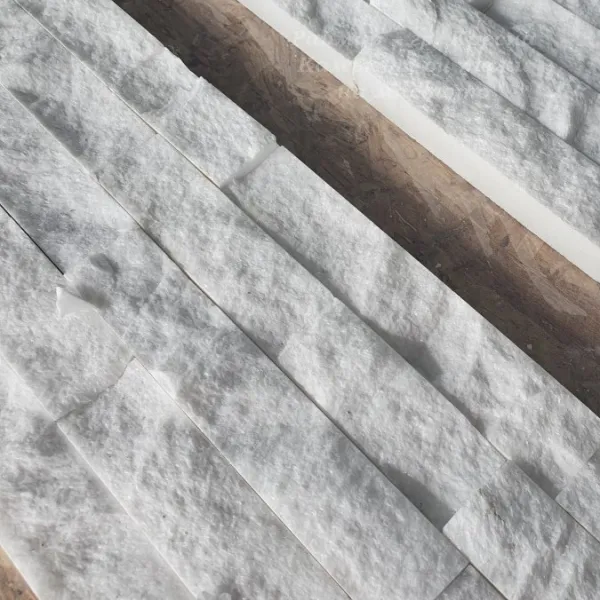
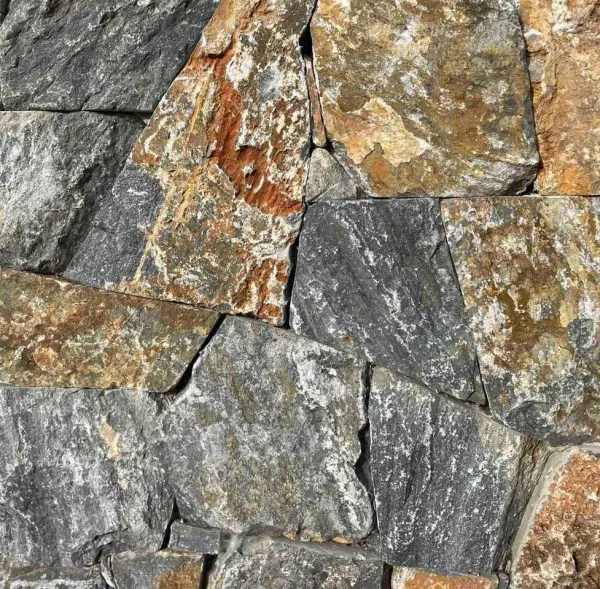
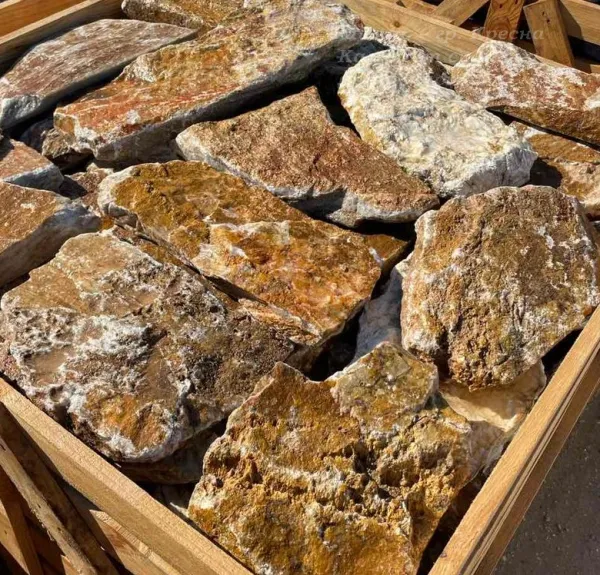
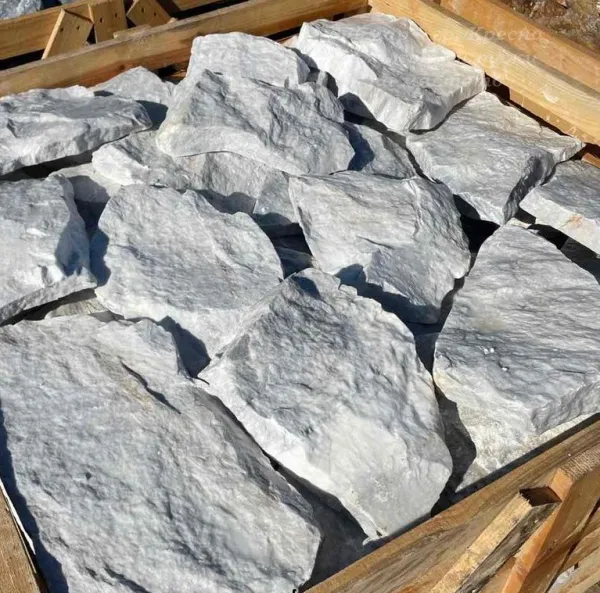
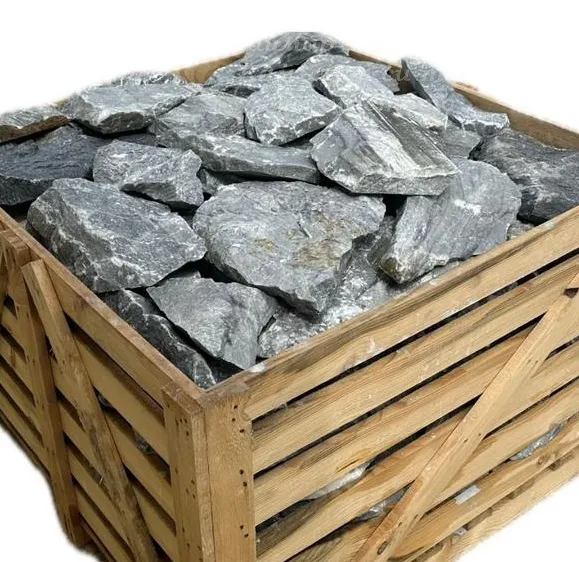
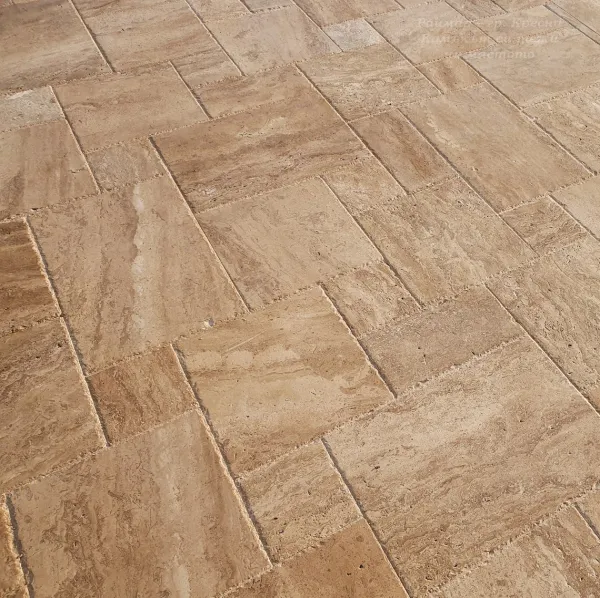
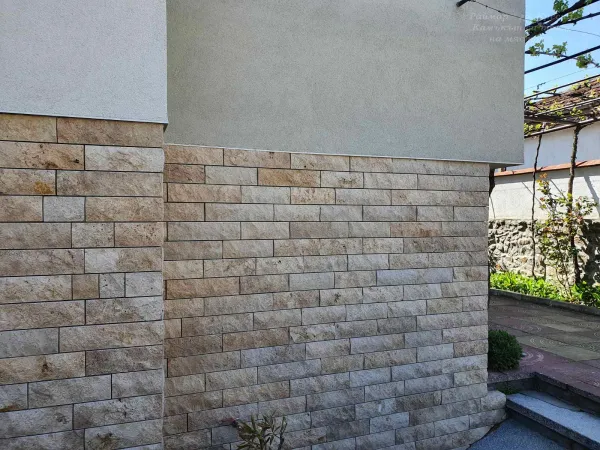
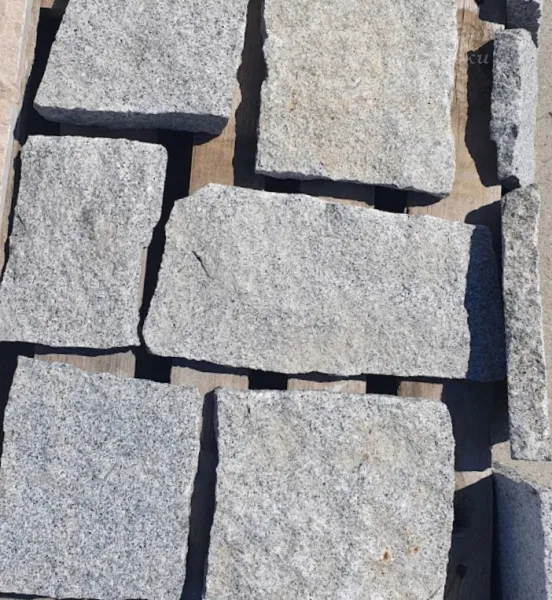
Sorentino veneer and corners with cut back
| Production lead time | |
| Material | Gneiss |
| Finish | Natural |
| Price / Unit | Price per 1 sq.m |
| Price per linear meter | |
| Pallet | |
| Maximum pallet weight | 10-15 sq.m = 990 kg |
| Weight per 1 sq.m | 60-70kg/sq.m |
| Natural stone specifics | Possible deviations and variations in the colors and textures of the stone tiles are expected (resulting from the natural origin and formation of the stone). |
| Always plan for a 10% advance on the net square footage | |
| Our products are handmade craftsmanship, made by artisans (stone masons). | |
| Pre-sorting by color or caliber, as well as preferences for nuances, patterns, or color variations in the stone, is not possible in advance. | |
| Recommended adhesives | Cement adhesive class C2TES1: C - cementitious, 2 - improved strength properties, T - fixing, anti-slip, E - extended open time, S1 - elastic, for linear expansions (+ addition of TRAS against salt appearance/efflorescence) |
| For exterior and interior: gray cement adhesive MegaFlex C2TES1 BAUMASTER | |
| Protection, mandatory impregnation, and maintenance (LTP or AKEMI) | For protection against water absorption: Universal stone impregnator (LTP or AKEMI) |
| For protection against water and grease absorption: Stone impregnator Mattstone H2O | |
| Always clean natural stone with pH-neutral products only (LTP or AKEMI). | |
| For color enhancement and protection: Wet effect impregnator (LTP or AKEMI). |
Why Choose Sorrentino Stone Masonry (Polygonal and Corners with Cut Back) for Your Project Cladding?
Aesthetic "Close to Nature": The masonry provides the timeless and authentic look of natural stone, adding unique beauty and naturalness. It preserves the textures, colors, and variations characteristic of traditional stone, creating a visually stunning Mediterranean-style facade.
"Sorrentino" is renowned for its light-gray, golden, and brown shades. These colors create a harmonious palette that adds elegance, rusticity, and warmth to any space. The light gray tones contribute to creating a modern and elegant look, while the golden, brown, and yellow hues add warmth and a natural feel.
Lightweight: Masonry with a cut back is significantly lighter than solid profile stone masonry, making it easier to handle and install. The cut back adheres tightly to the wall.
Strength and Durability: With proper installation, the stone is resistant to fading, cracking, or chipping, ensuring that the exterior appearance of your house will remain beautiful and untouched over the years.
Low Maintenance: Sorrentino Stone Masonry requires minimal maintenance (sealing, as with any stone). It is resistant to stains, mold, and mildew and can be easily cleaned with a mild detergent and water.
Energy Efficiency: Stone cladding will contribute to improved energy efficiency of your house. Its natural insulating properties help regulate temperature, reducing heating and cooling costs. Additionally, it serves as a barrier against external influences, enhancing the overall energy efficiency of the building's exterior cladding.
Sorrentino Stone Masonry for cladding your house allows you to achieve an amazing, durable, and rustic exterior look that enhances the overall appearance and value of your property. Its natural beauty, easy installation, and low maintenance make it a practical and visually optimal choice for any homeowner.
The installation process of Sorrentino Stone Masonry for cladding typically includes the following steps:
Surface Preparation: Ensure that the surface where the stone slabs will be placed is clean, stable, and free from dust, dirt, or grease. Remove any cracks or imperfections if necessary and apply weather-resistant substrate.
Layout and Design Planning: Design the layout and design of the stone slabs for cladding, taking into account the desired combination of colors, aesthetic appearance, and architectural elements. Temporarily place the stones without bonding (dry-lay) to determine the best arrangement and make necessary adjustments.
Application of Adhesive: Apply suitable adhesive to the back of each stone slab "with a comb." Make sure to apply enough adhesive to ensure proper bonding to the substrate.
Placing the Stones: Firmly press the stone slab with the flat, cut back onto the prepared surface, starting from the bottom up. Use a slight twisting motion to ensure good contact between the stone and the adhesive. Maintain an even distance between the stones to achieve a uniform appearance.
Grouting: Once the stones are placed, fill the spaces between them with grout mix, depending on the desired effect.
Cleaning and Finishing: After the grout has slightly set (follow the manufacturer's instructions), clean the surface of the cladding with a brush and water. Carefully remove any excess adhesive or grout from the surface of the stone. Then allow it to dry completely.
Sealing: Depending on the type of stone and personal preferences, apply a sealing product to the stone to enhance its appearance, protect it from stains, and increase its durability. Follow the manufacturer's instructions for proper application and drying time.
It is essential to note that the installation process may vary depending on the specific product, manufacturer's guidelines, and the condition of the substrate.
Furthermore, it is of vital importance to adhere to safety requirements during installation. Follow all necessary safety precautions, wear protective clothing, and consult local building codes and regulations for guidelines regarding the installation of stone masonry.


 Български


