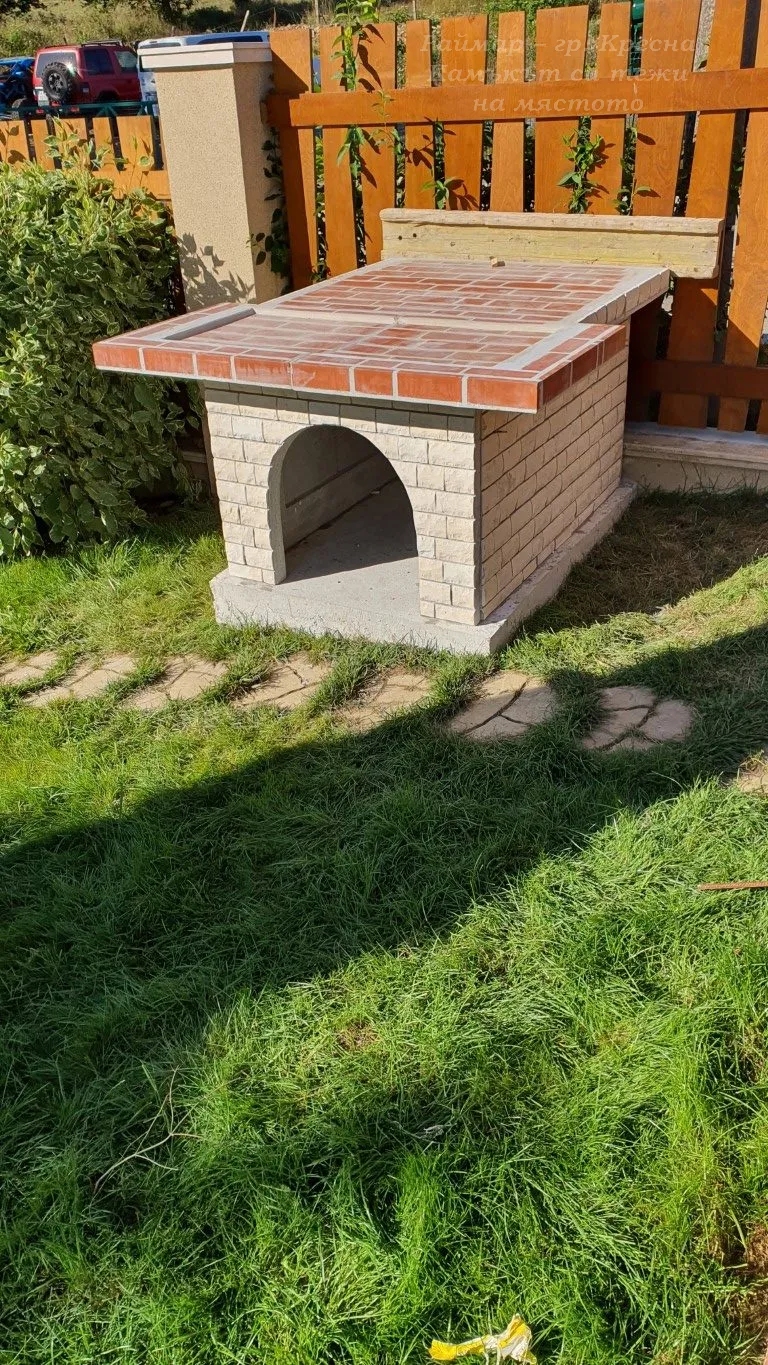
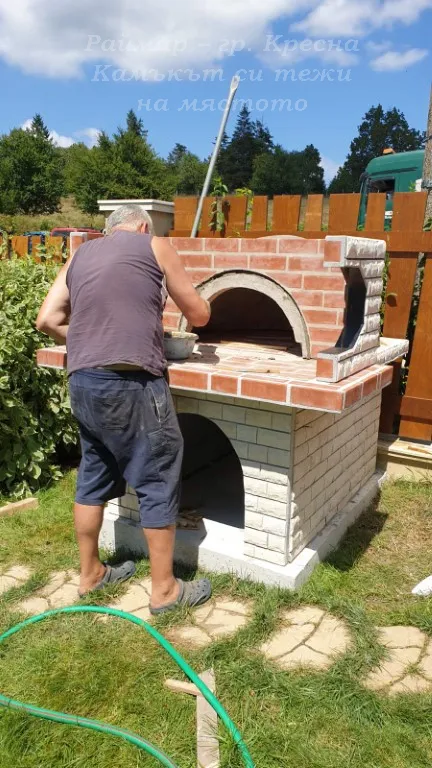
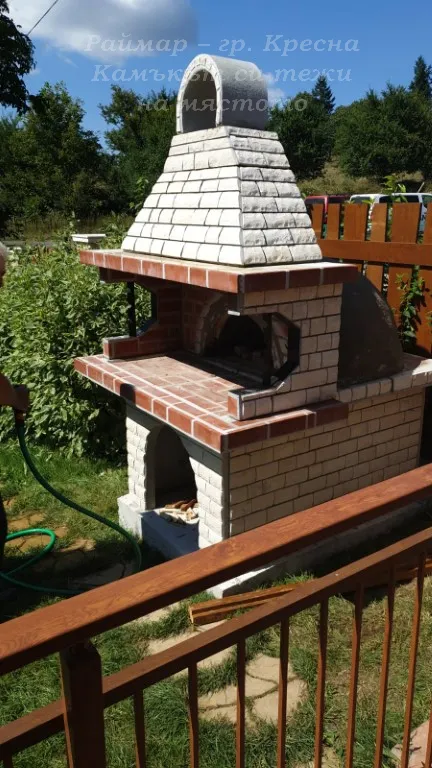
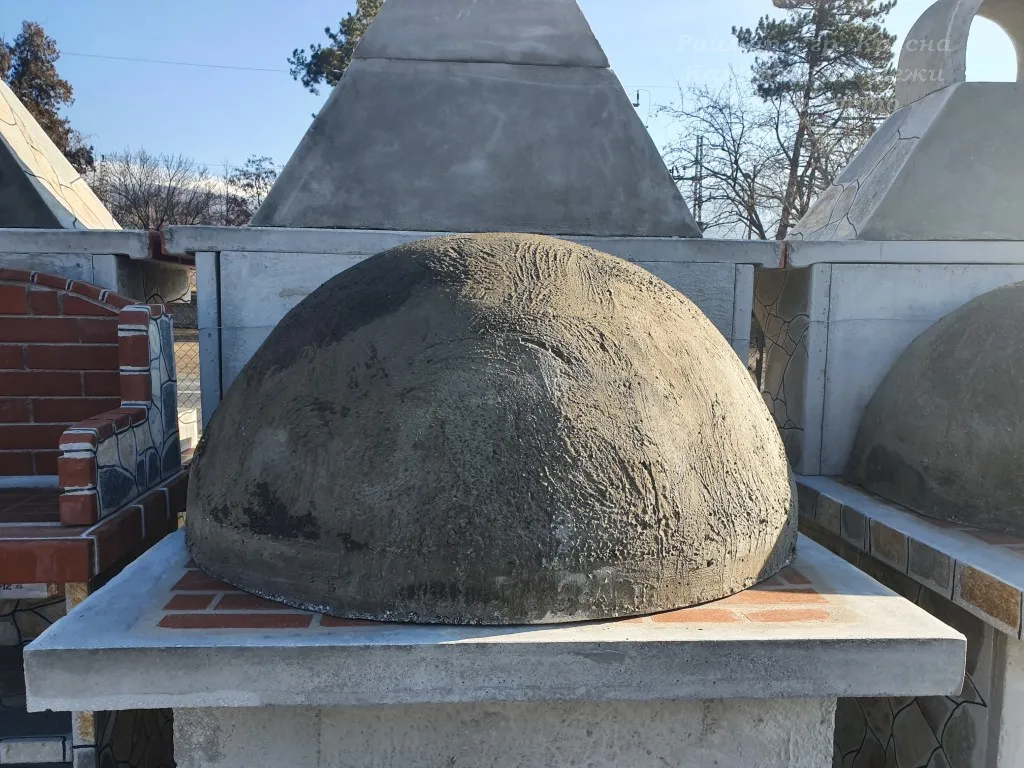
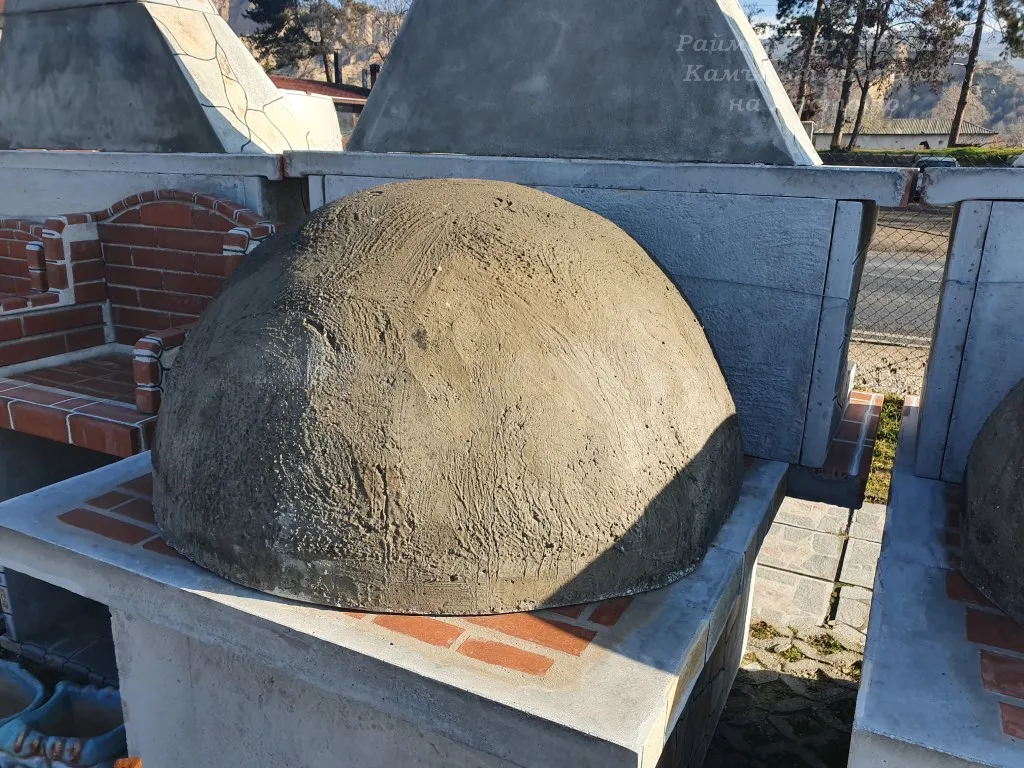
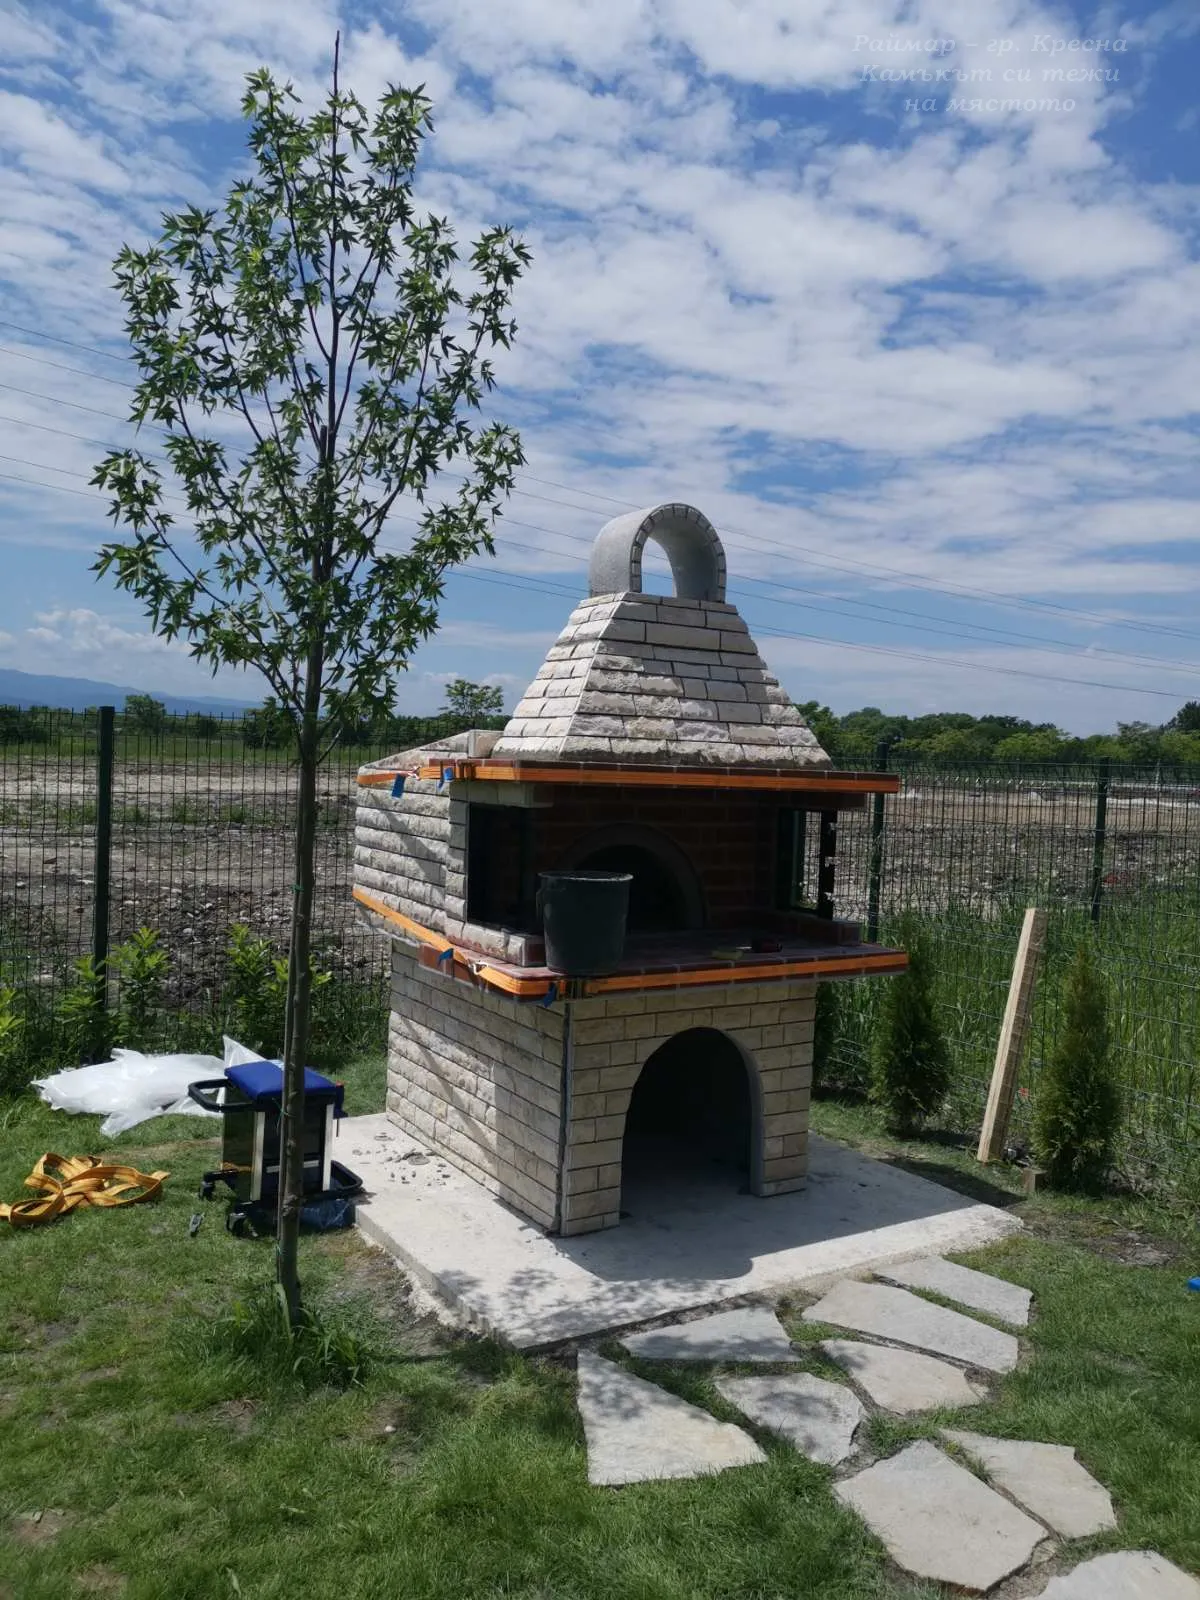
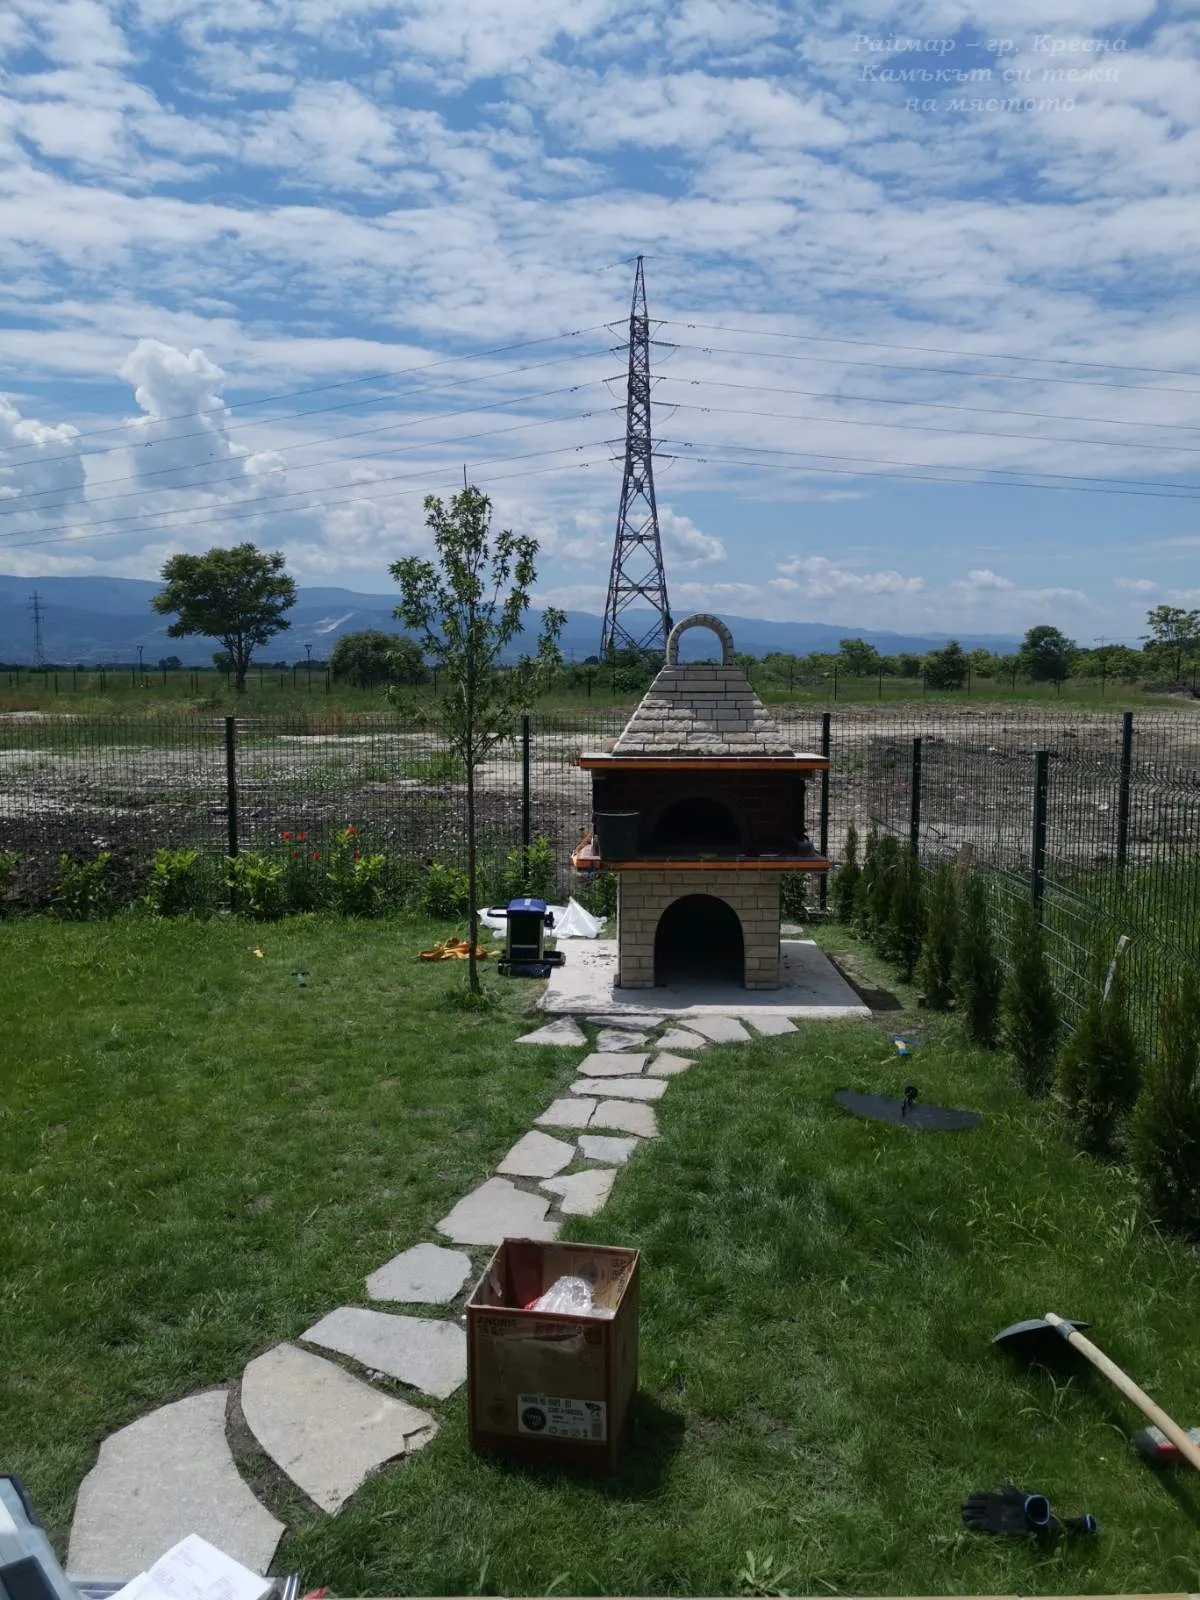
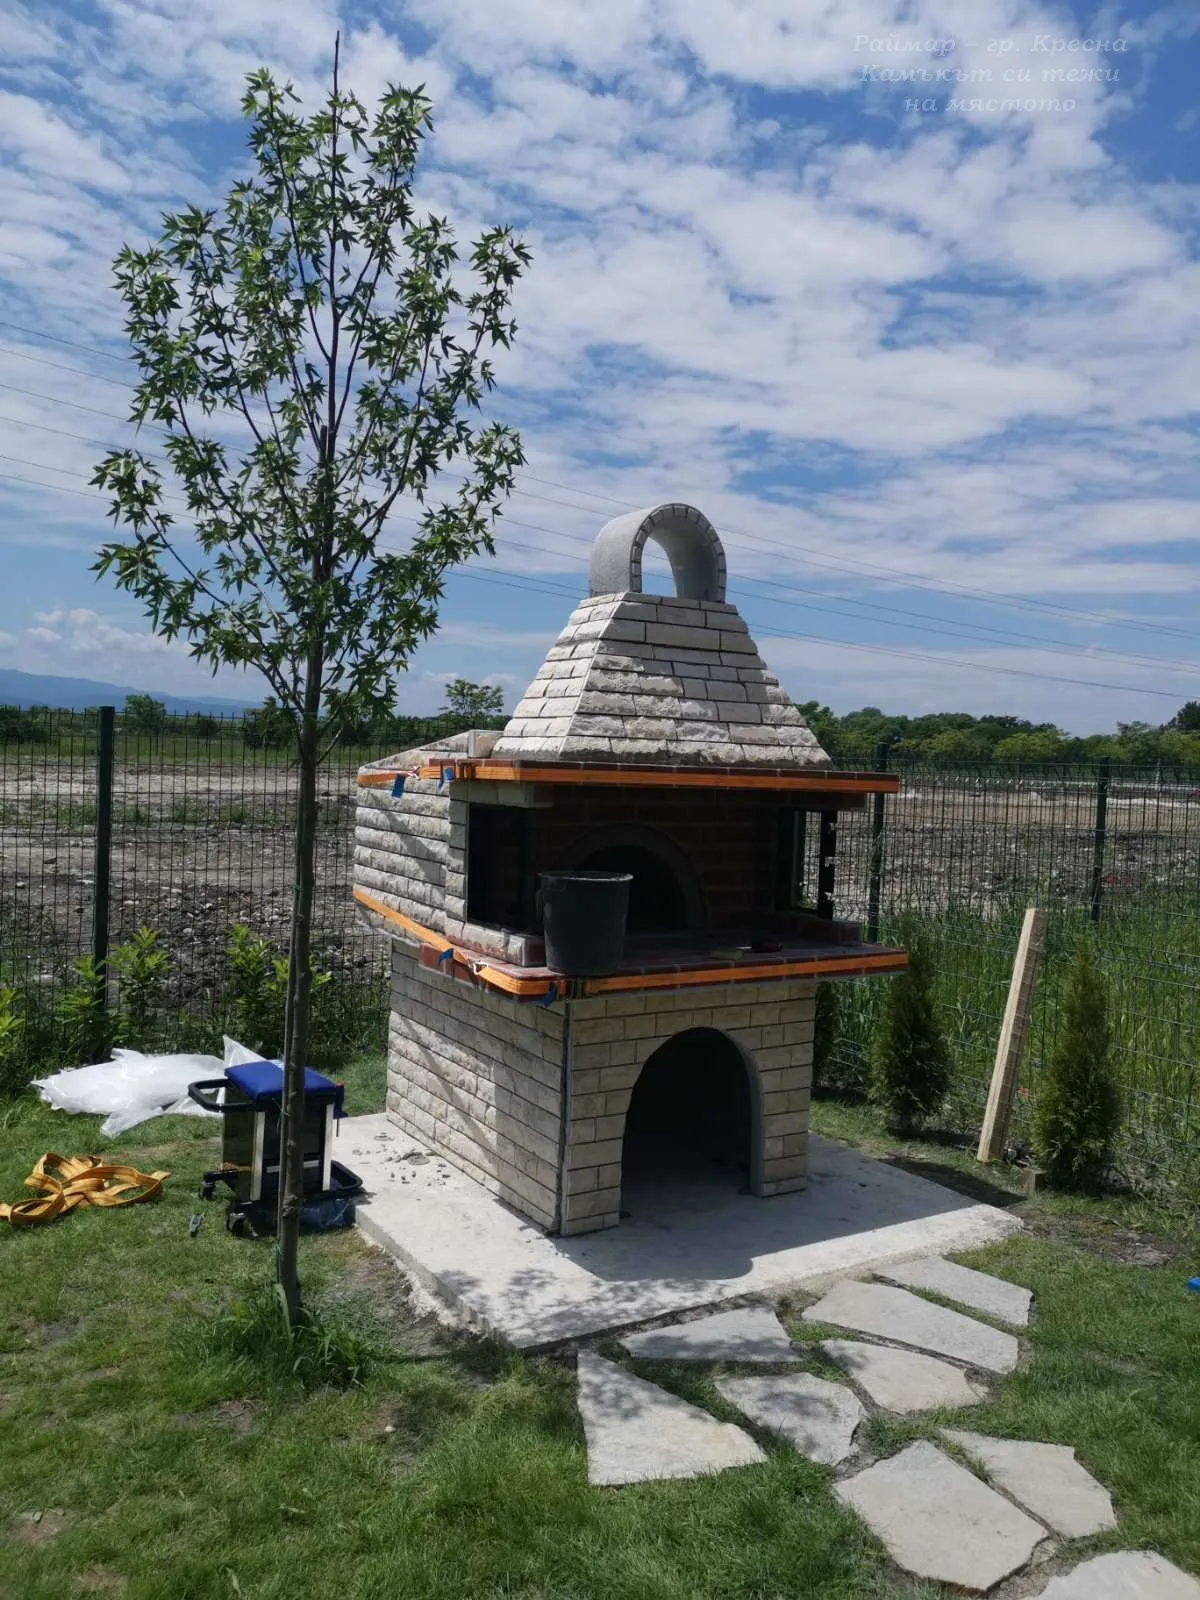
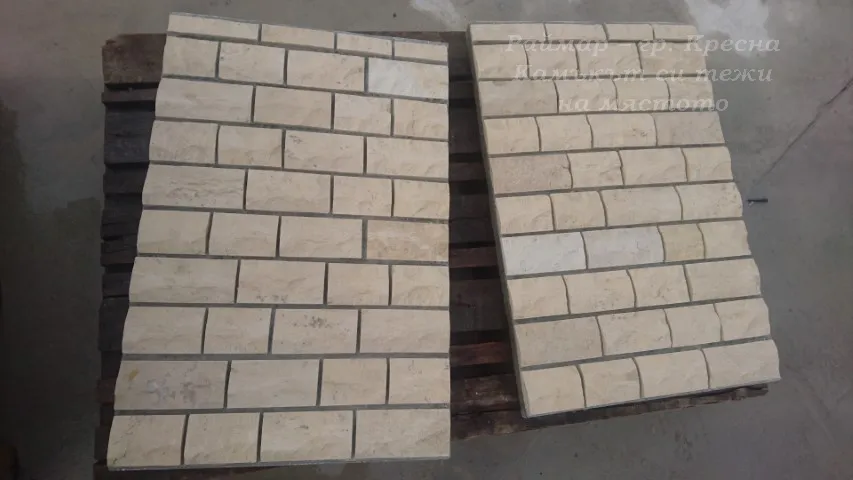
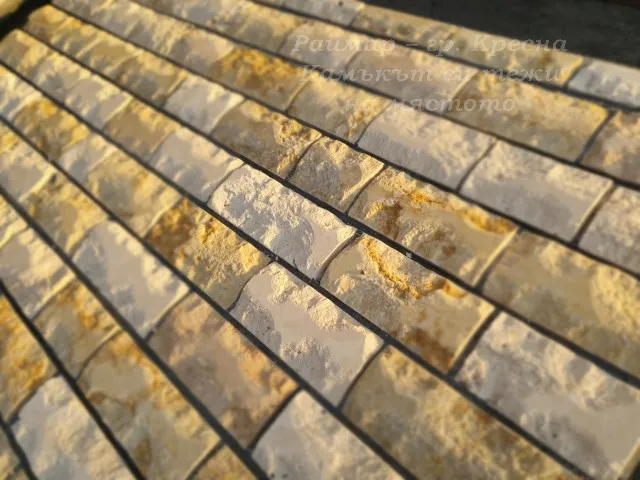
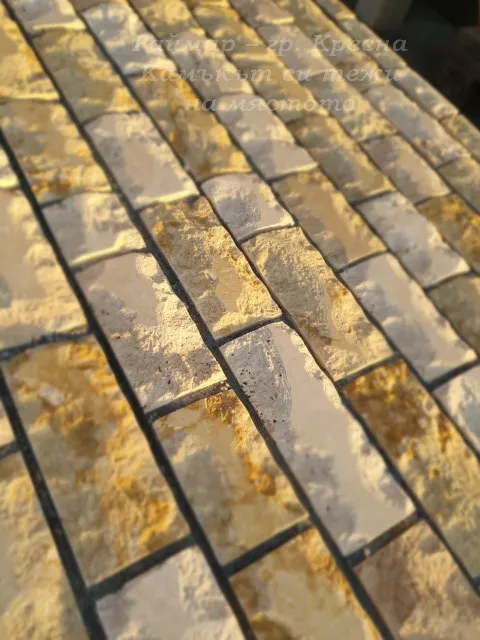
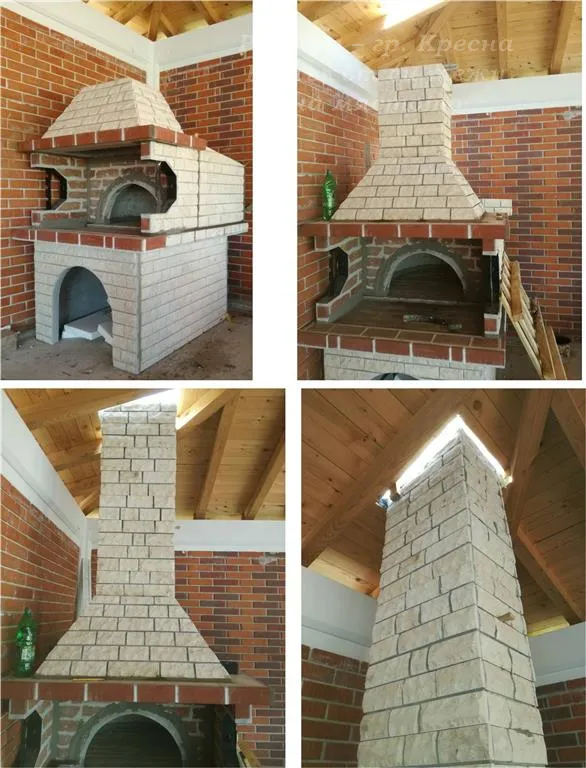
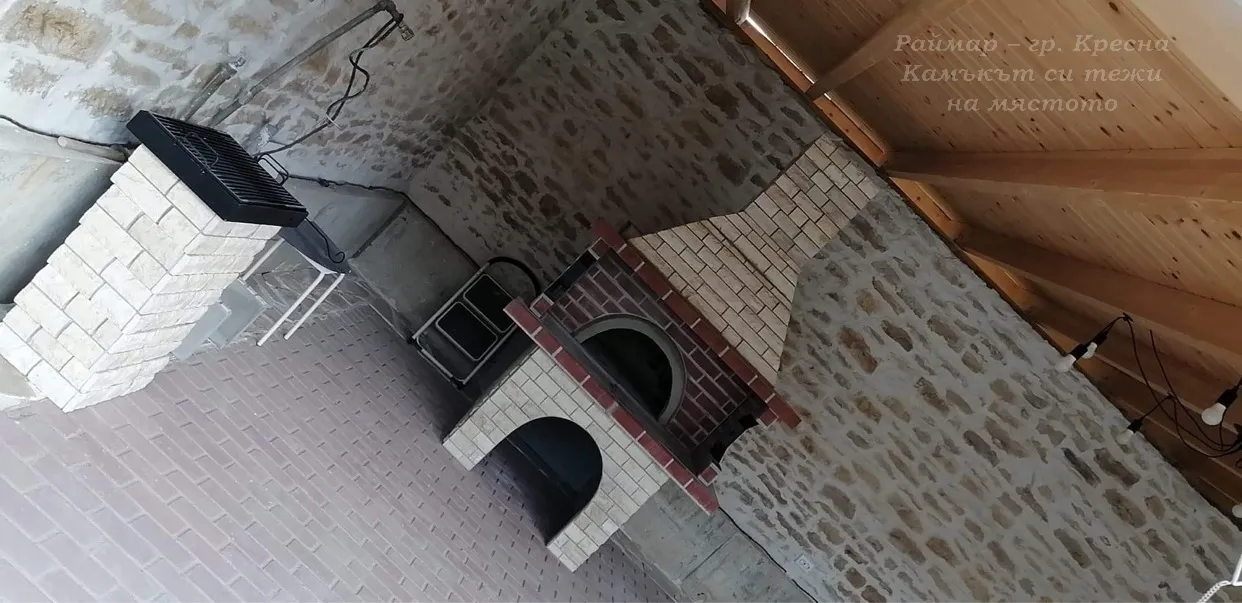
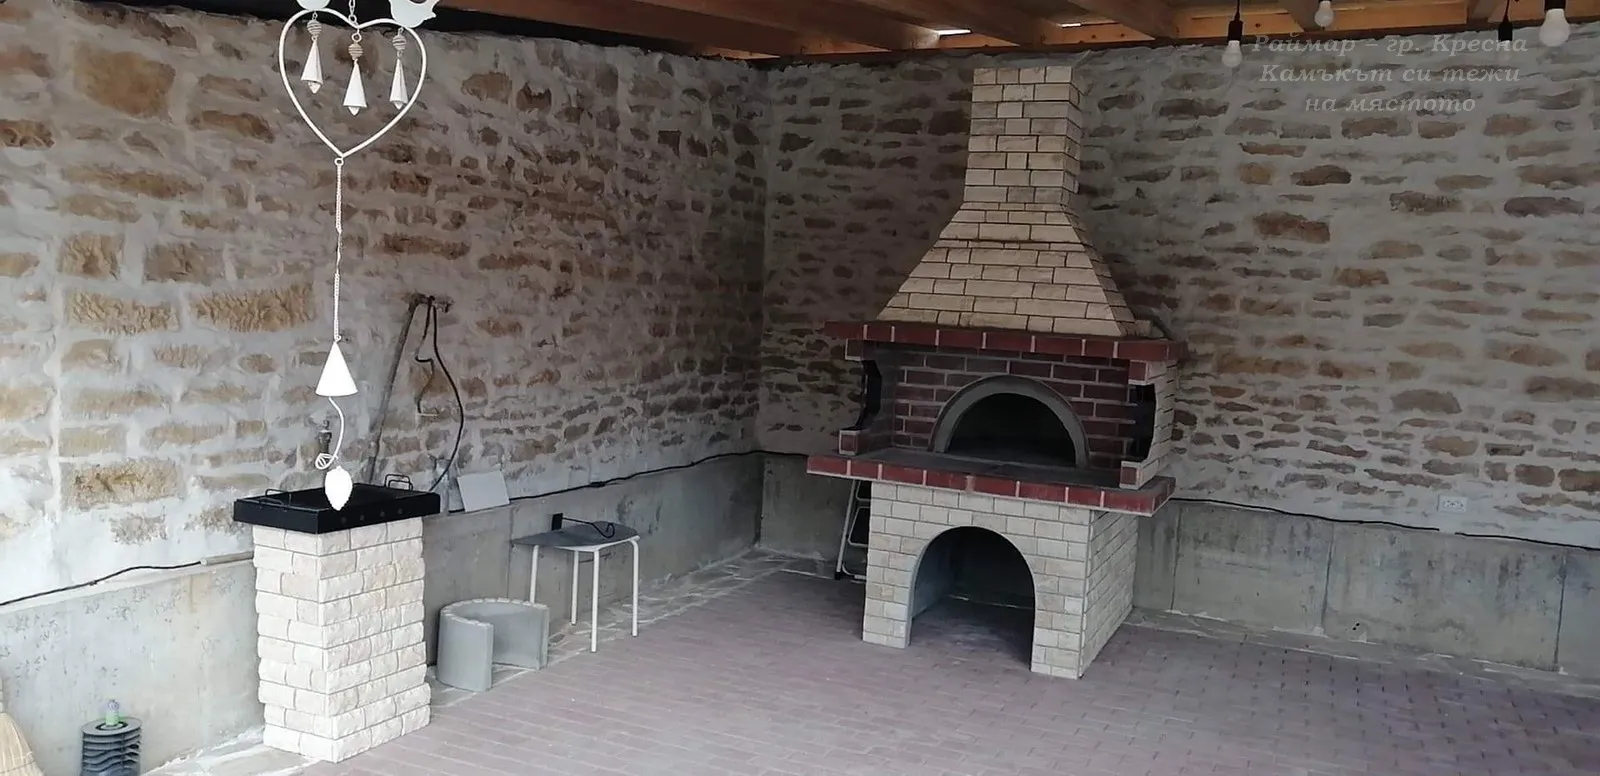
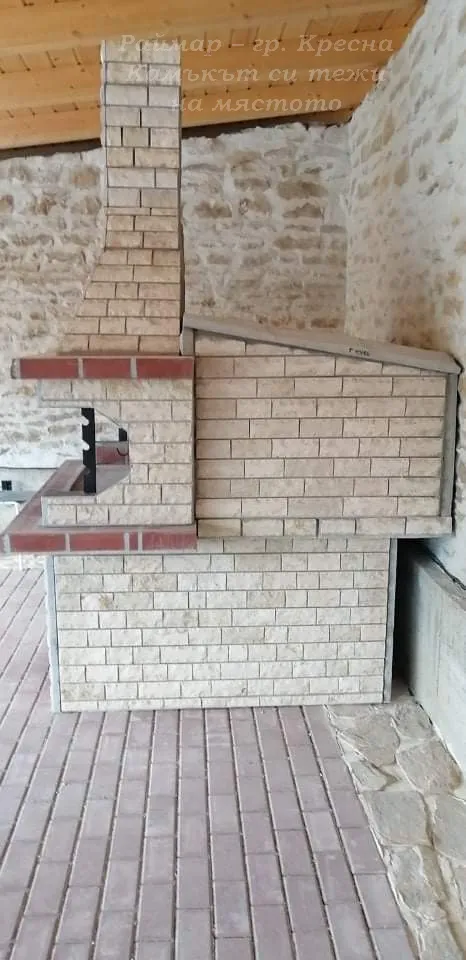
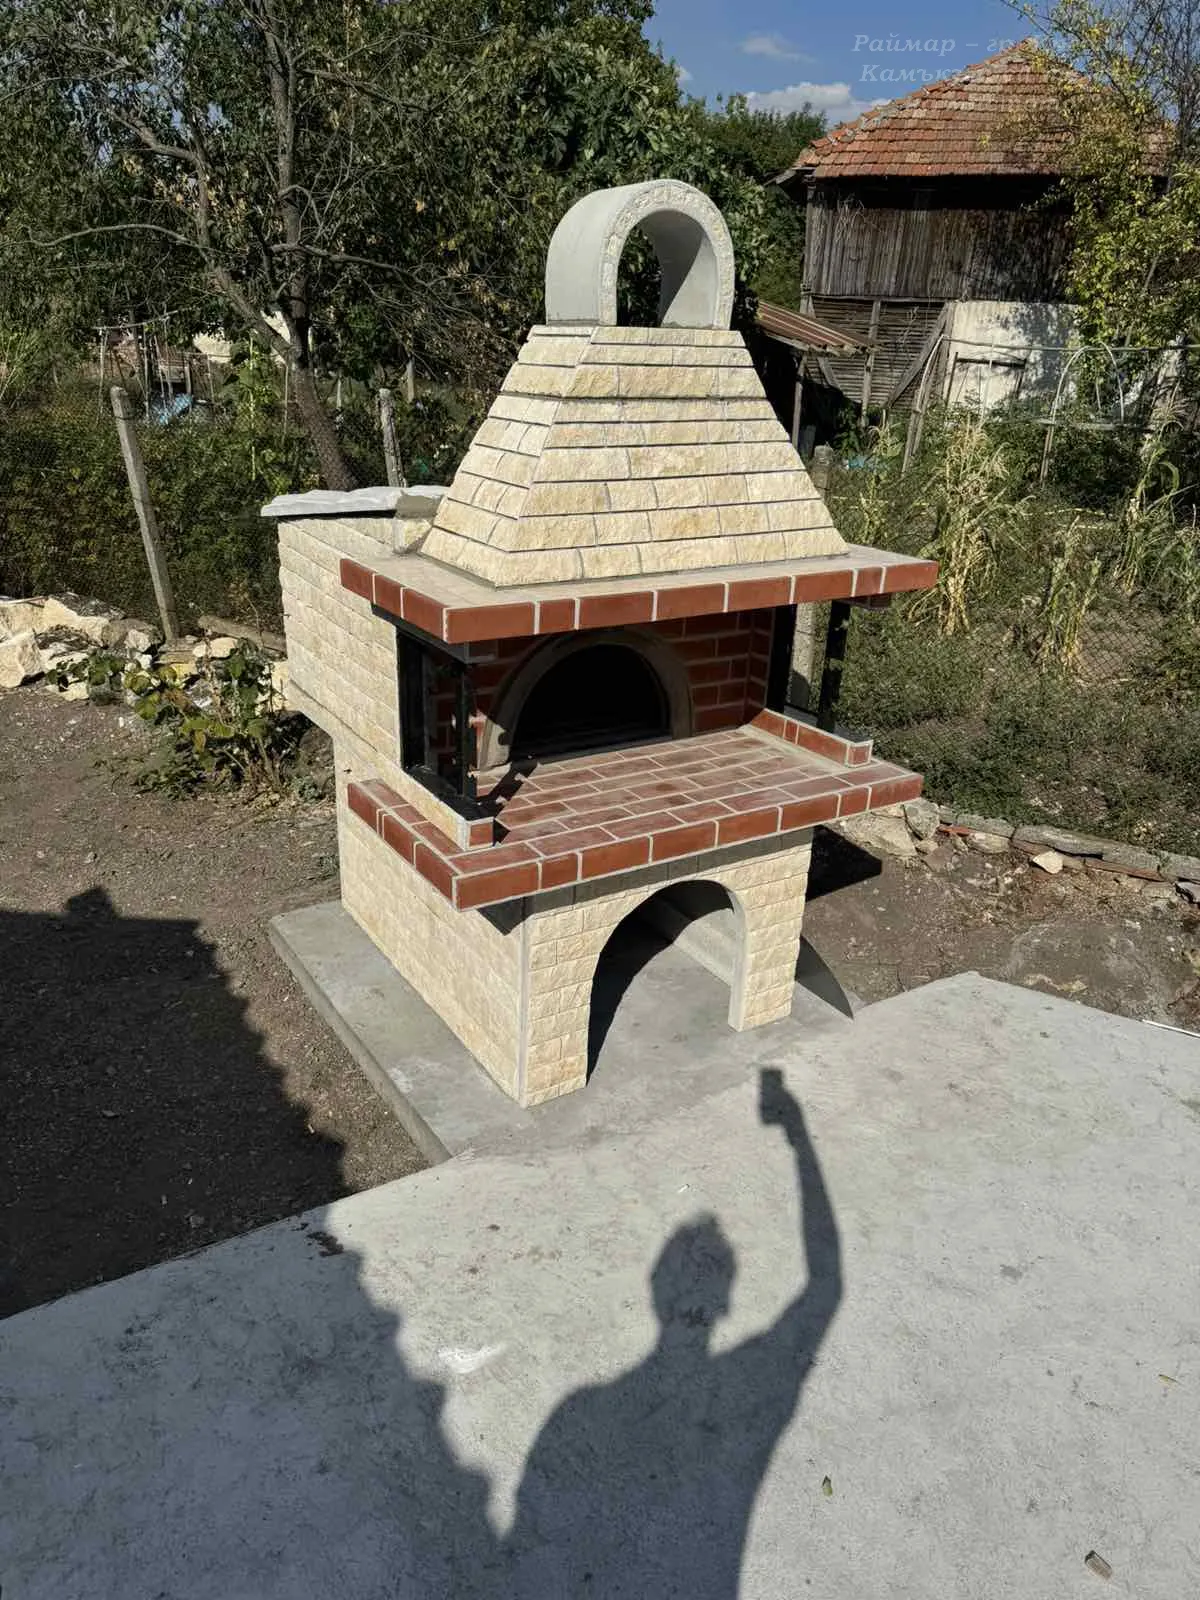
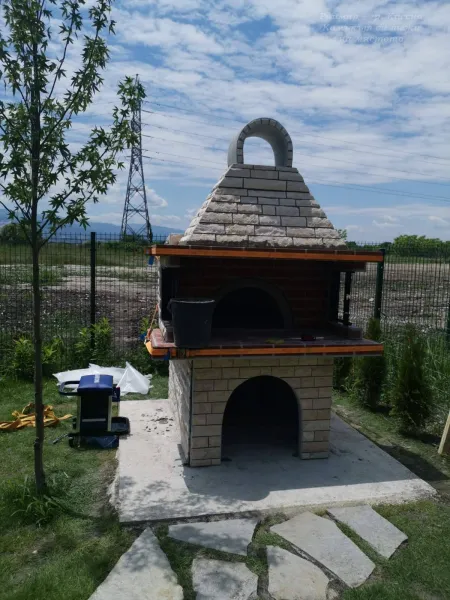
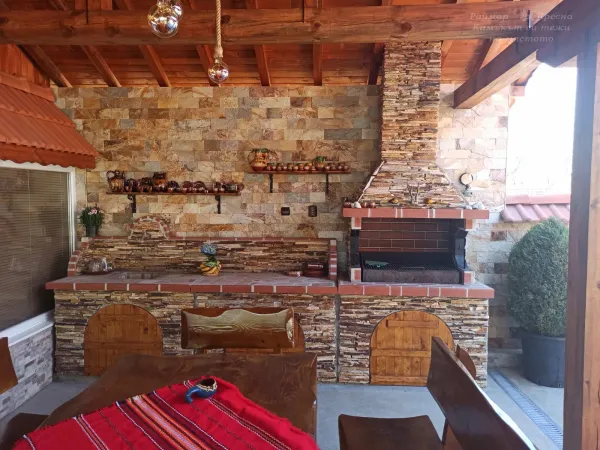
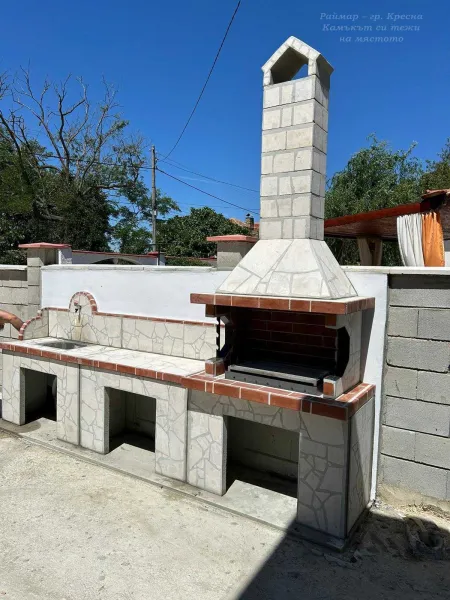
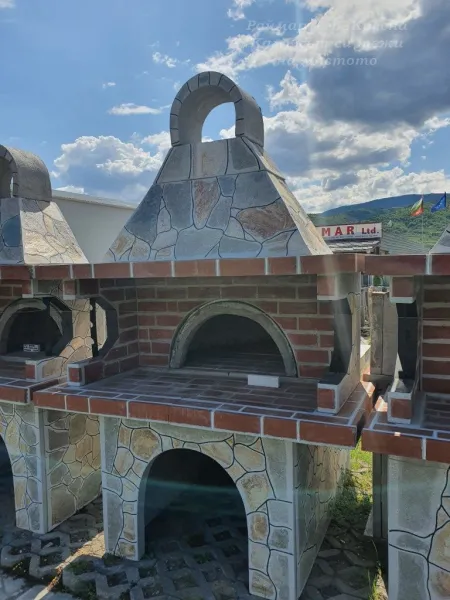
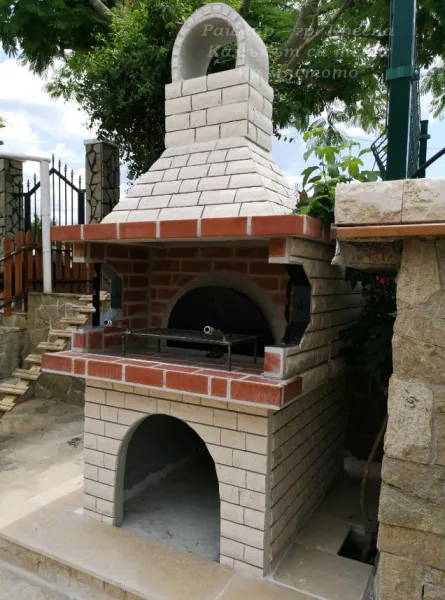
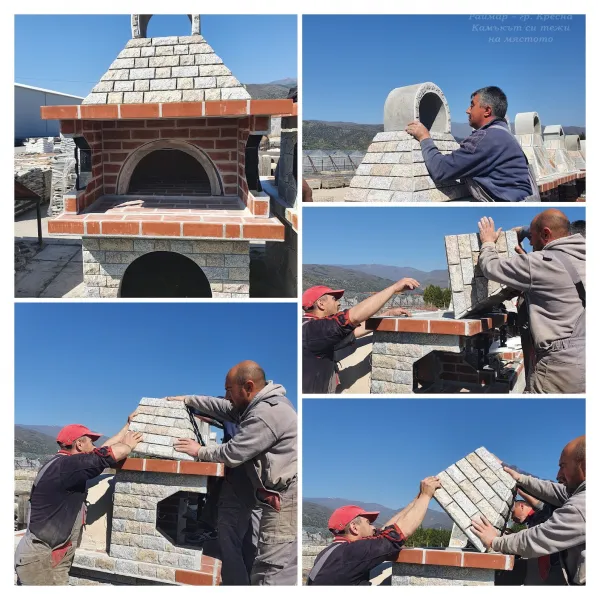
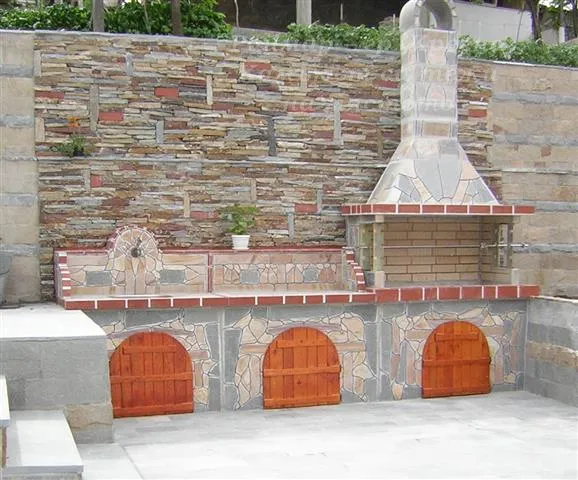
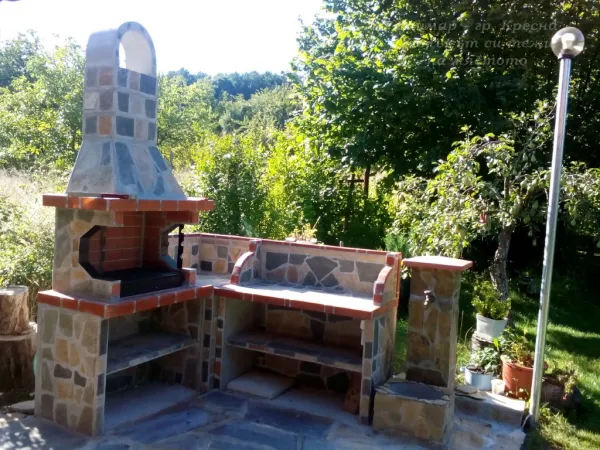
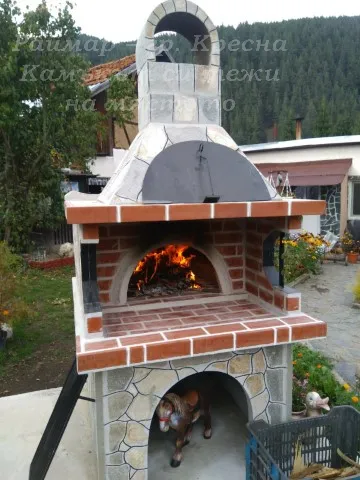
Big barbecue with big oven | Splitface series
Size of the burning chamber of the barbecue (front): length: 120cm / width 50cm
| Production lead time | |
| Type cladding | Splitface cladding |
| Sizes Garden Barbecues | 153/170/236сm |
| Fireplace sizes | 120/50сm |
| Material | Granite |
| Marble | |
| Limestone | |
| Natural stone | Limestone Vratza |
| Travine marble | |
| Finish | Splitface |
| Price / Unit | Price for 1 piece |
| Pallet | |
| Weight | 1500 kg |
| Natural stone specifics | Possible deviations and variations in the colors and textures of the stone tiles are expected (resulting from the natural origin and formation of the stone). |
| Our products are handmade craftsmanship, made by artisans (stone masons). | |
| Recommended adhesives | Gray polymer adhesive FLEXI (for silicone gun) |
| Black heat-resistant adhesive KALOFER (for silicone gun) | |
| Protection, mandatory impregnation, and maintenance (LTP or AKEMI) | For protection against water absorption: Universal stone impregnator (LTP or AKEMI) |
| For protection against water and grease absorption: Stone impregnator Mattstone H2O | |
| For color enhancement and protection: Wet effect impregnator (LTP or AKEMI). |
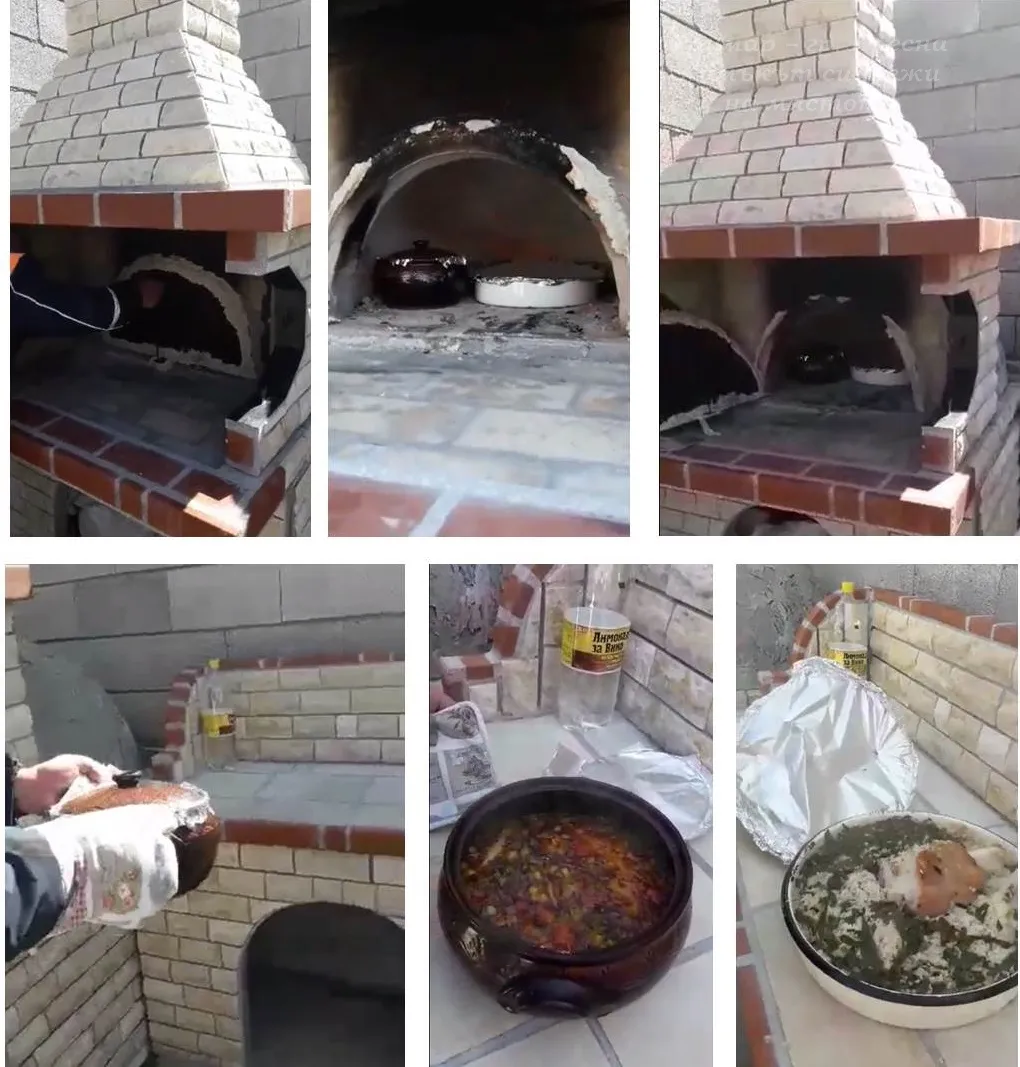
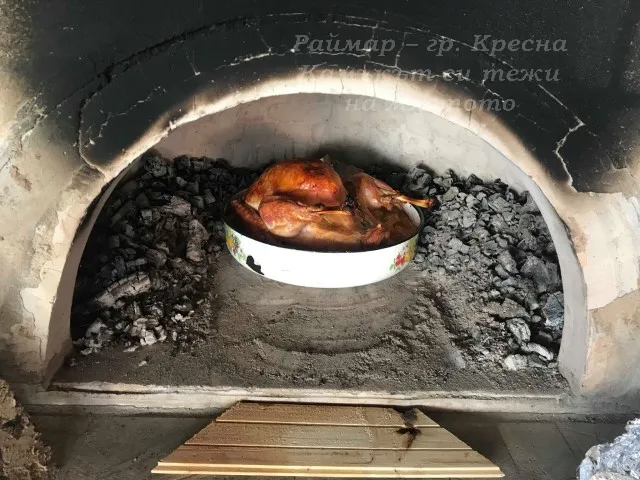
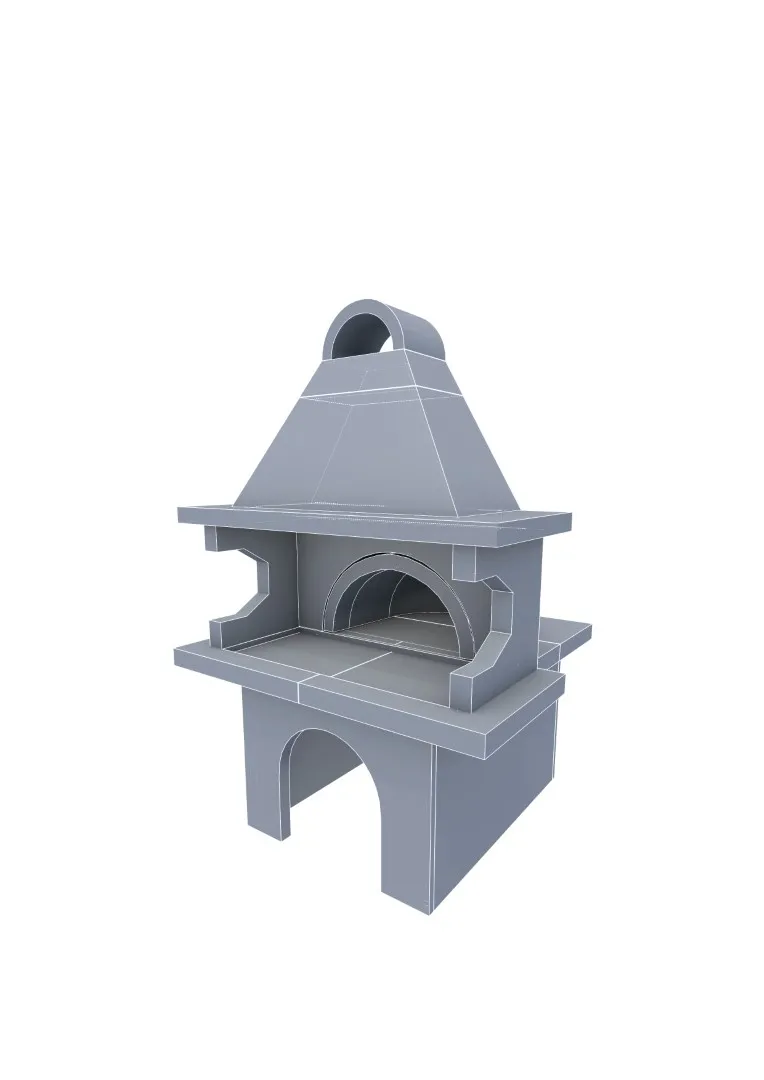
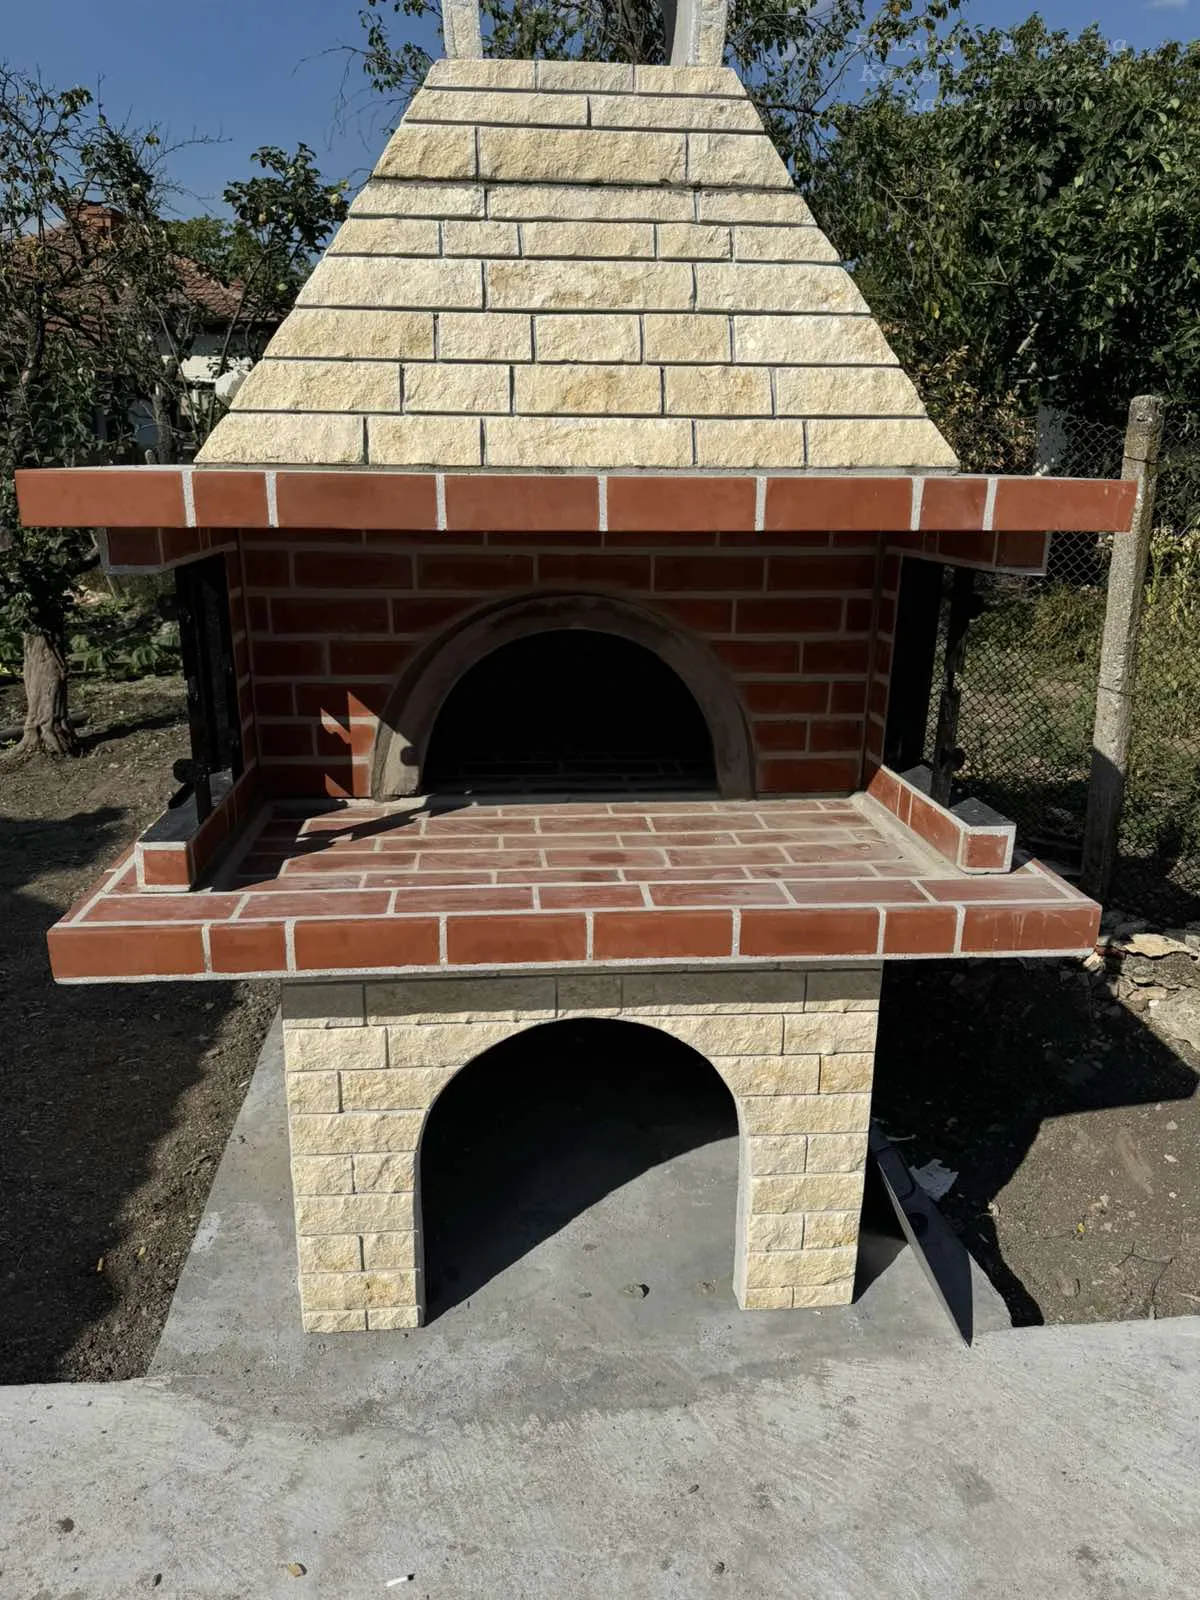
The incredible nature of the barbecue with an oven combines all the possibilities for preparing delicious food – a baking oven and a rotisserie with a grill barbecue. This way, you can use a more cost-effective setup in less space while still enjoying a variety of cooking methods using fire: rotisserie, grill barbecue, oven baking, pizzas, and bread in the oven.
The largest model among our garden furnishing products is suitable for restaurants, hotels, and guest houses—ideal for offering guests delicious and attractively prepared meals.
It's important to know that the combination of the Large Barbecue with Large Splitface Oven includes:
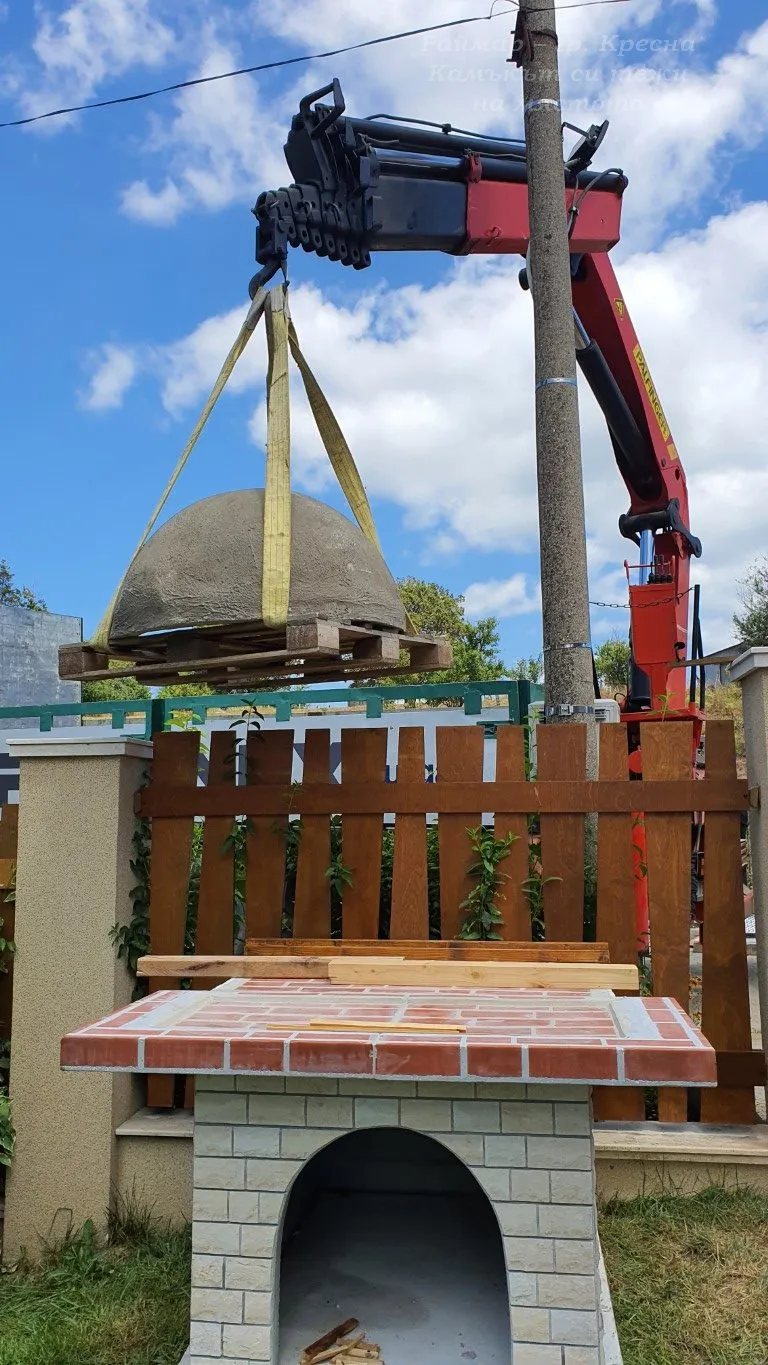
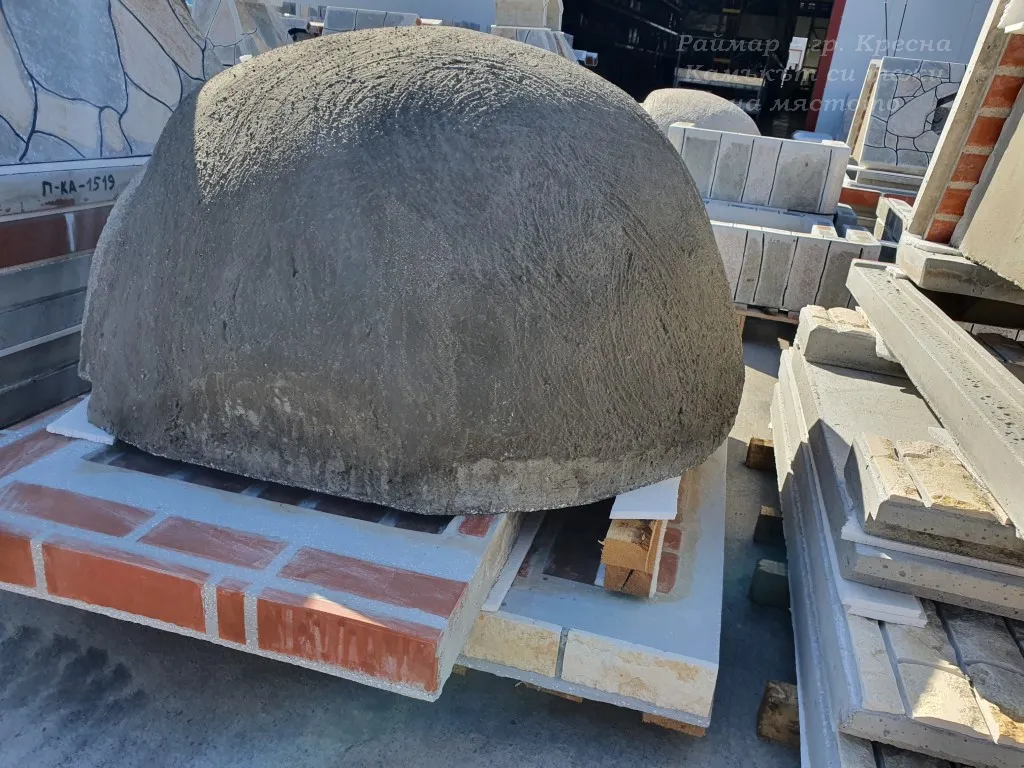
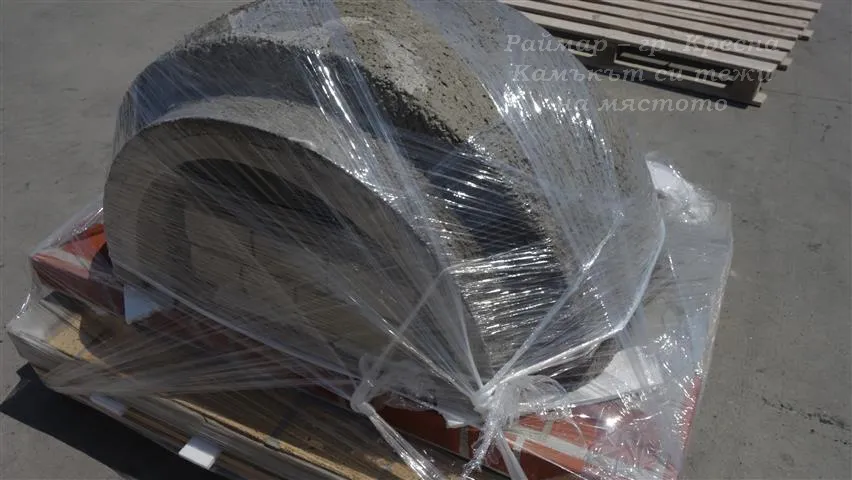
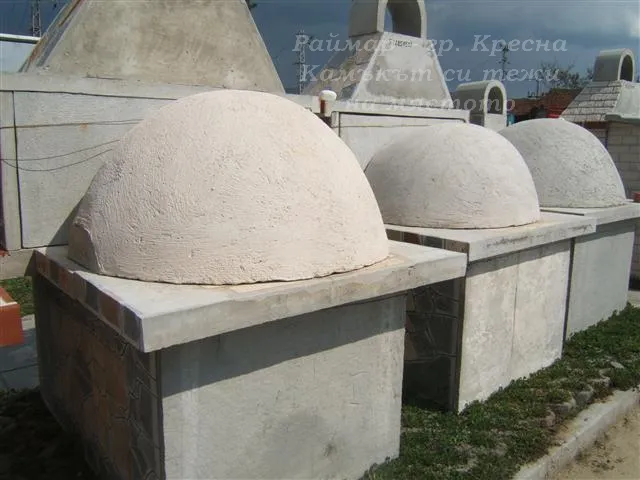
- A domed structure made of fireproof chamotte bricks using an old Bulgarian technique.
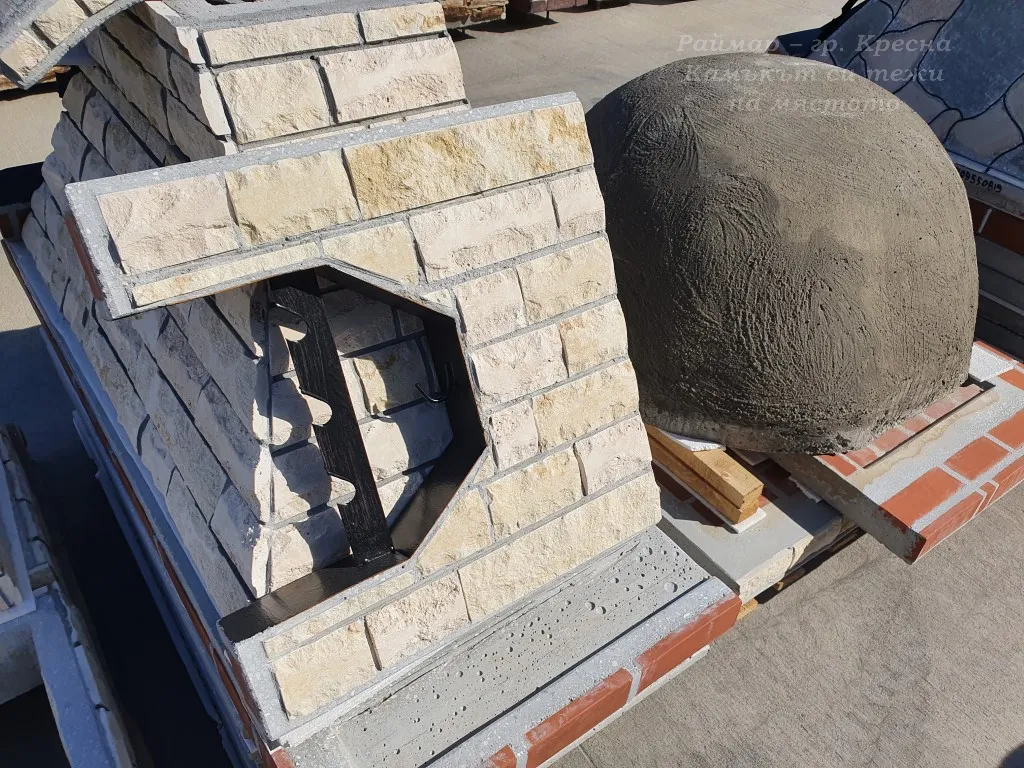
- A combustion chamber in the barbecue made of fireproof bricks glued with heat-resistant adhesive.
- Designed for outdoor use.
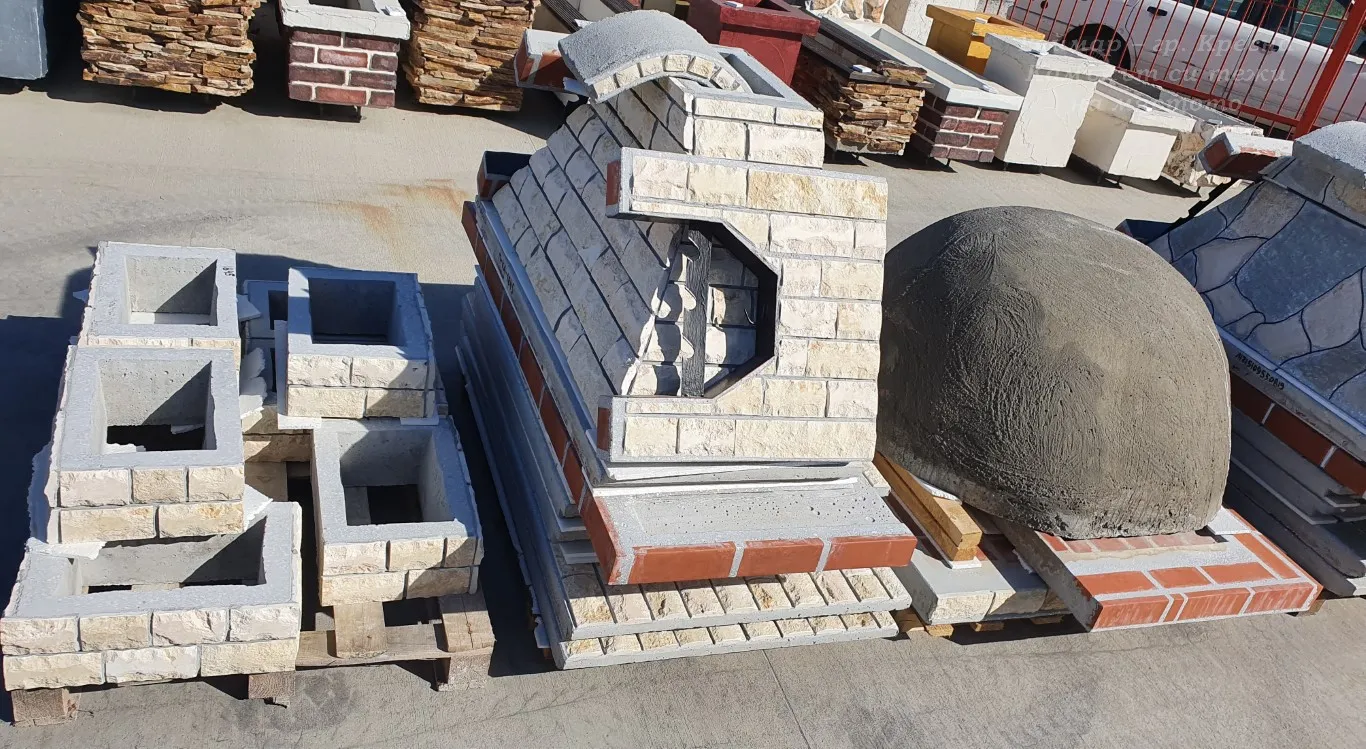
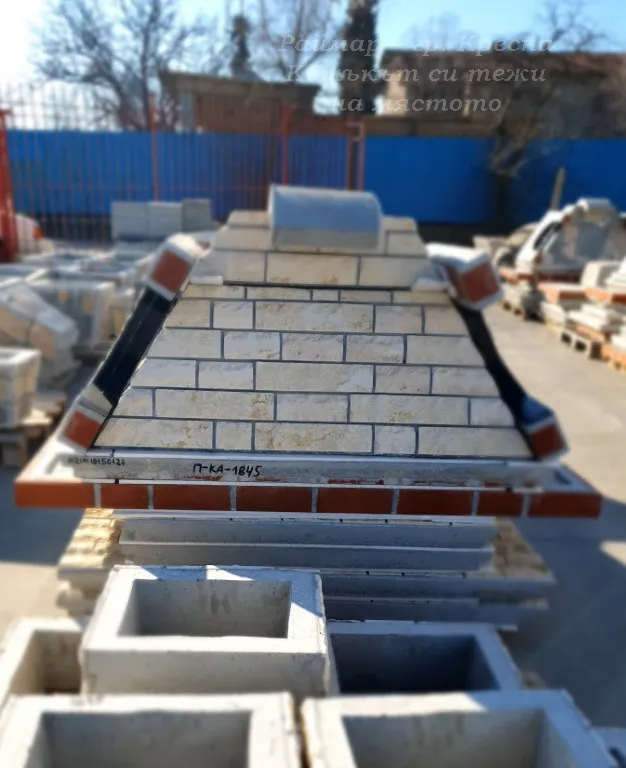
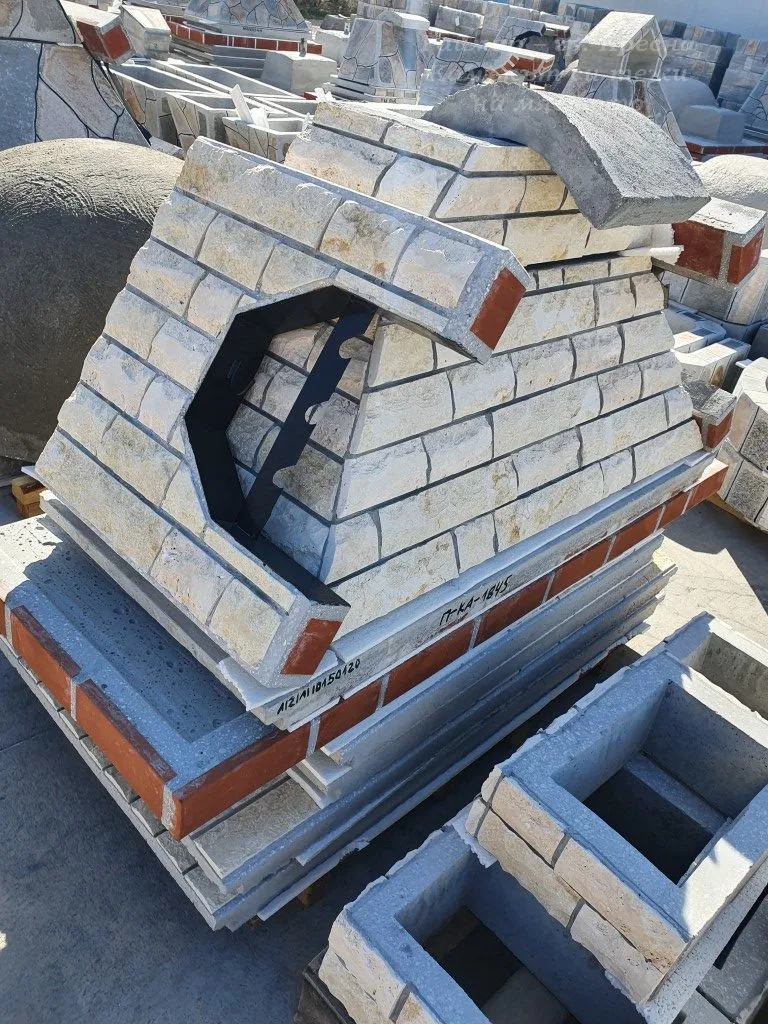
- Reinforced concrete panels clad in genuine natural Glic stone (handcrafted).
- Comes with a metal lid to close and seal the oven after heating.
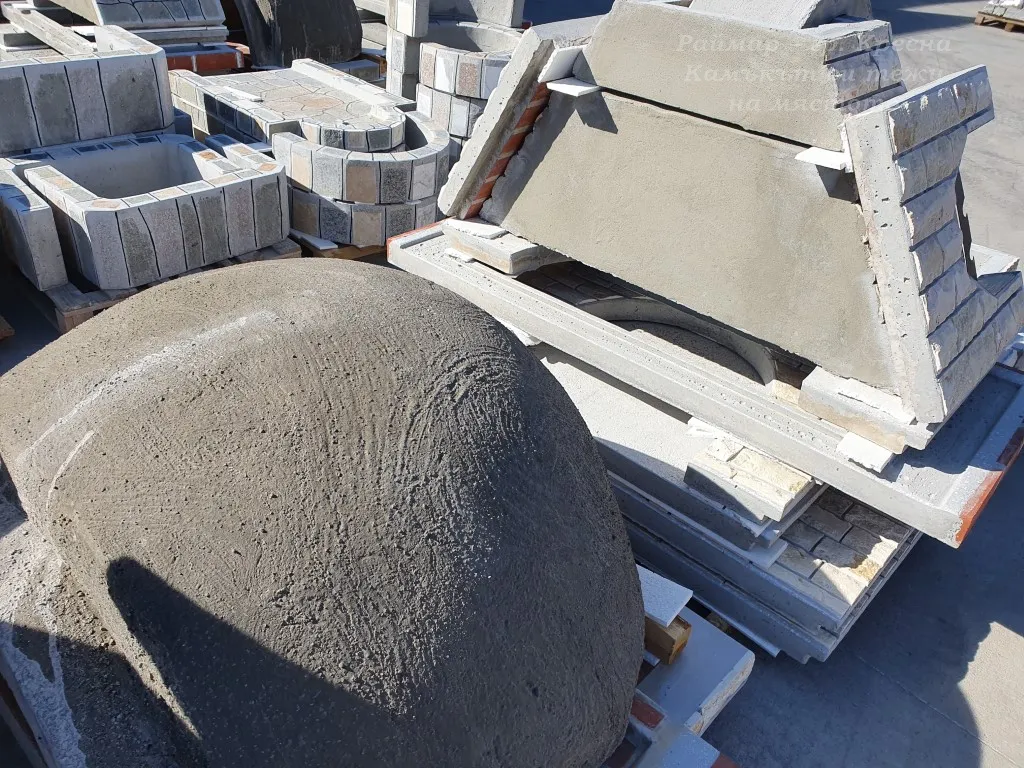
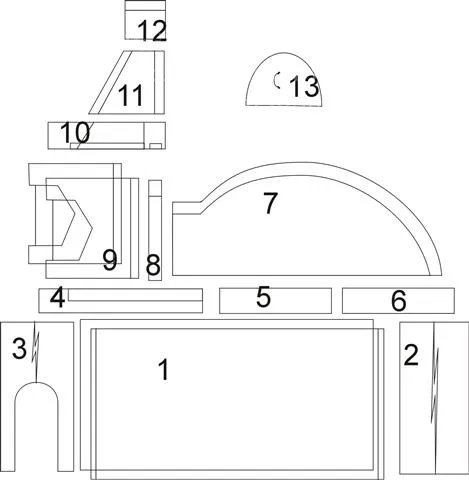
- Arranged elements on three pallets for easy transportation and moving with a pallet jack to the assembly location.
- The ability to extend the chimney with additional duct orders.
- The possibility of using various BBQ accessories.
- Detailed general assembly instructions, along with instructions for insulation and oven use.
- Practical Use and Modular Assembly
How to use the barbecue: Load the firepit with dry twigs and charcoal. When lighting, avoid sudden temperature changes in the combustion chamber by not using blowtorches or petroleum-based products. Place a grill rack on the hot coals, and once it's heated, arrange your prepared items. During cooking, avoid extinguishing the fire with excessive water; only sprinkle lightly if needed.
How to use the oven: Place dry wood and twigs in the center of the oven dome. Avoid sudden temperature changes in the combustion chamber by not using blowtorches or petroleum-based products. After initial lighting, it's normal for the bricks in the dome to blacken. Maintain the fire until the bricks turn white, which typically takes about 2-3 hours. Once the bricks are white, the oven is ready for baking, and you can insert your prepared dish. Finally, close the dome opening with the iron lid and seal it with clay or a mixture of ash, flour, and water.
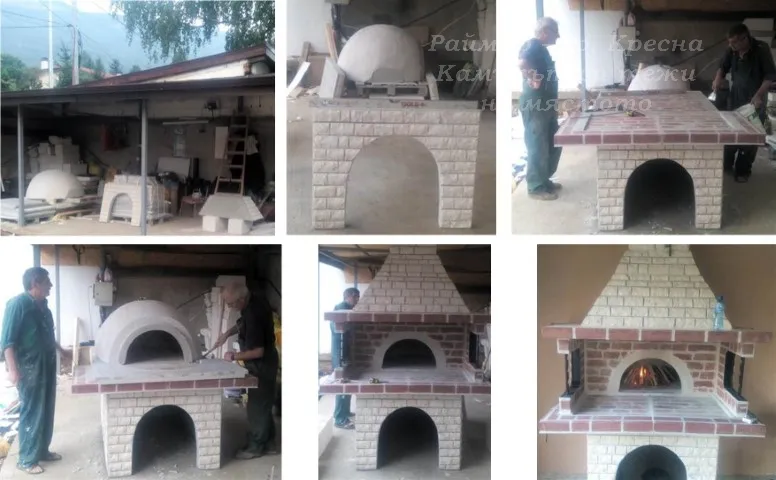
Approximate assembly time for 4-5 beginners: 6-7 hours.
Necessary adhesives: 25 kg of class C2 cement-based adhesive + 20 kg of heat-resistant adhesive.
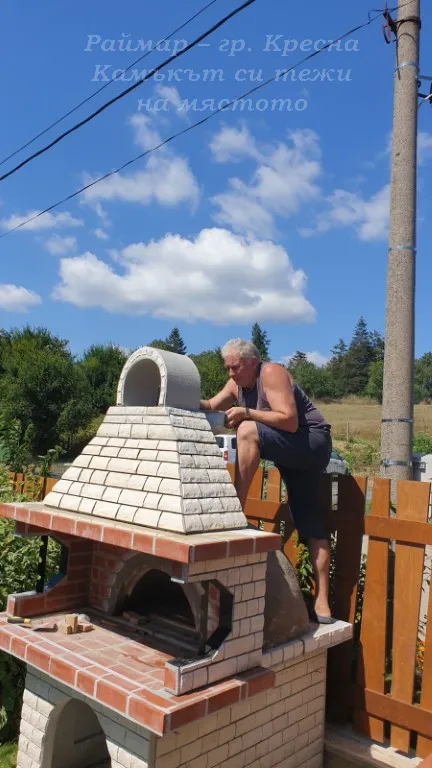
Assembly Instructions:
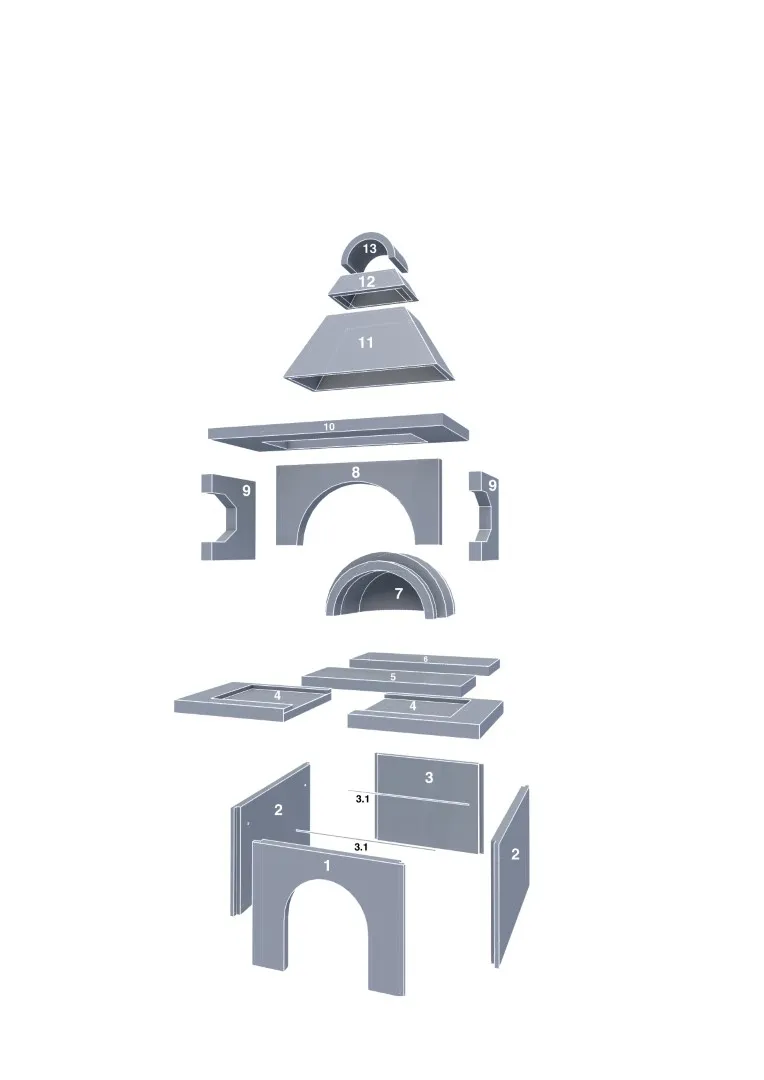
An important condition for correct and easy assembly of your oven-barbecue is the foundation. It must be stable, well-leveled, and flat. The elements are assembled according to the numbering in the assembly instructions and glued with class C2 cement-based adhesive. It's recommended to use heat-resistant adhesive for the elements in and around the dome. Moisten each part thoroughly with water before applying the adhesive to ensure proper bonding. Level at every stage, both horizontally and vertically. Finally, grout and clean. After the adhesive dries (12 to 24 hours, depending on the season), your oven-barbecue is ready for use.
The heaviest part is the dome, weighing about 200 kg, requiring 3-4 people to move it.
The roof, ducts, and adhesives are not included in the price and must be ordered separately.
Our Useful Tips
Mandatory insulation recommendation: The better insulated the oven is, the more efficient the baking, as it retains heat longer. We recommend placing a roof over the oven dome and filling the empty space with quartz sand or marble dust (220 kg = 10 bags of 22 kg each).
Alternatively, you can insulate the oven dome with aluminum foil-coated wool (3.5-4 sq.m.), expanded metal mesh, and finally, plaster with chamotte—a refractory mix of heat-resistant and cement-based adhesive.


 Български


